
Grade a unit
Grading works one unit at a time. Each product has its own inspection fields and grades, so what you see depends on the product. The ones here are made up.
1. Open the Grade tab
Opening the Grade tab carries on your session, or starts one. There’s nothing to fill in. The bar at the top shows how many you’ve graded this session and whether the printer is ready.
Pause or end
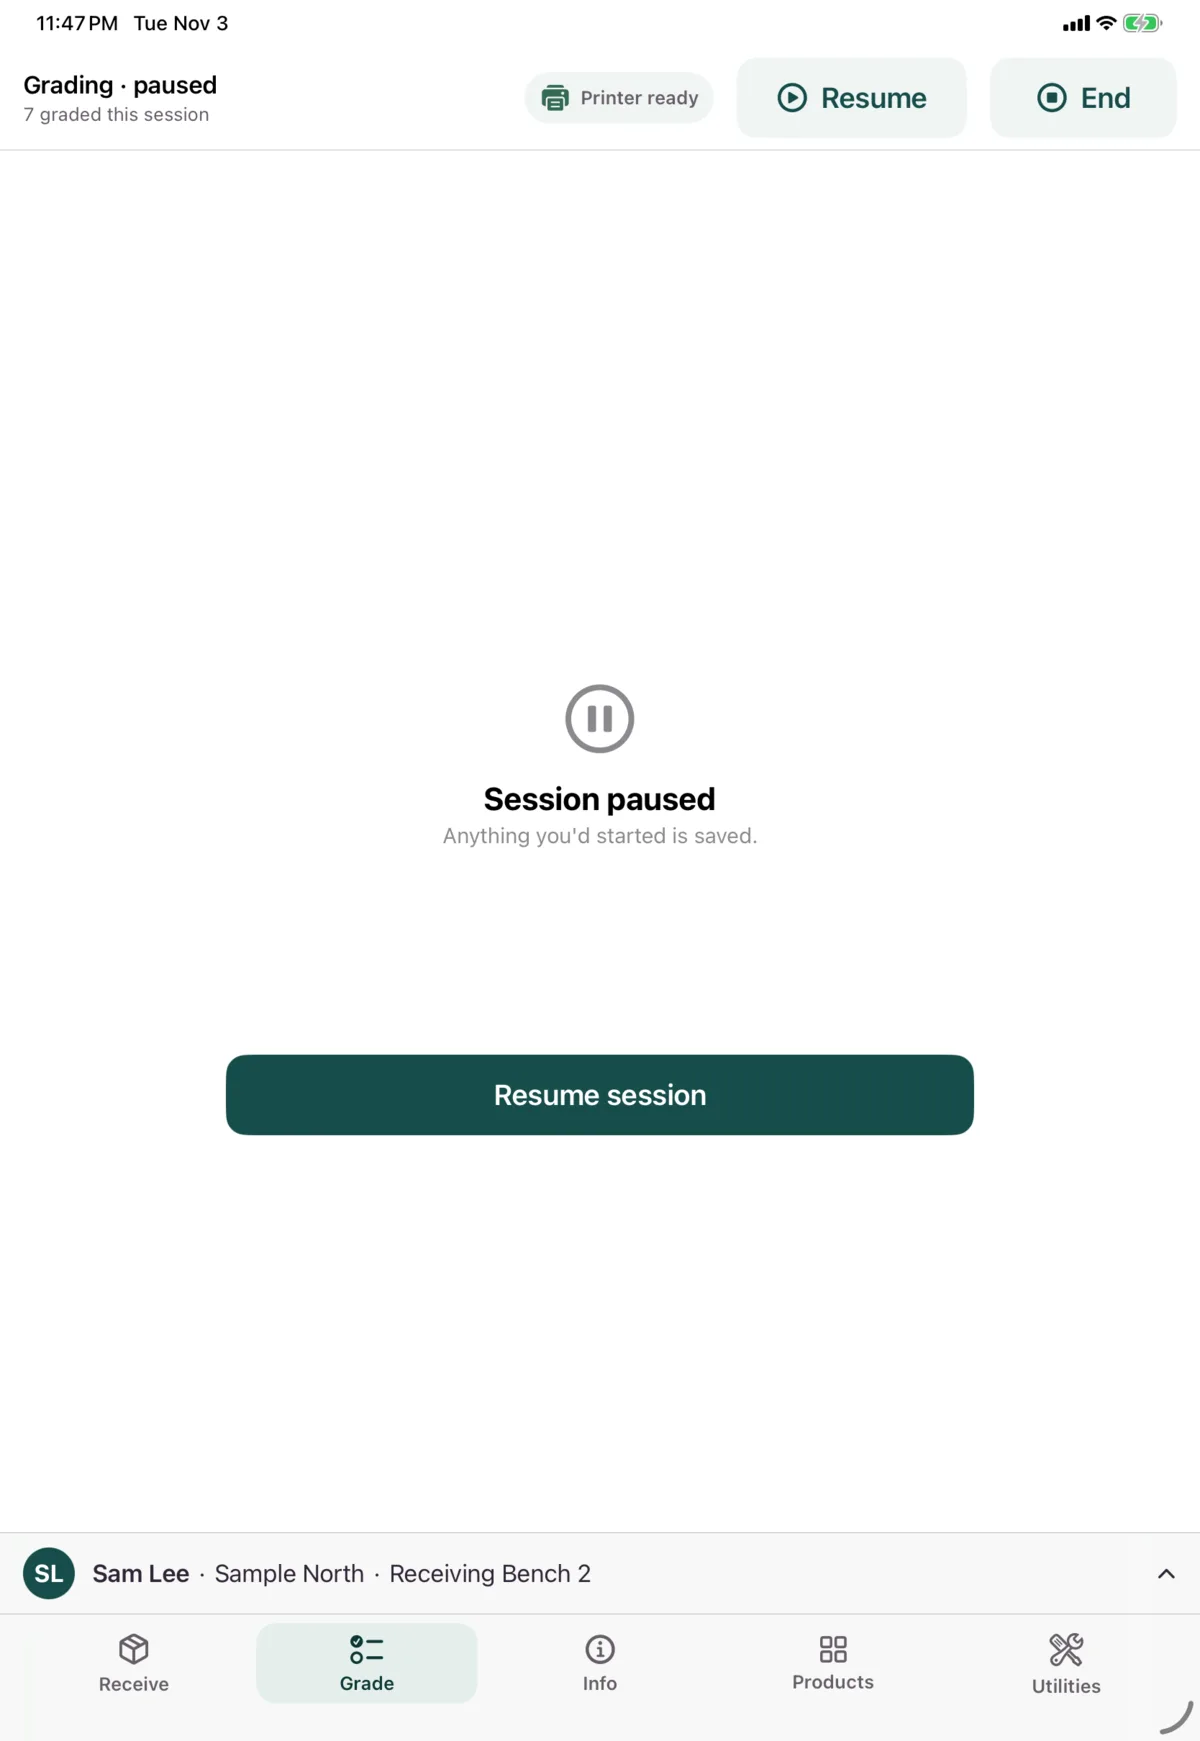
- Pause offers a list of reasons: Break, Lunch, Another task, Equipment issue, Waiting for help, End of shift or Emergency. Tap one and it pauses straight away. Tap Resume session to carry on, then scan the unit again.
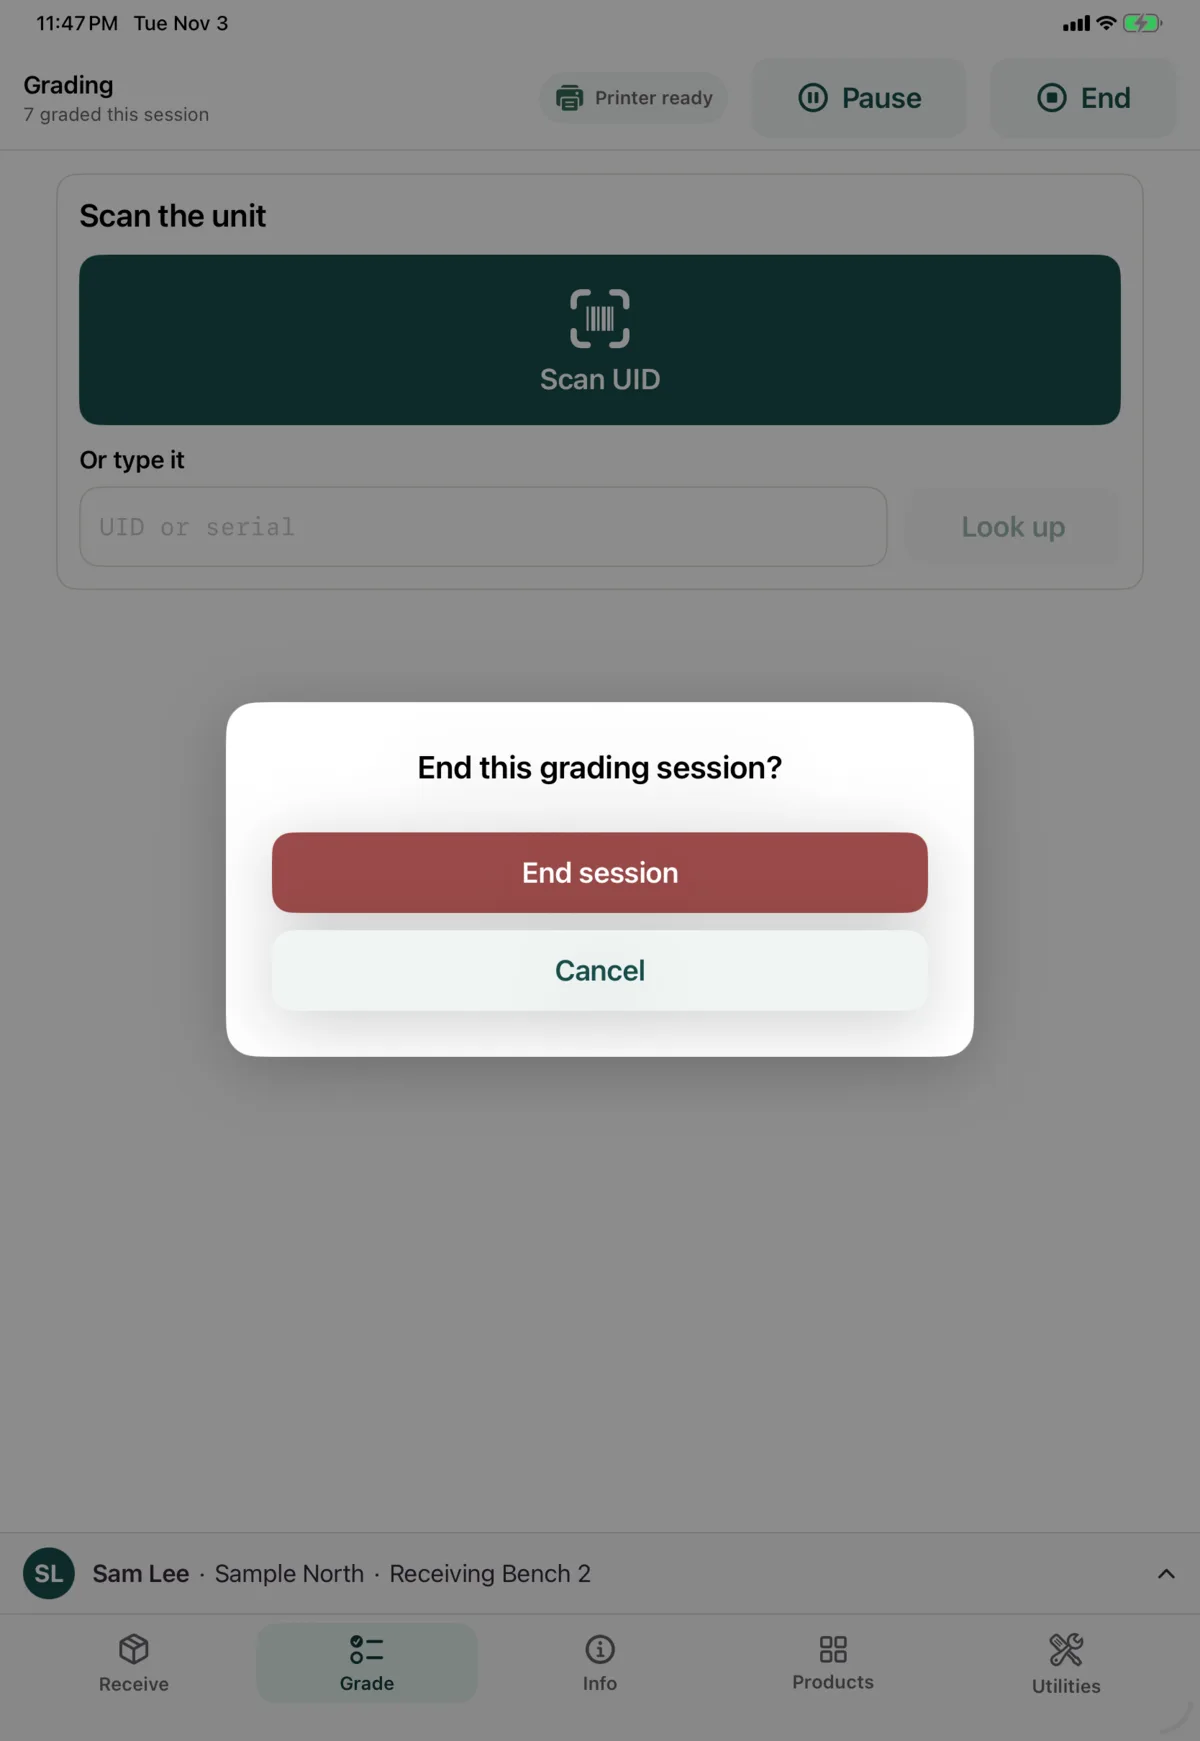
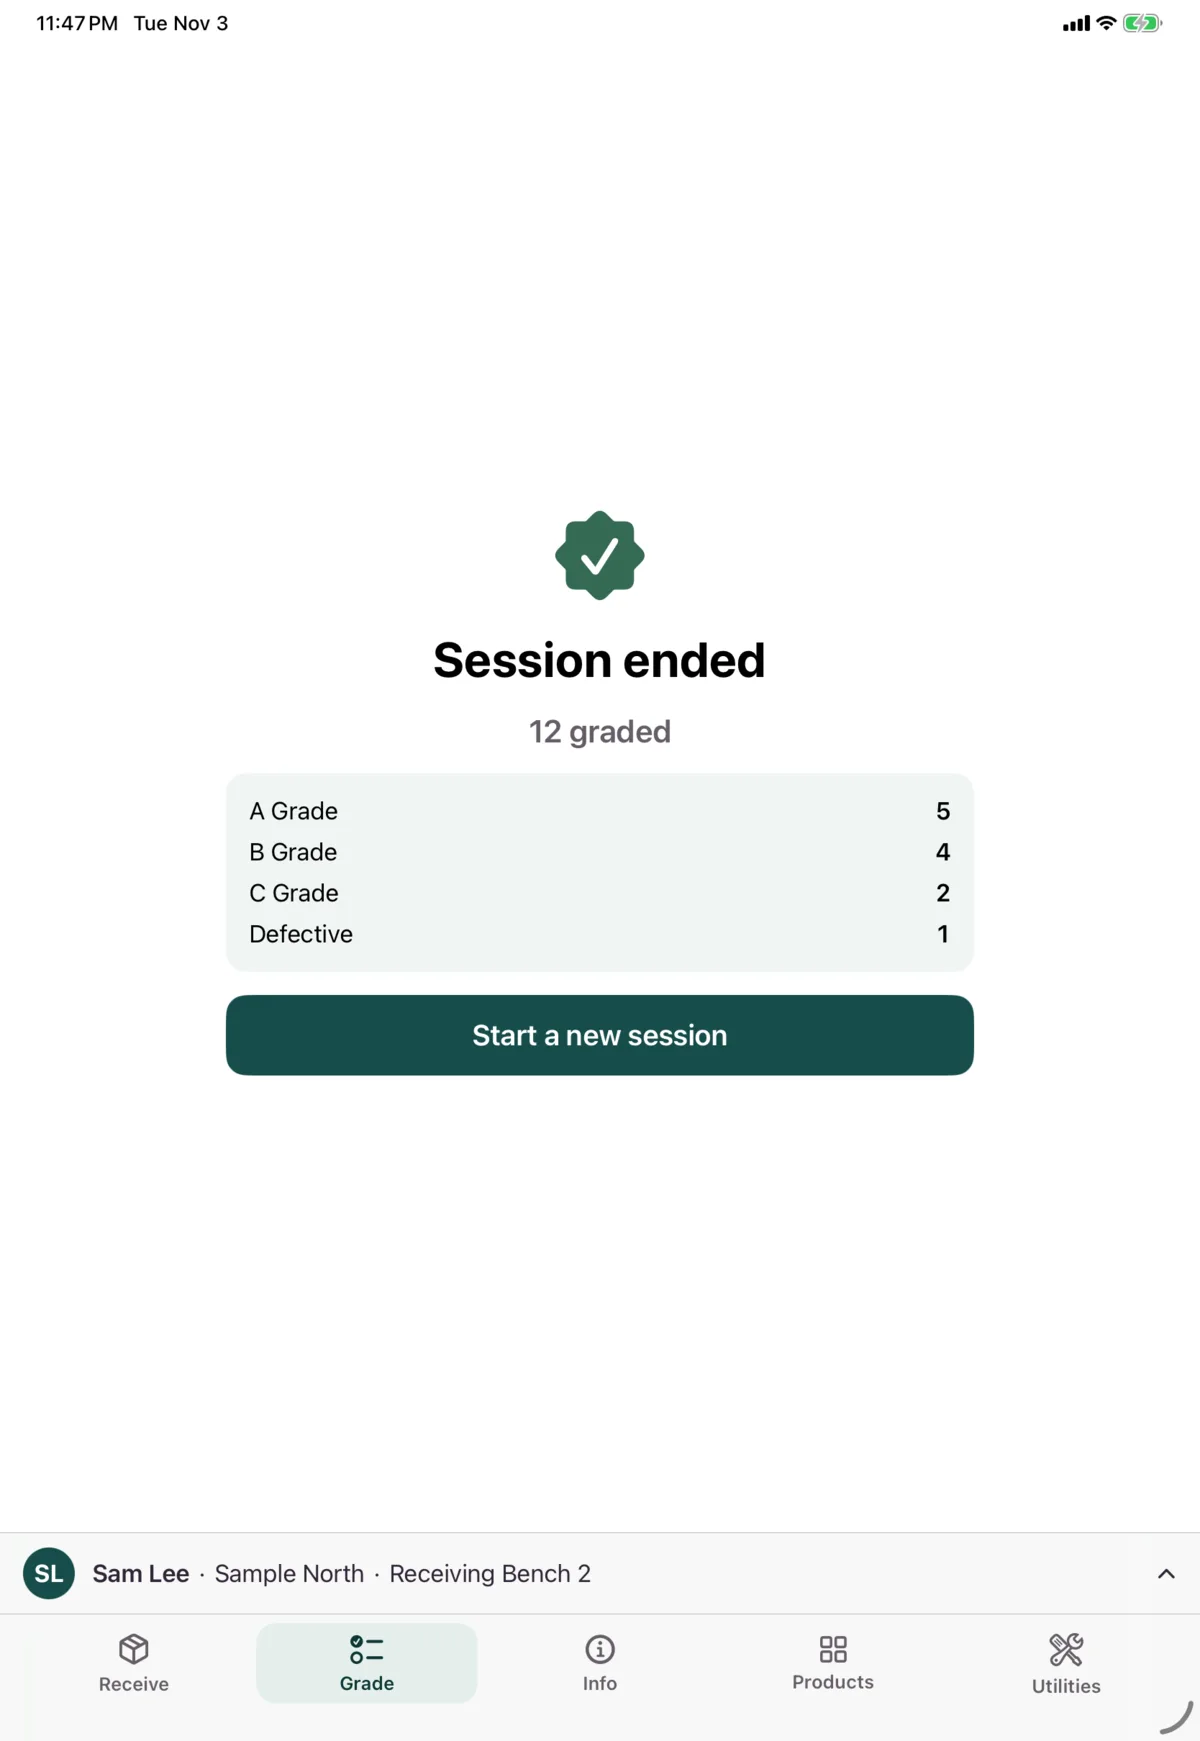
- End asks you to confirm, then shows how many you graded and at what grade. Tap Start a new session to carry on.
Both need a connection. Grades you’ve already submitted aren’t affected, and queued grades still send.
2. Scan the unit
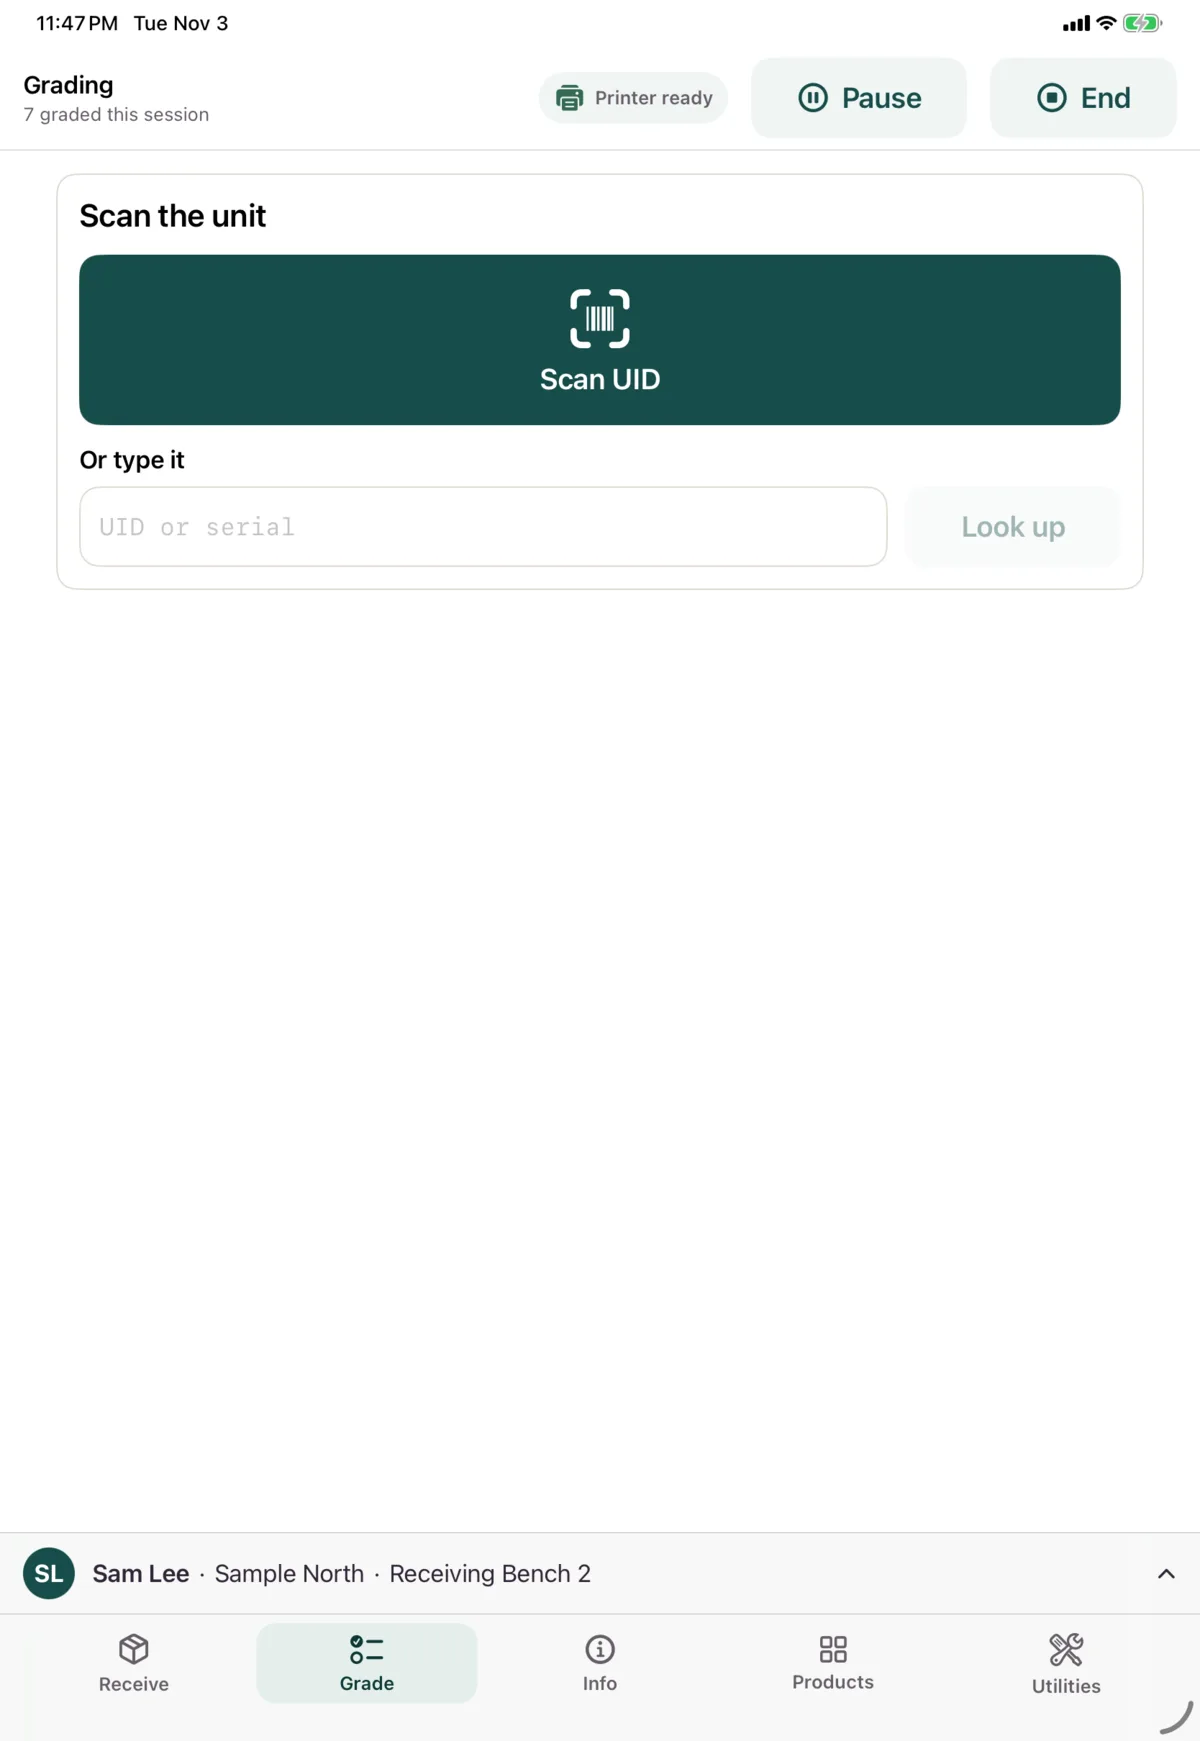
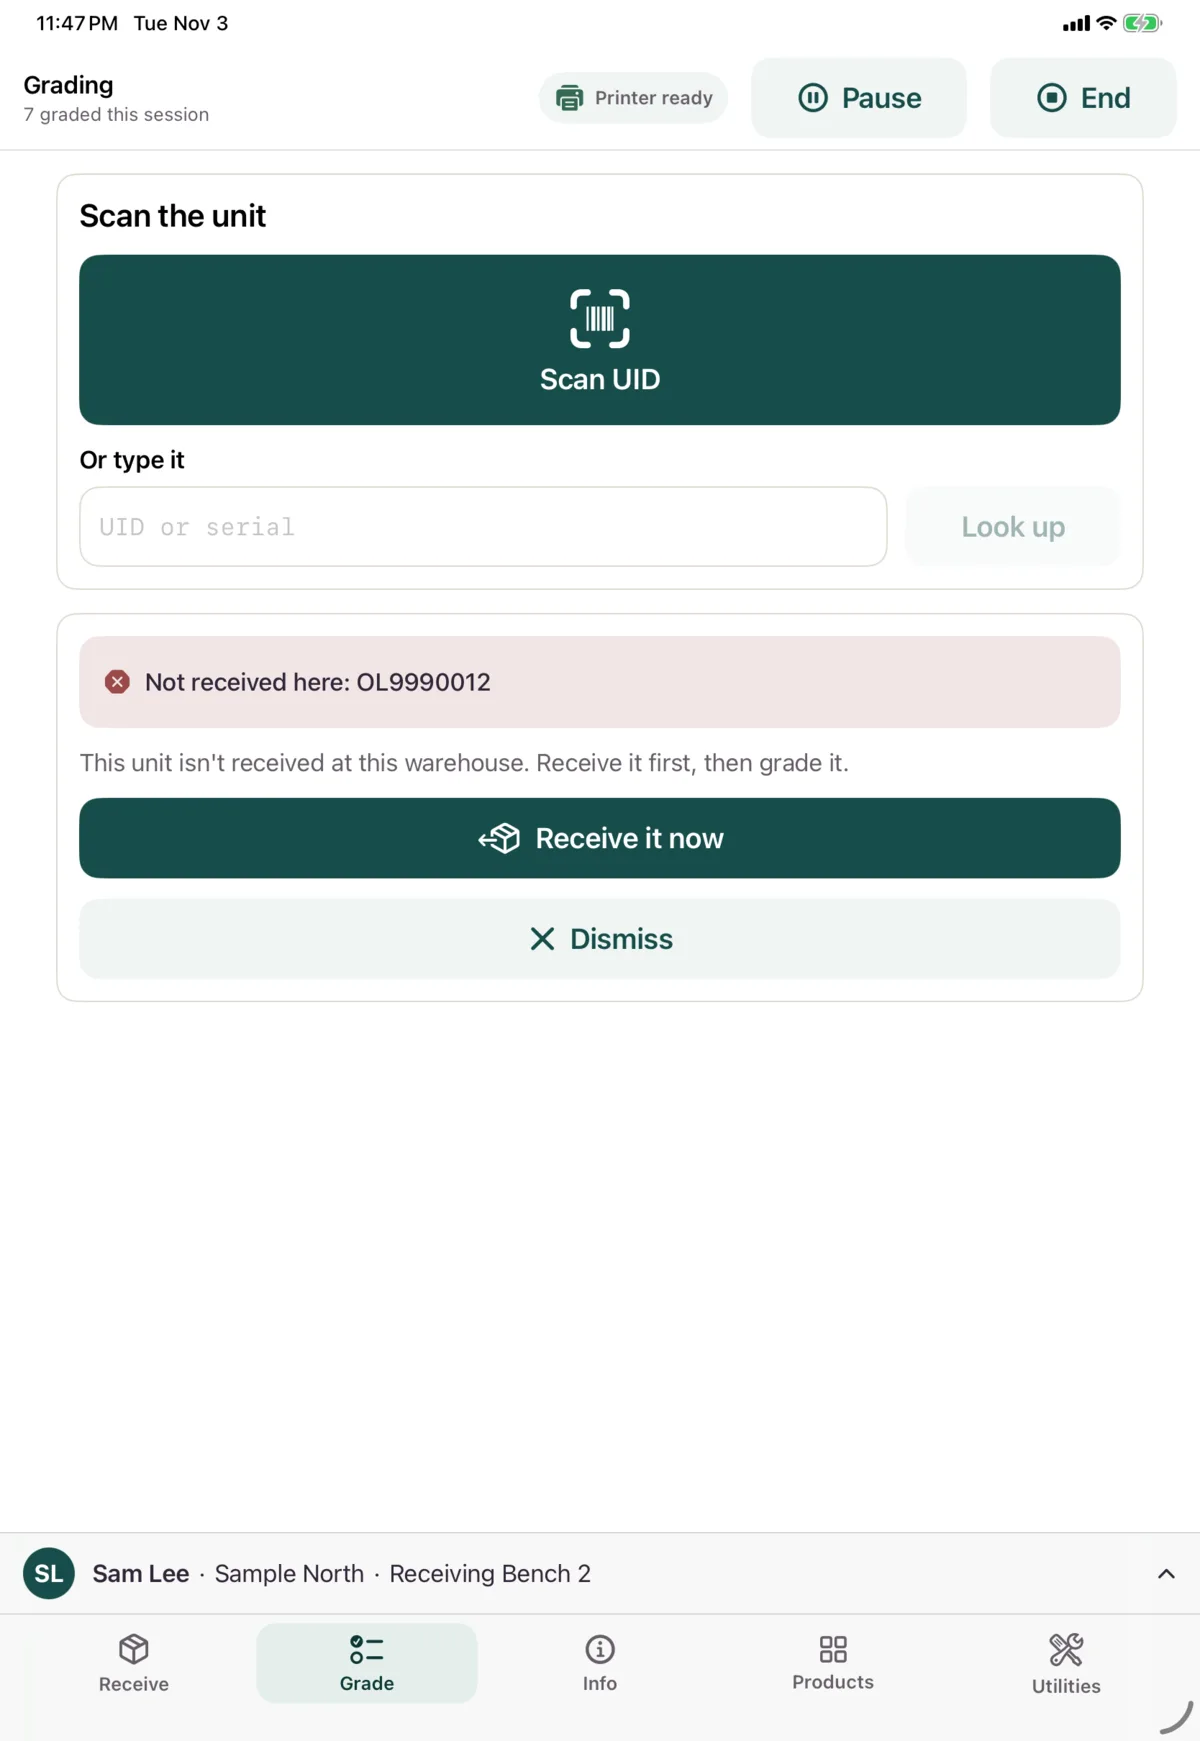
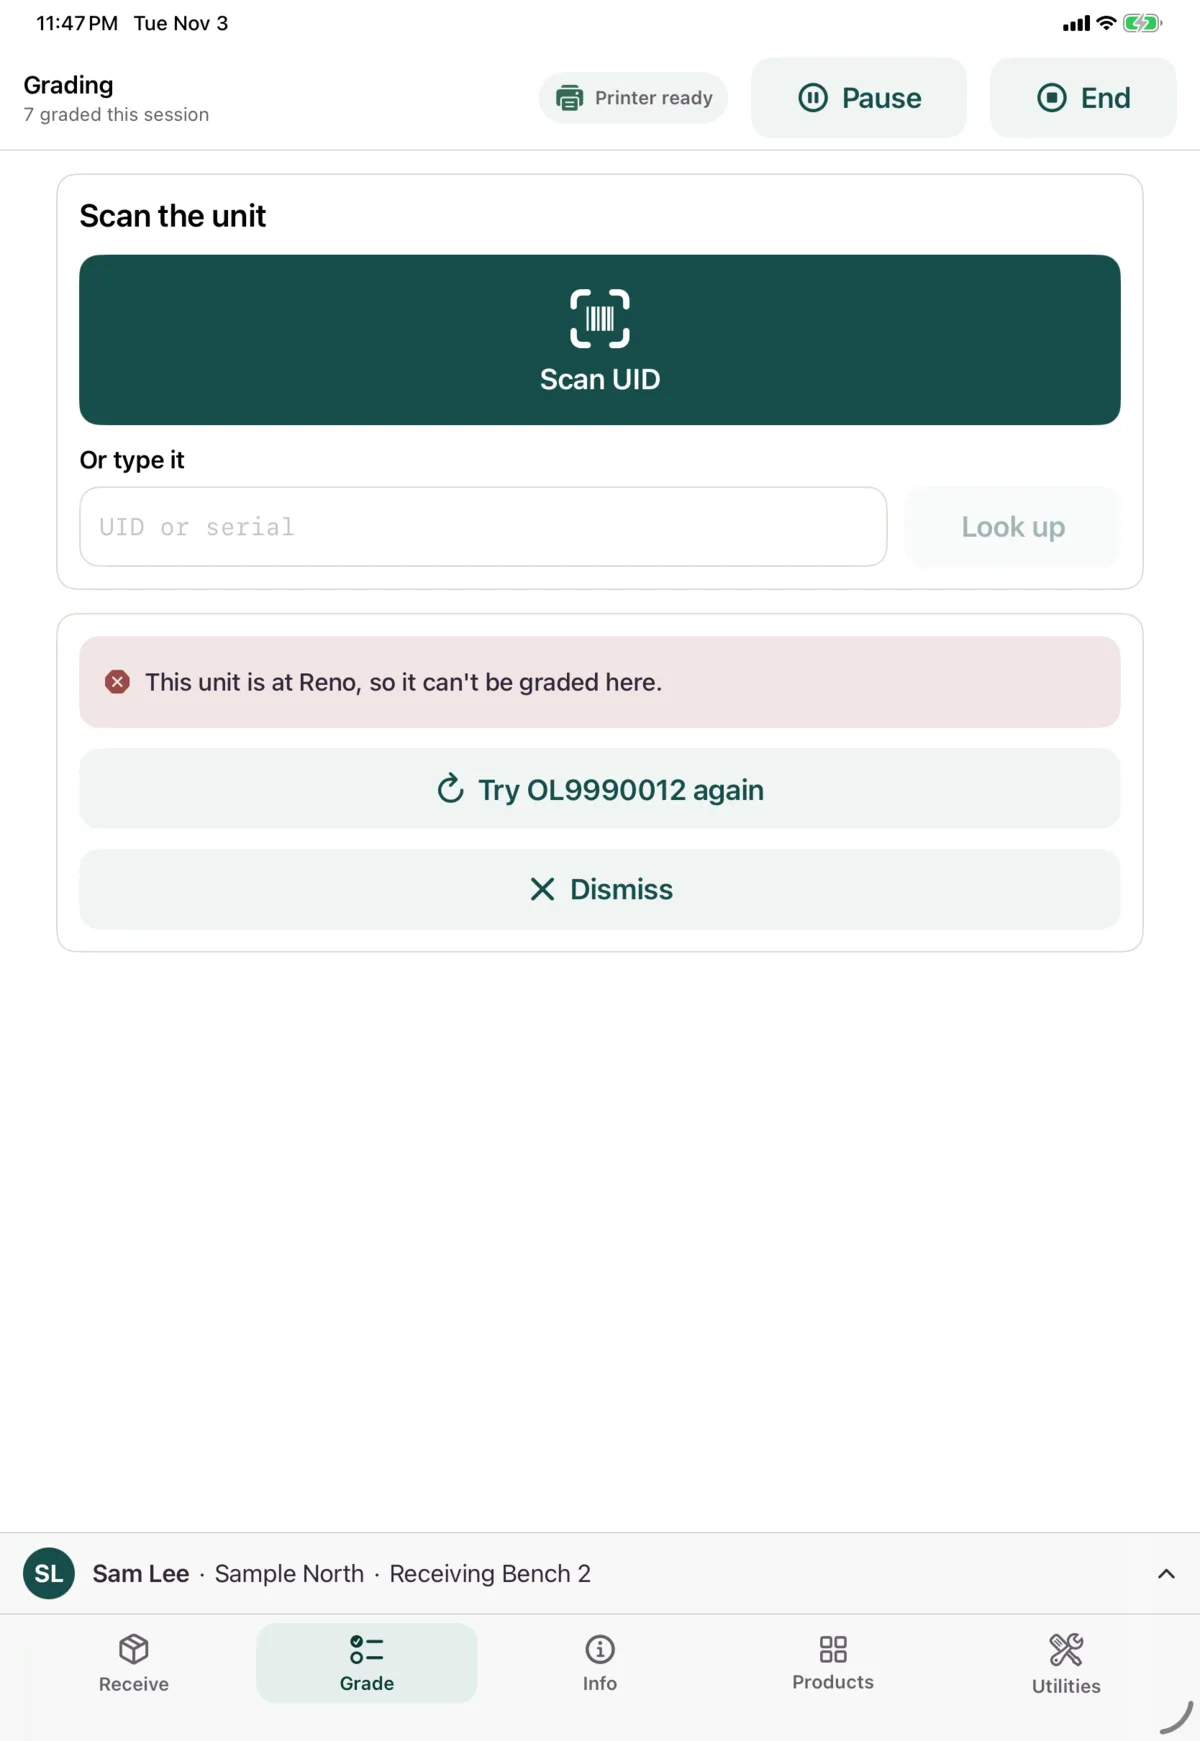
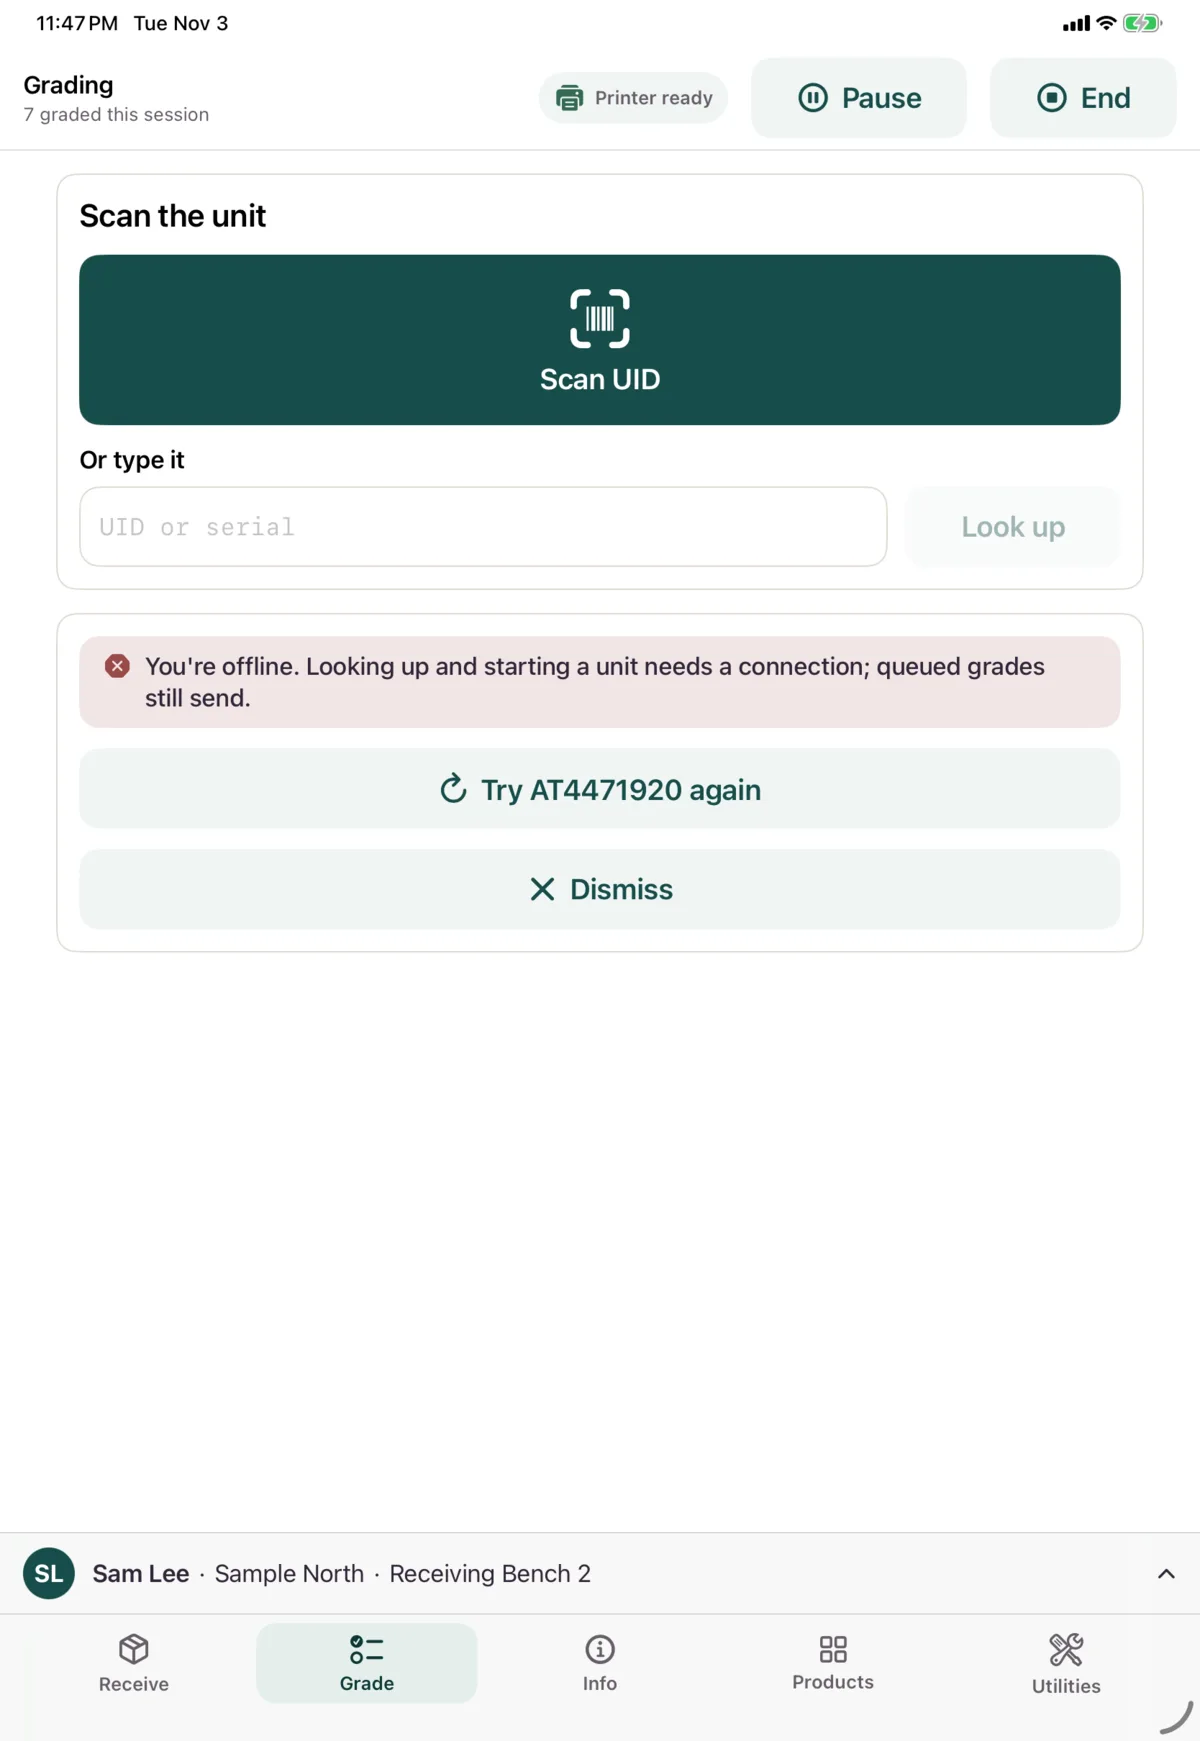
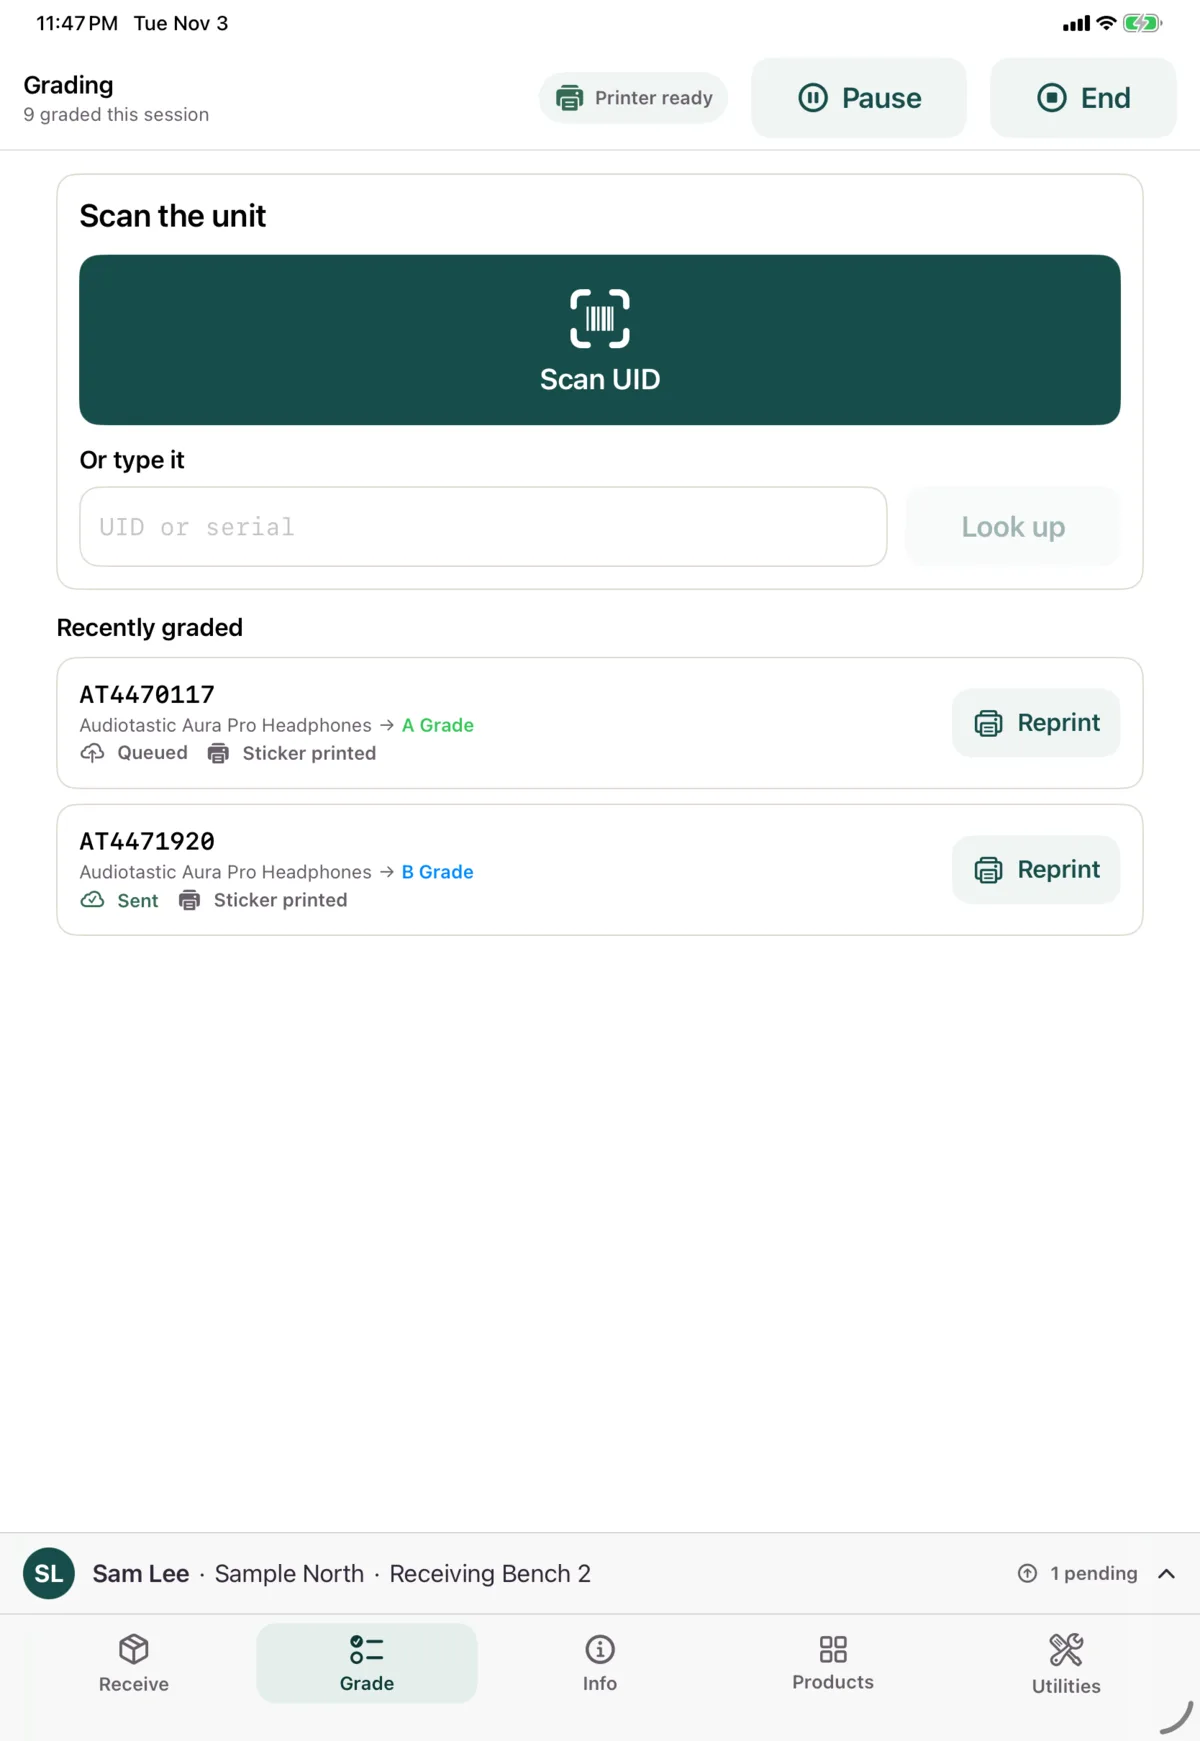
Tap Scan UID, then scan the unit’s UID label or serial. You can also type it and tap Look up. A barcode scanner works here without tapping anything.
| What you see | What it means |
|---|---|
| The unit’s screen | Found it. Carry on |
| Not received here | Nok has no record of it. Tap Receive it now, or Dismiss |
| “This unit is at …” | It’s at another of your warehouses, so it can’t be graded here. Send it there, or tap Dismiss |
| A red message with Try again | The lookup failed. Looking up a unit needs a connection |
3. Check the unit
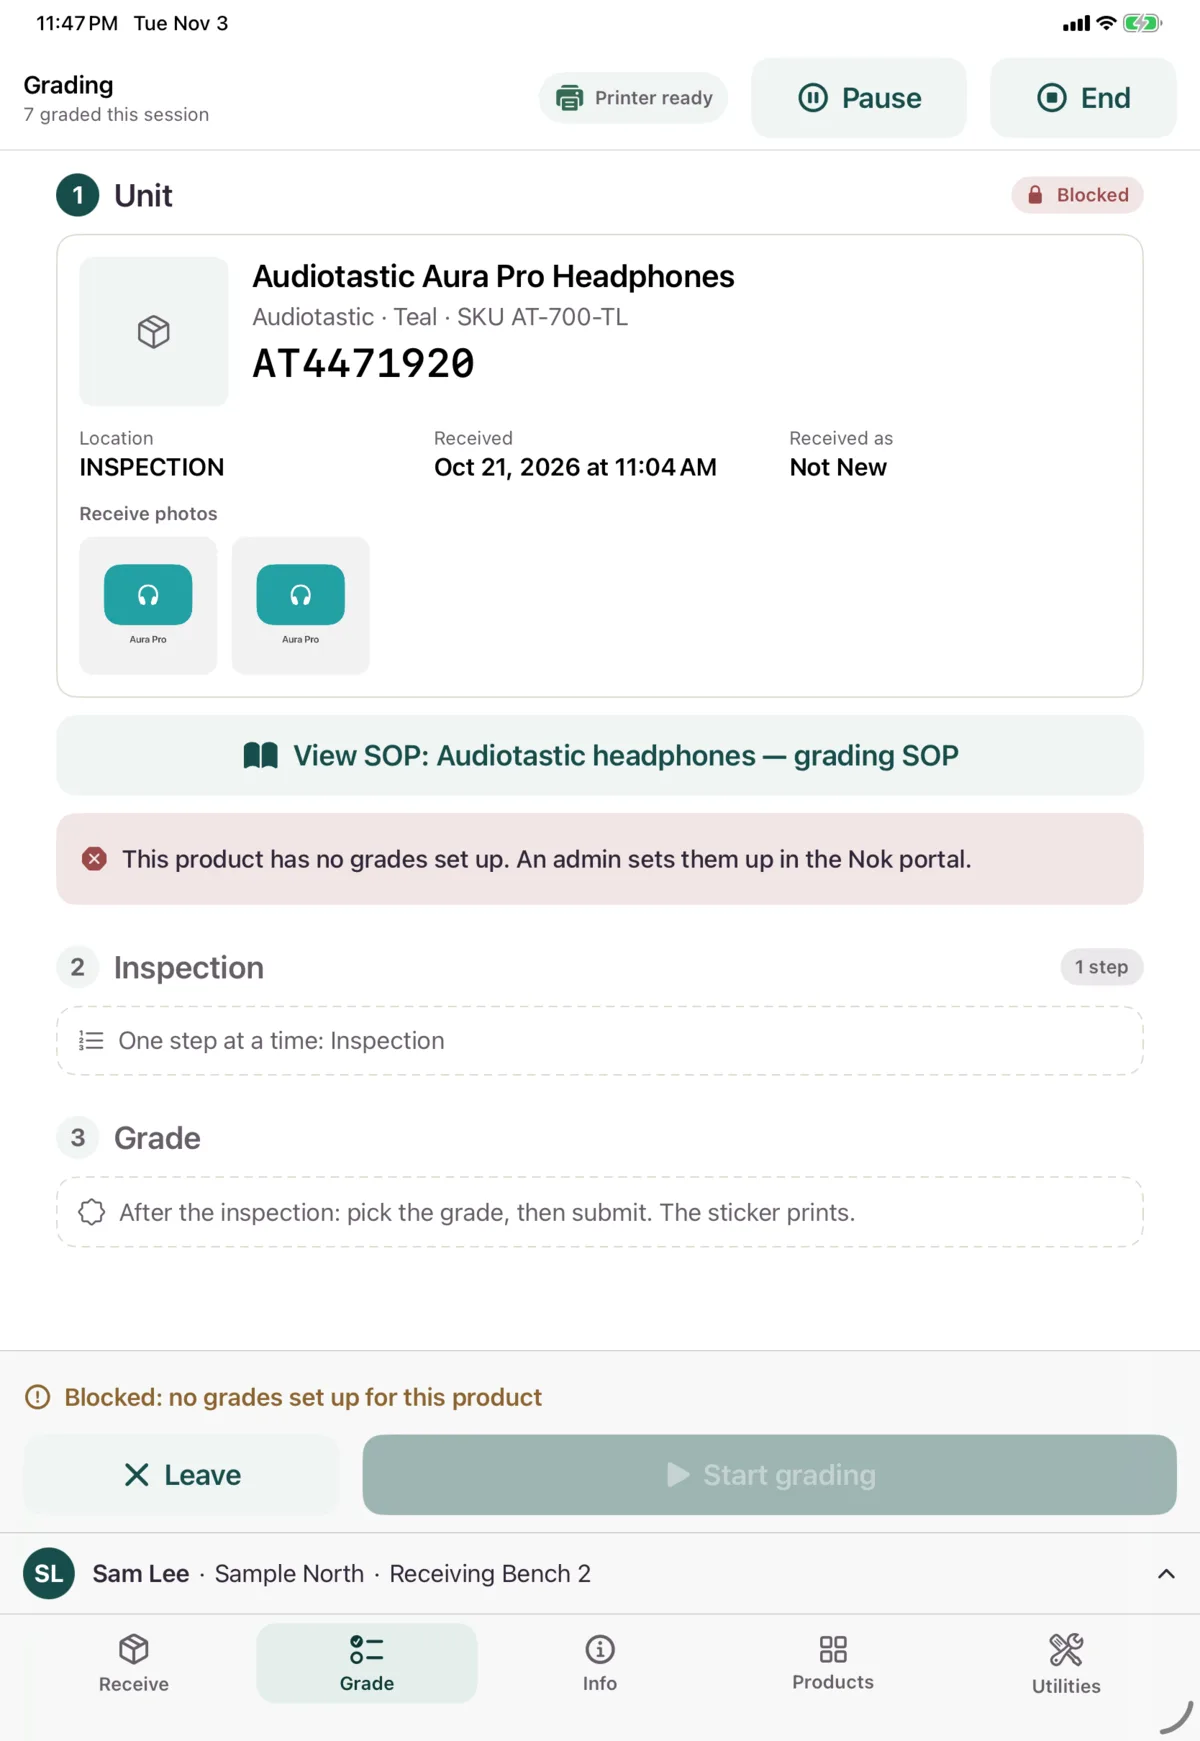
The unit’s screen has numbered sections: Unit, Inspection and Grade, plus Warranty on a warranty return.
Under Unit, check the product, the identity, where it is, how it was received and the photos taken at receiving. Tap a photo to see it full size.
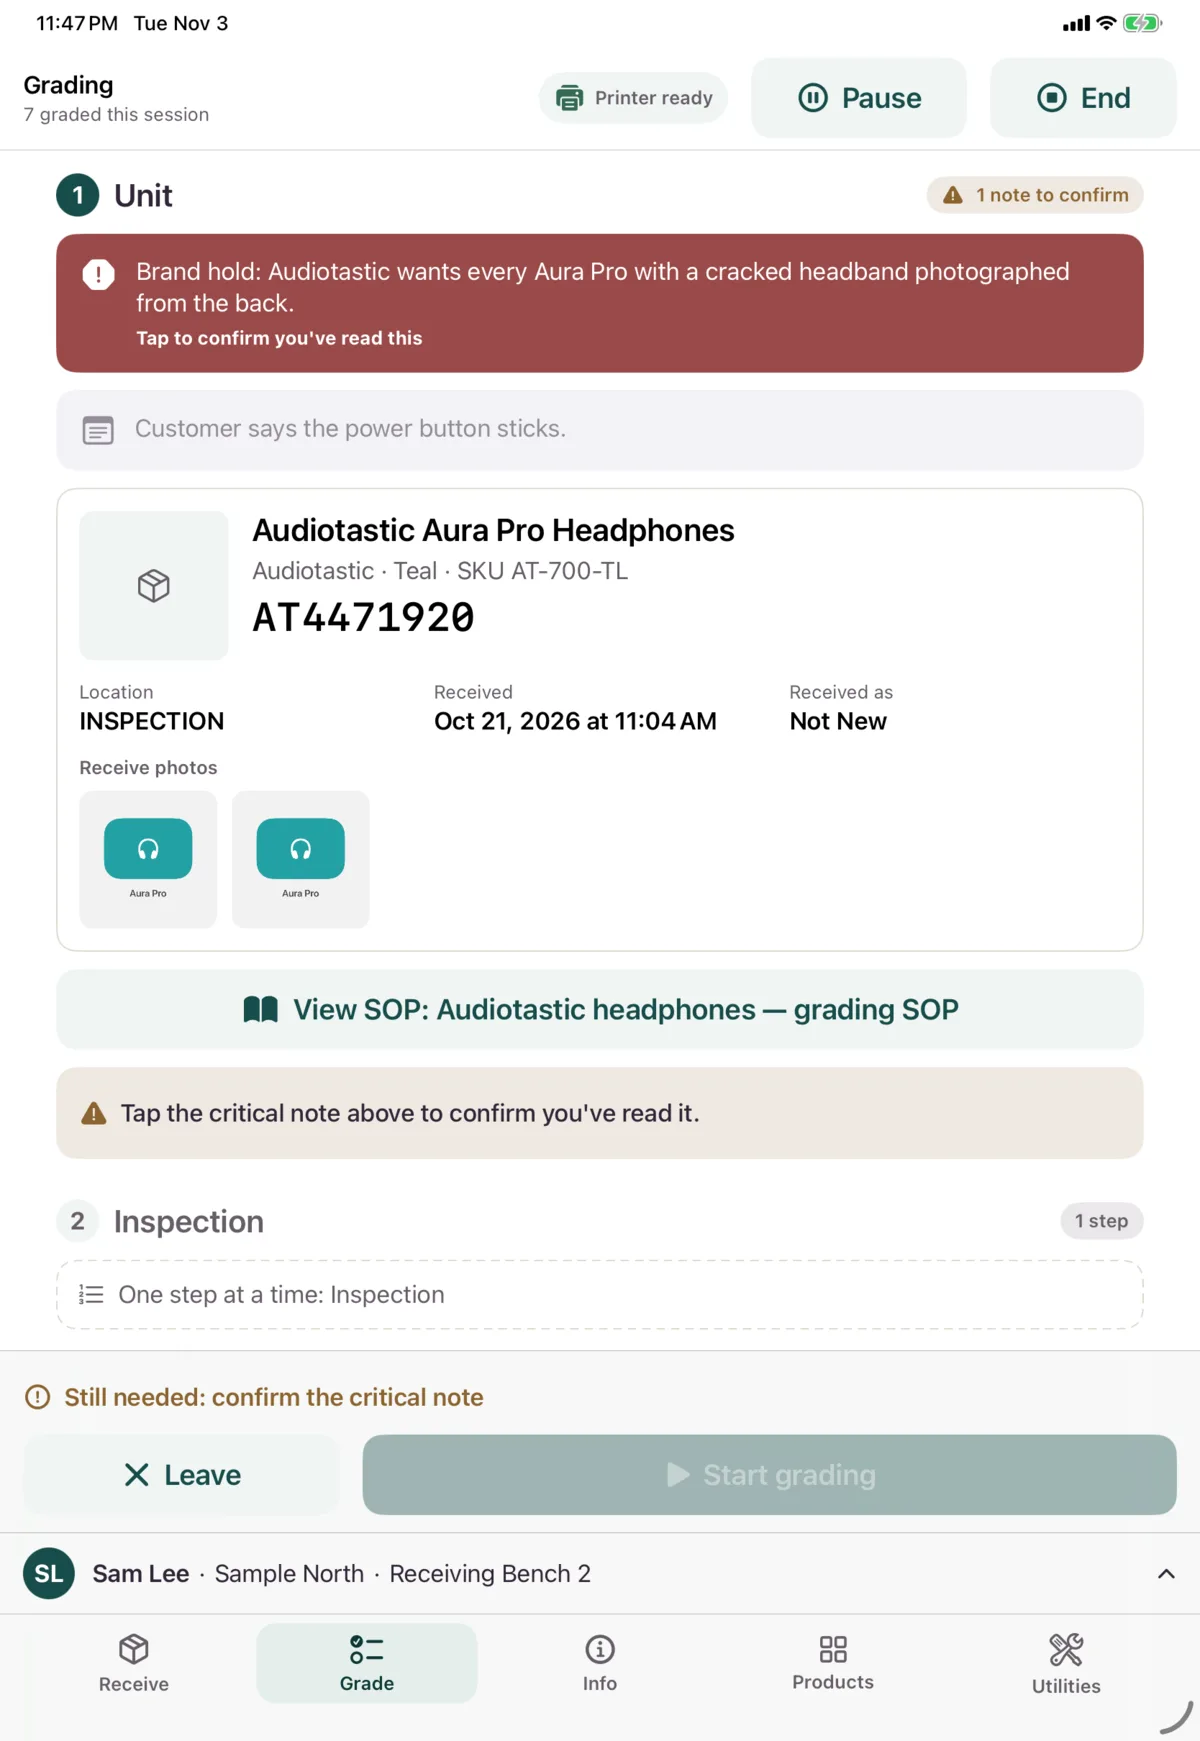
Read any notes, recalls or SOPs shown here. Still needed at the bottom says if anything’s stopping you. When you’re ready, tap Start grading.
4. Inspect the unit
Start grading opens the product’s inspection fields, so you always see them. Fill in what applies, then tap Next: Grade. A field that’s required has to be answered before you can move on. A product with no inspection fields goes straight to the grade.
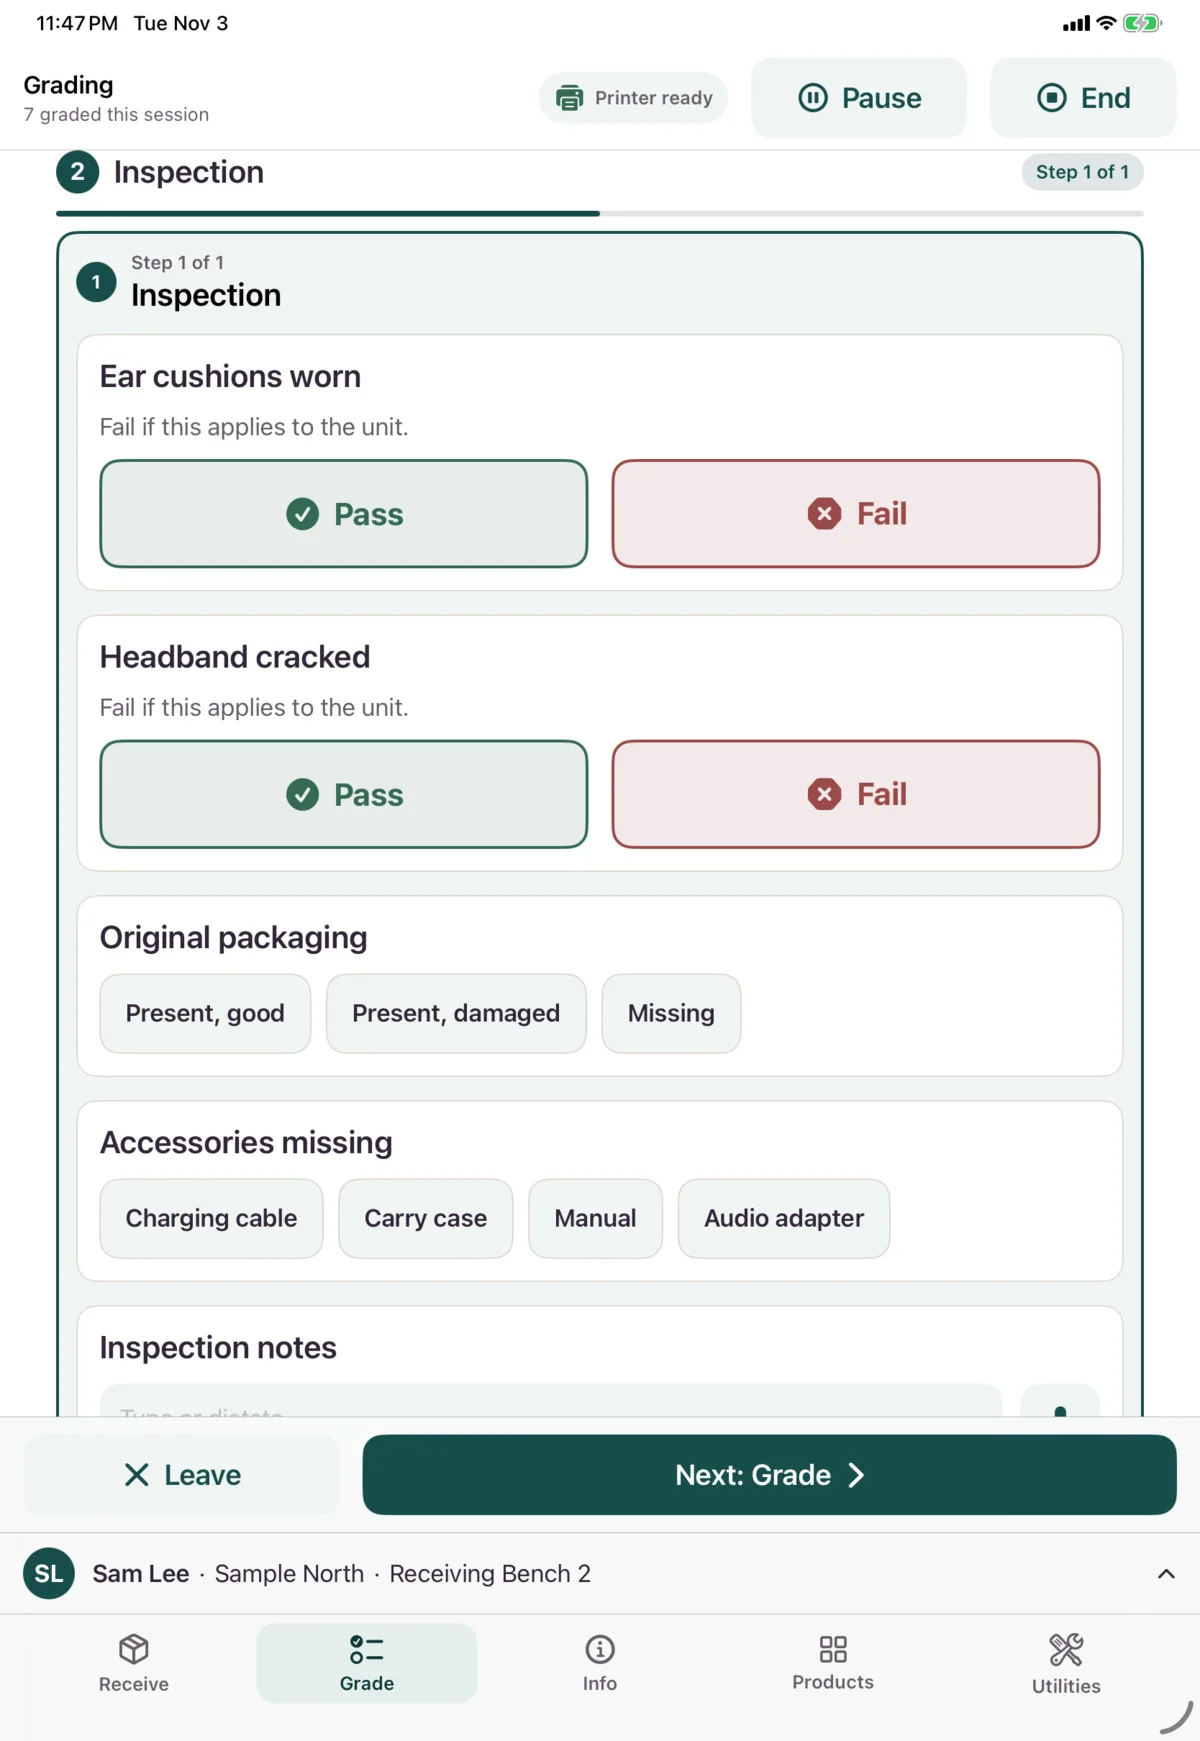
Pass or Fail
Fail means the thing it names applies. For example, a field called “Ear cushions worn” is Fail if they are worn. To clear an answer, tap it again.
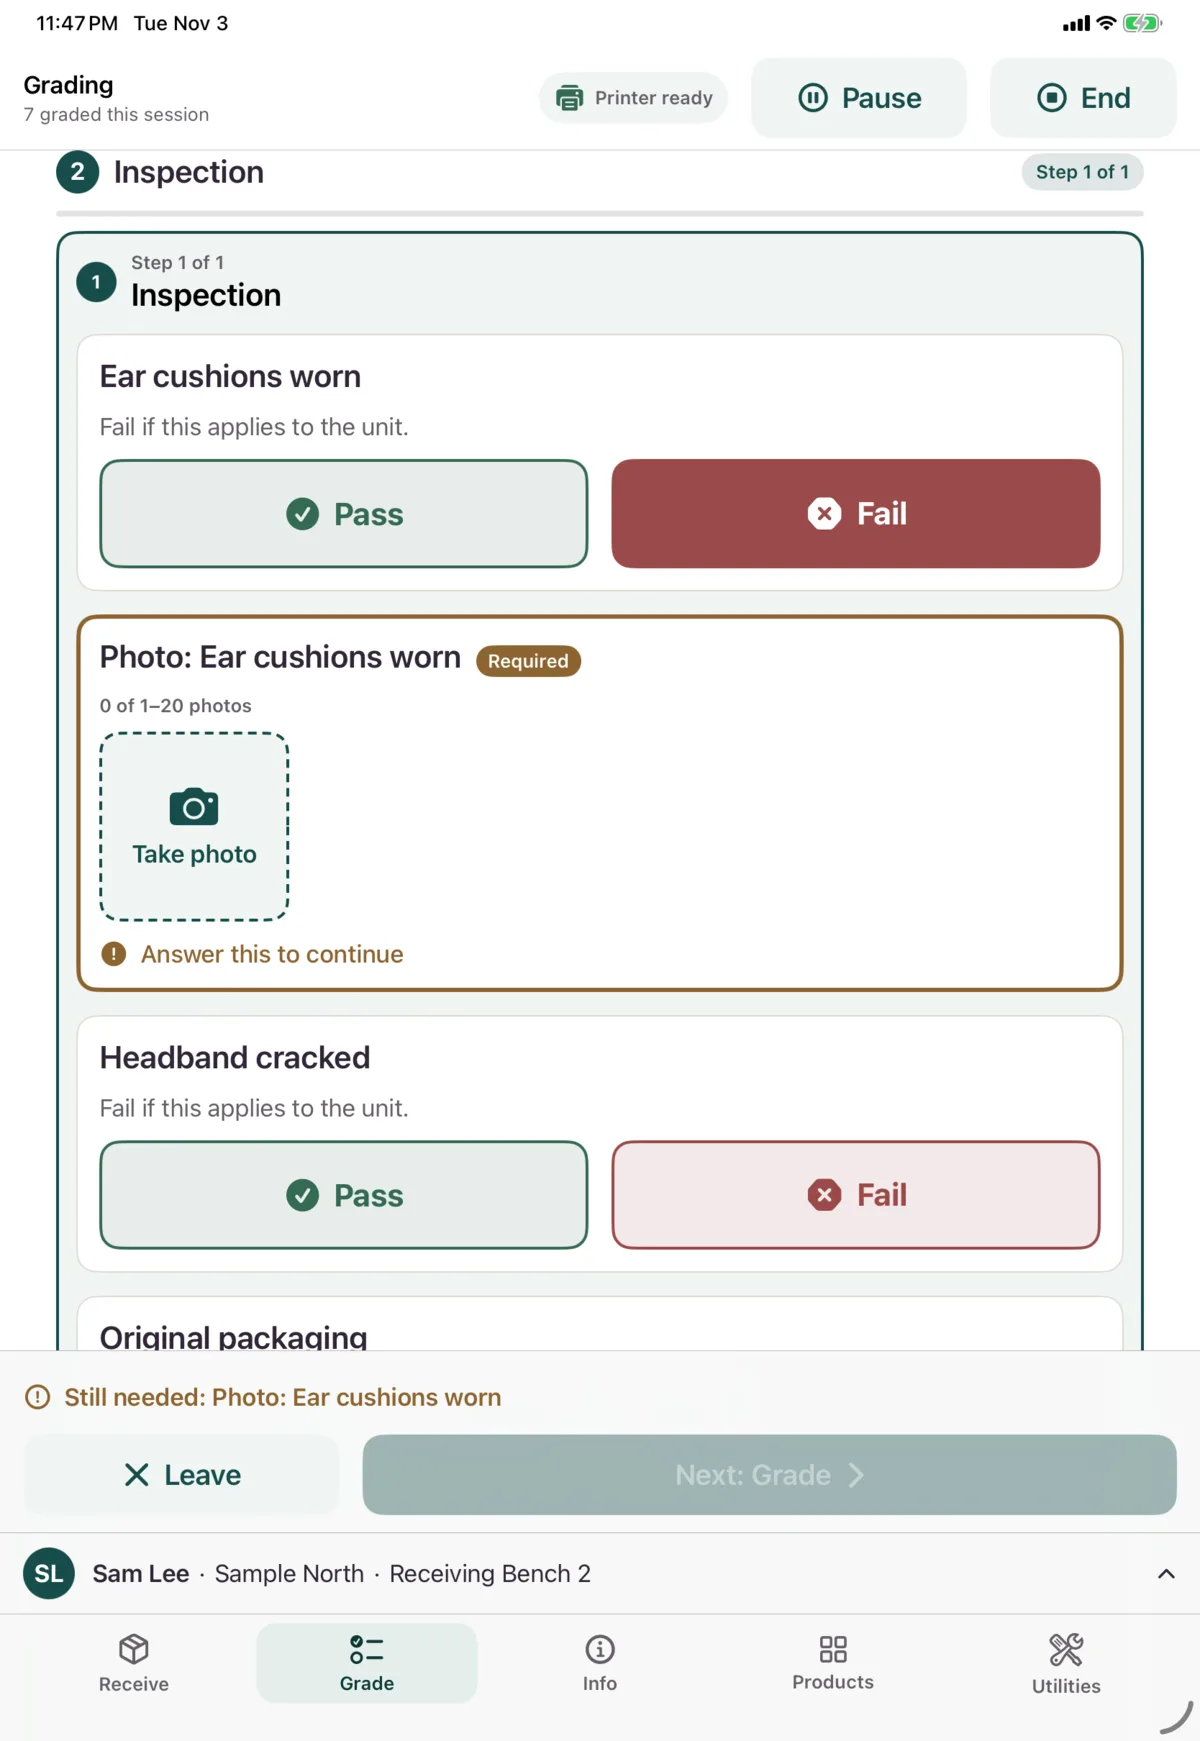
A field may ask for a photo when it’s Fail. That photo is then required, and the bar at the bottom says so.
Other fields
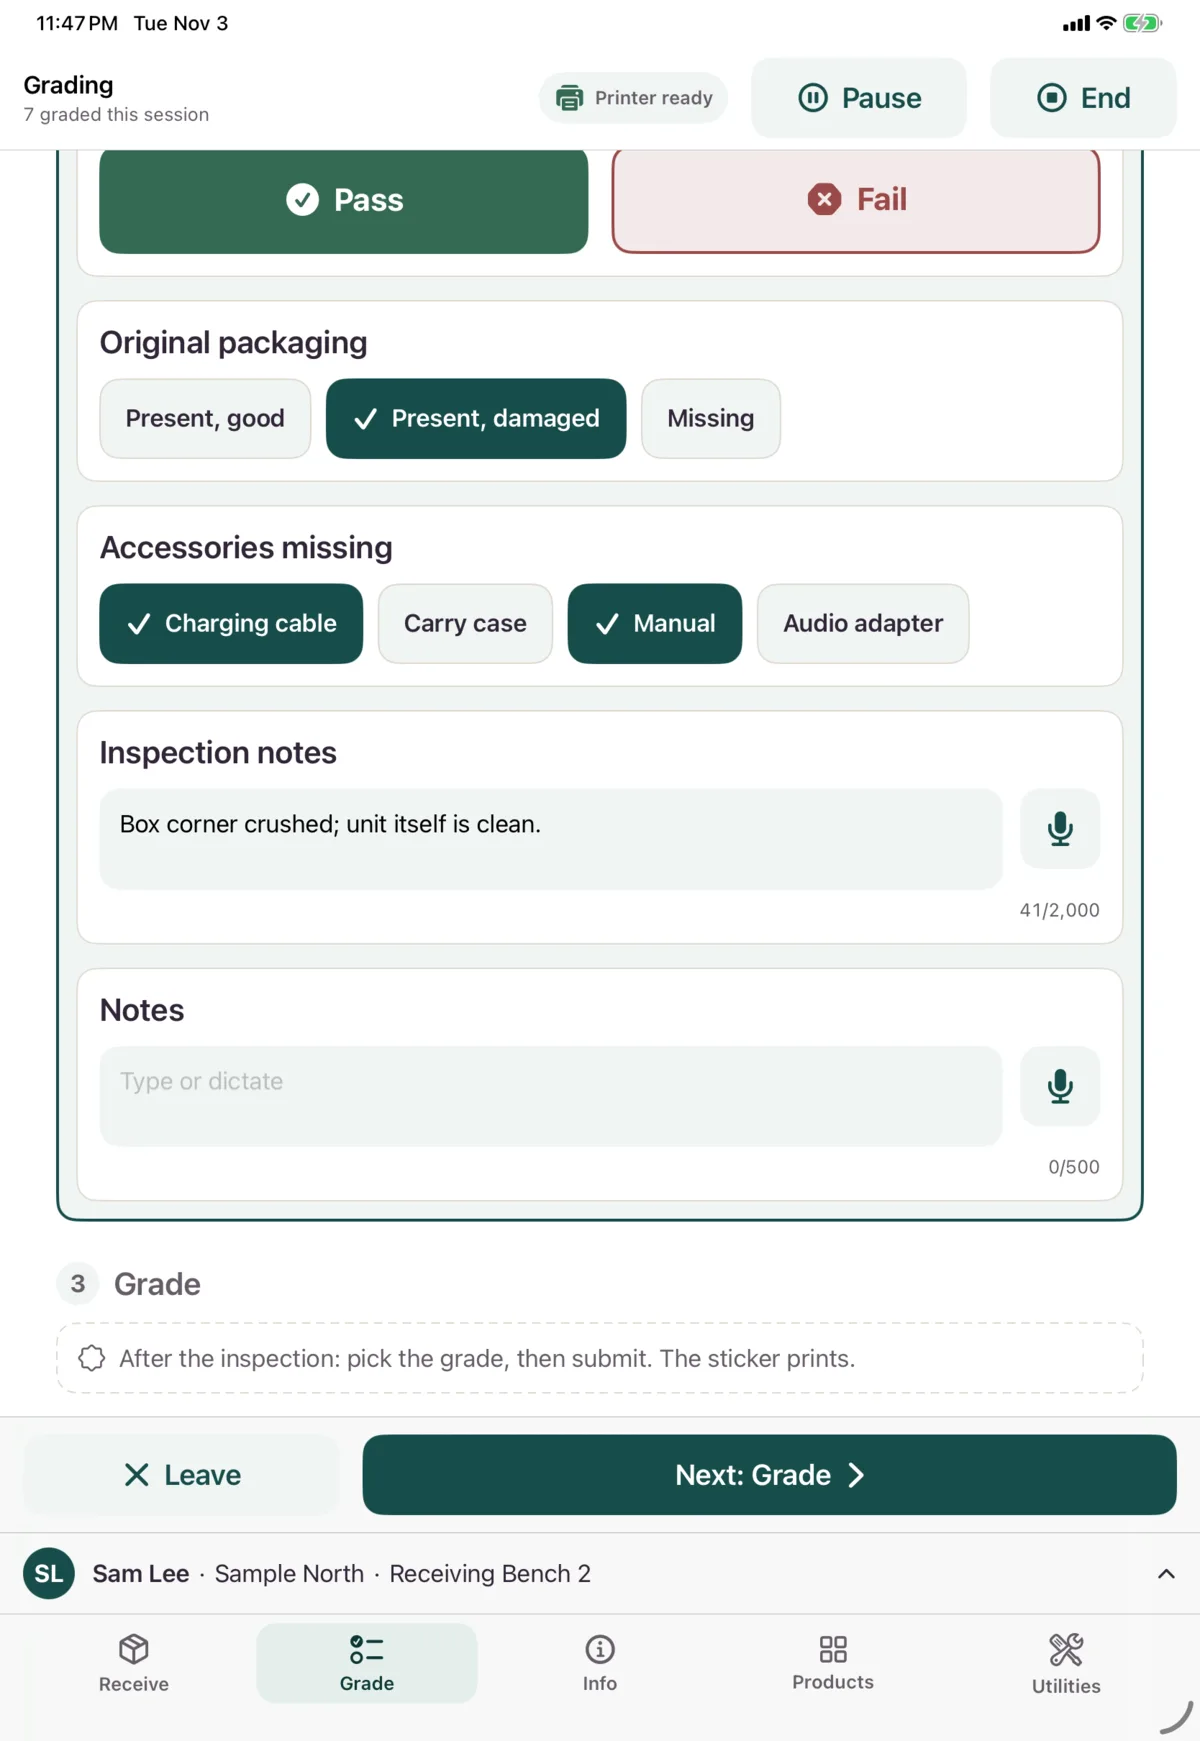
Depending on the product, you may also choose one option, choose several, or type text. To dictate instead of typing, tap the microphone. iOS asks for permission the first time.
Your answers save as you go. To change one, go back to it. If a change hides a field, that field’s answer and photo are dropped.
5. Give the grade
Choose a grade. Nothing is chosen for you, and you can pick any grade listed. Add Notes if you want. Then tap Submit, which shows the grade you chose.
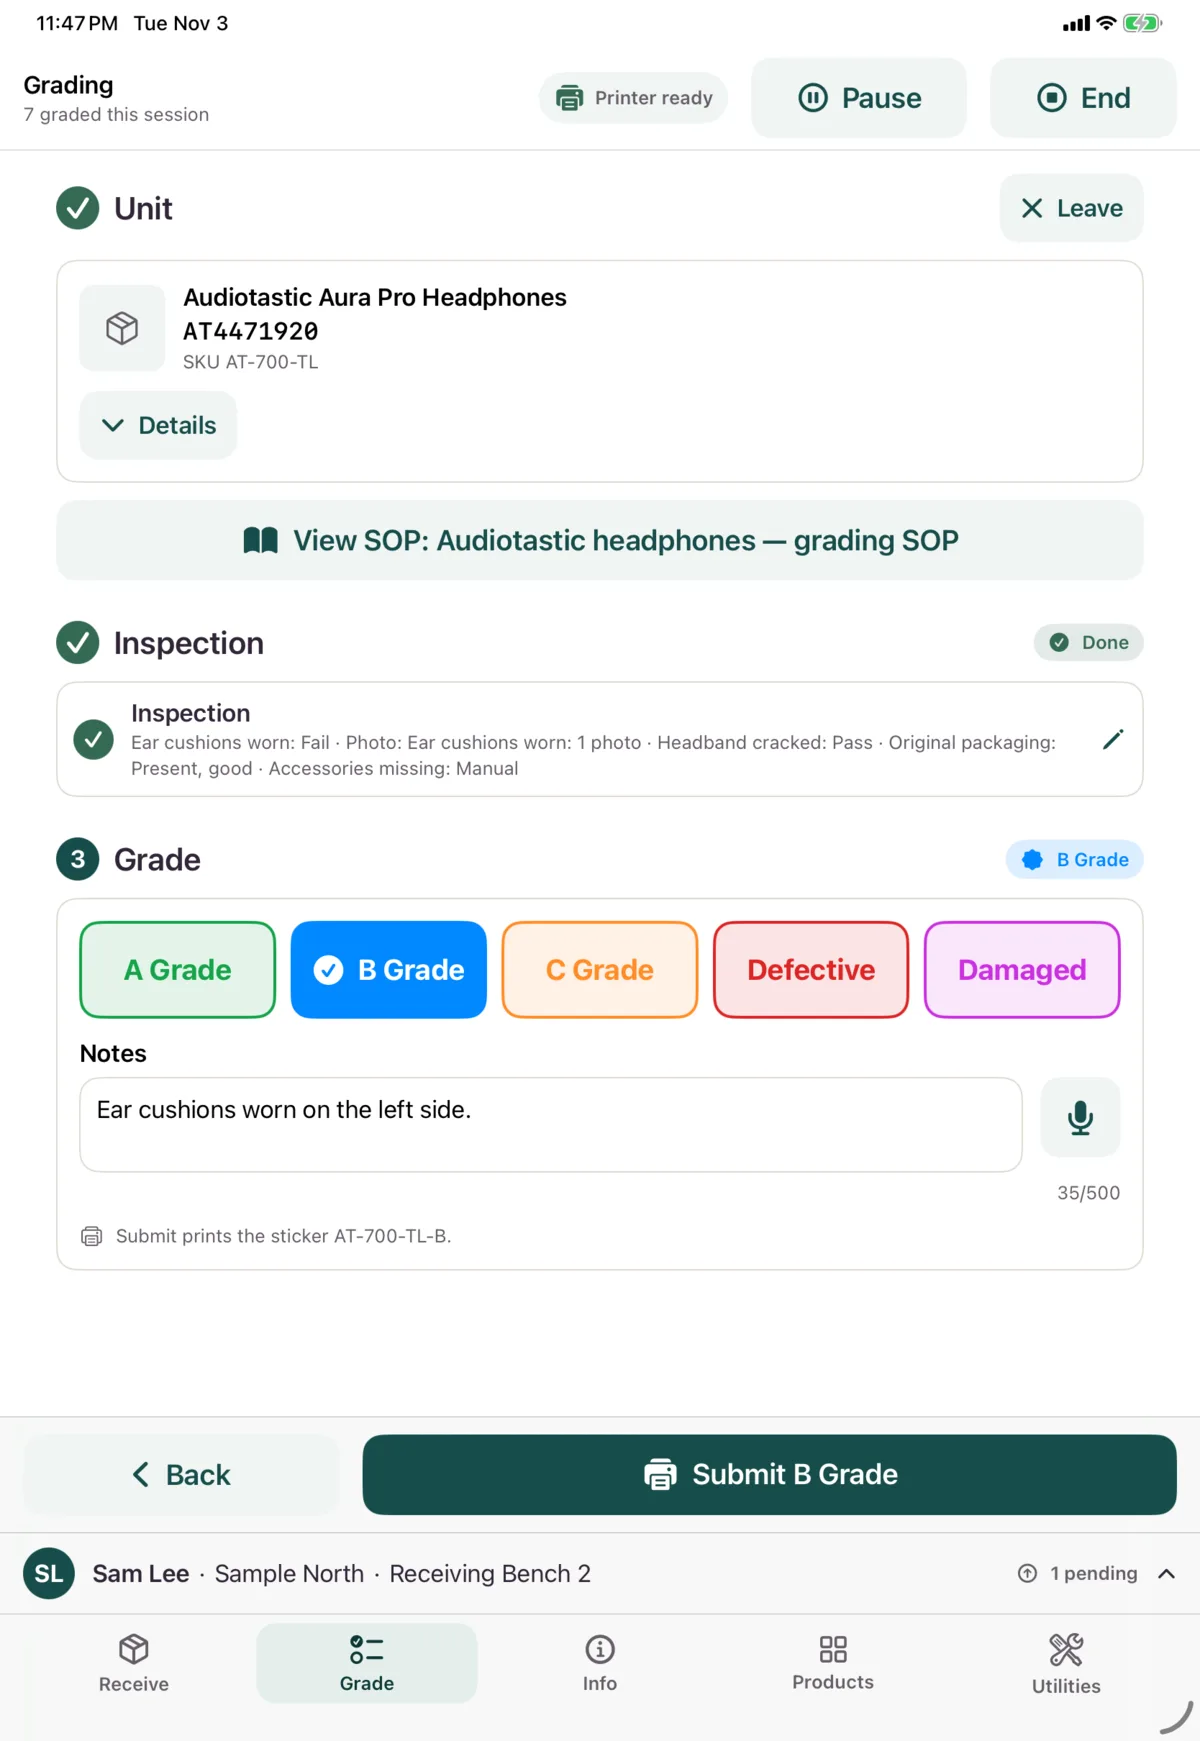
The grade also sets the unit’s location, so there’s nothing else to move in the app.
A product with no grades set up can’t be graded here. You’ll see a message asking an admin to set them up.
6. Grade the next unit
The grade is queued, and it sends even if the Wi-Fi drops. The sticker prints straight away. Tap Grade next unit, or scan the next unit with a barcode scanner.
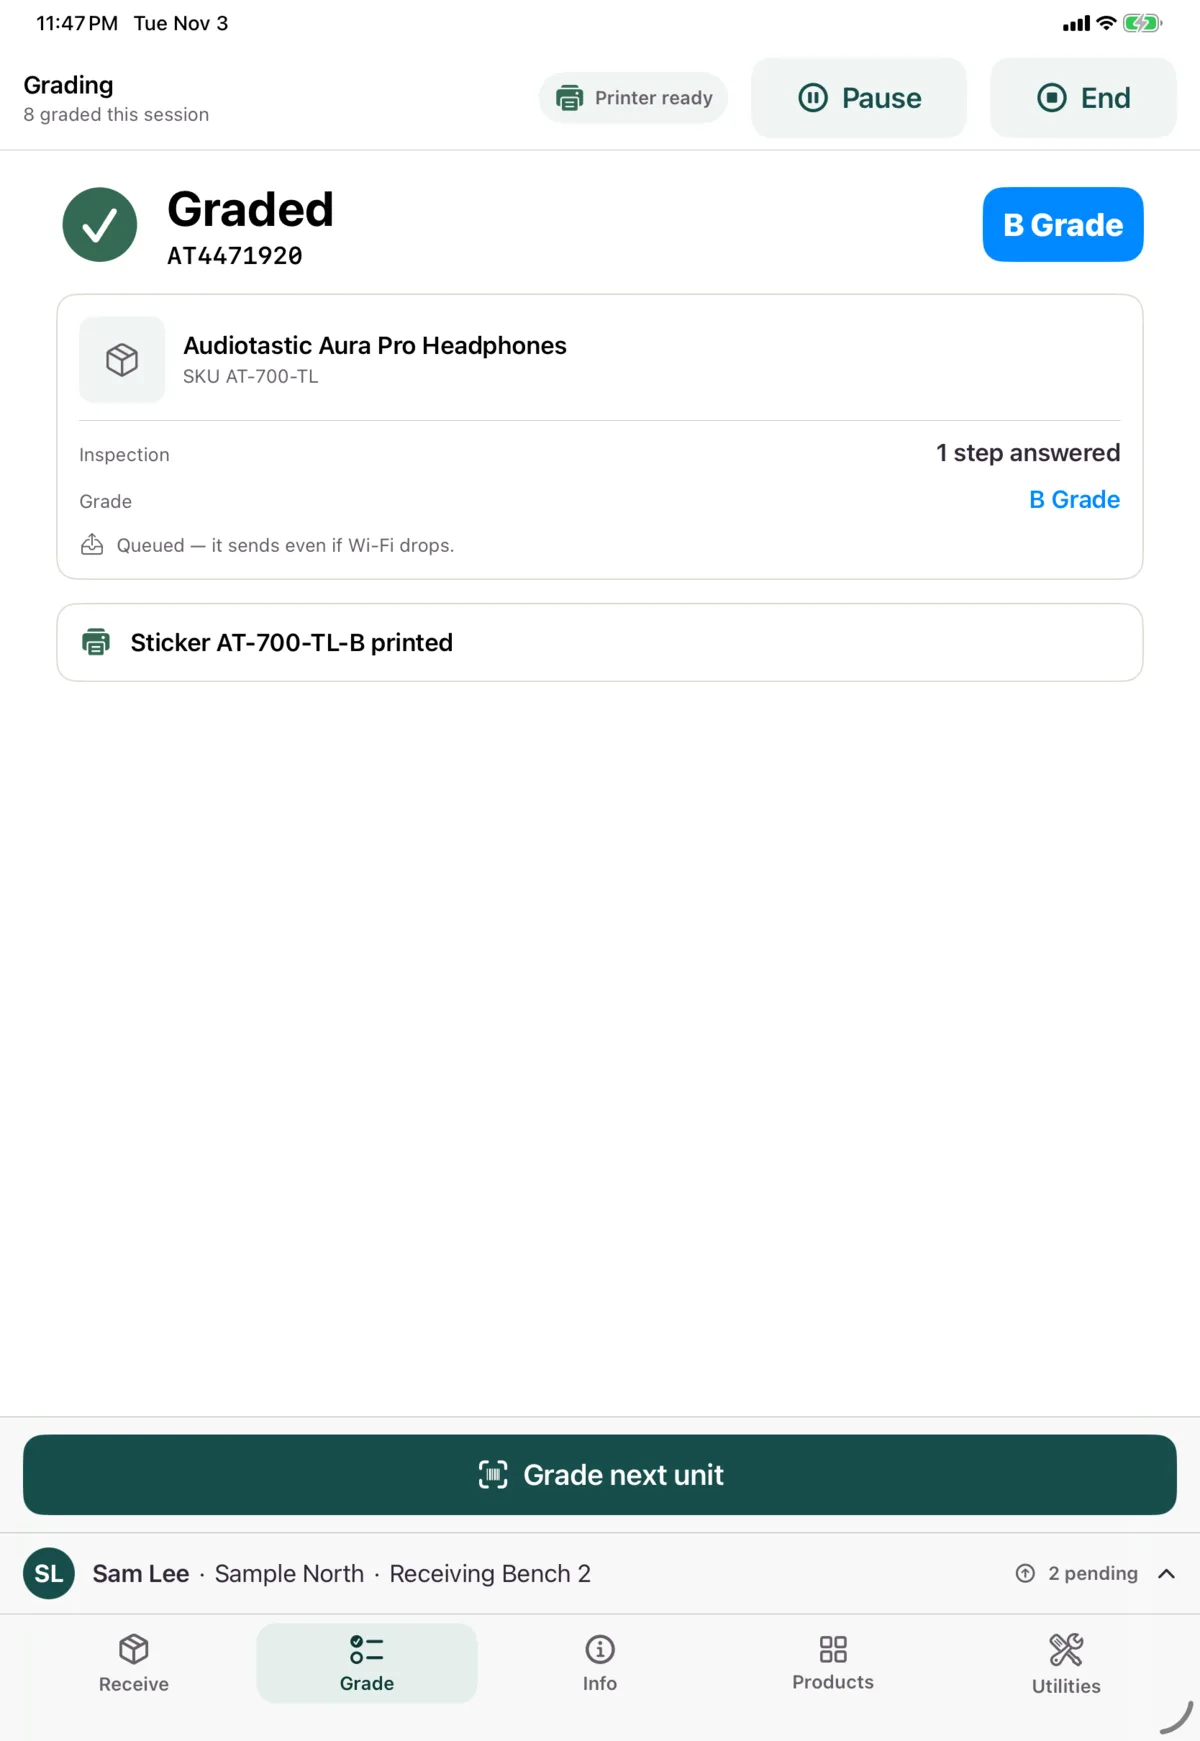
See Stickers and refused grades if a sticker doesn’t print.
Your last few graded units are listed under the scan box, each with its status and Reprint.
Next: Notes, recalls and SOPs