
Receive a package
Receiving works one package at a time. You photograph its label, open the return it belongs to, and record each unit inside.
1. Start a session
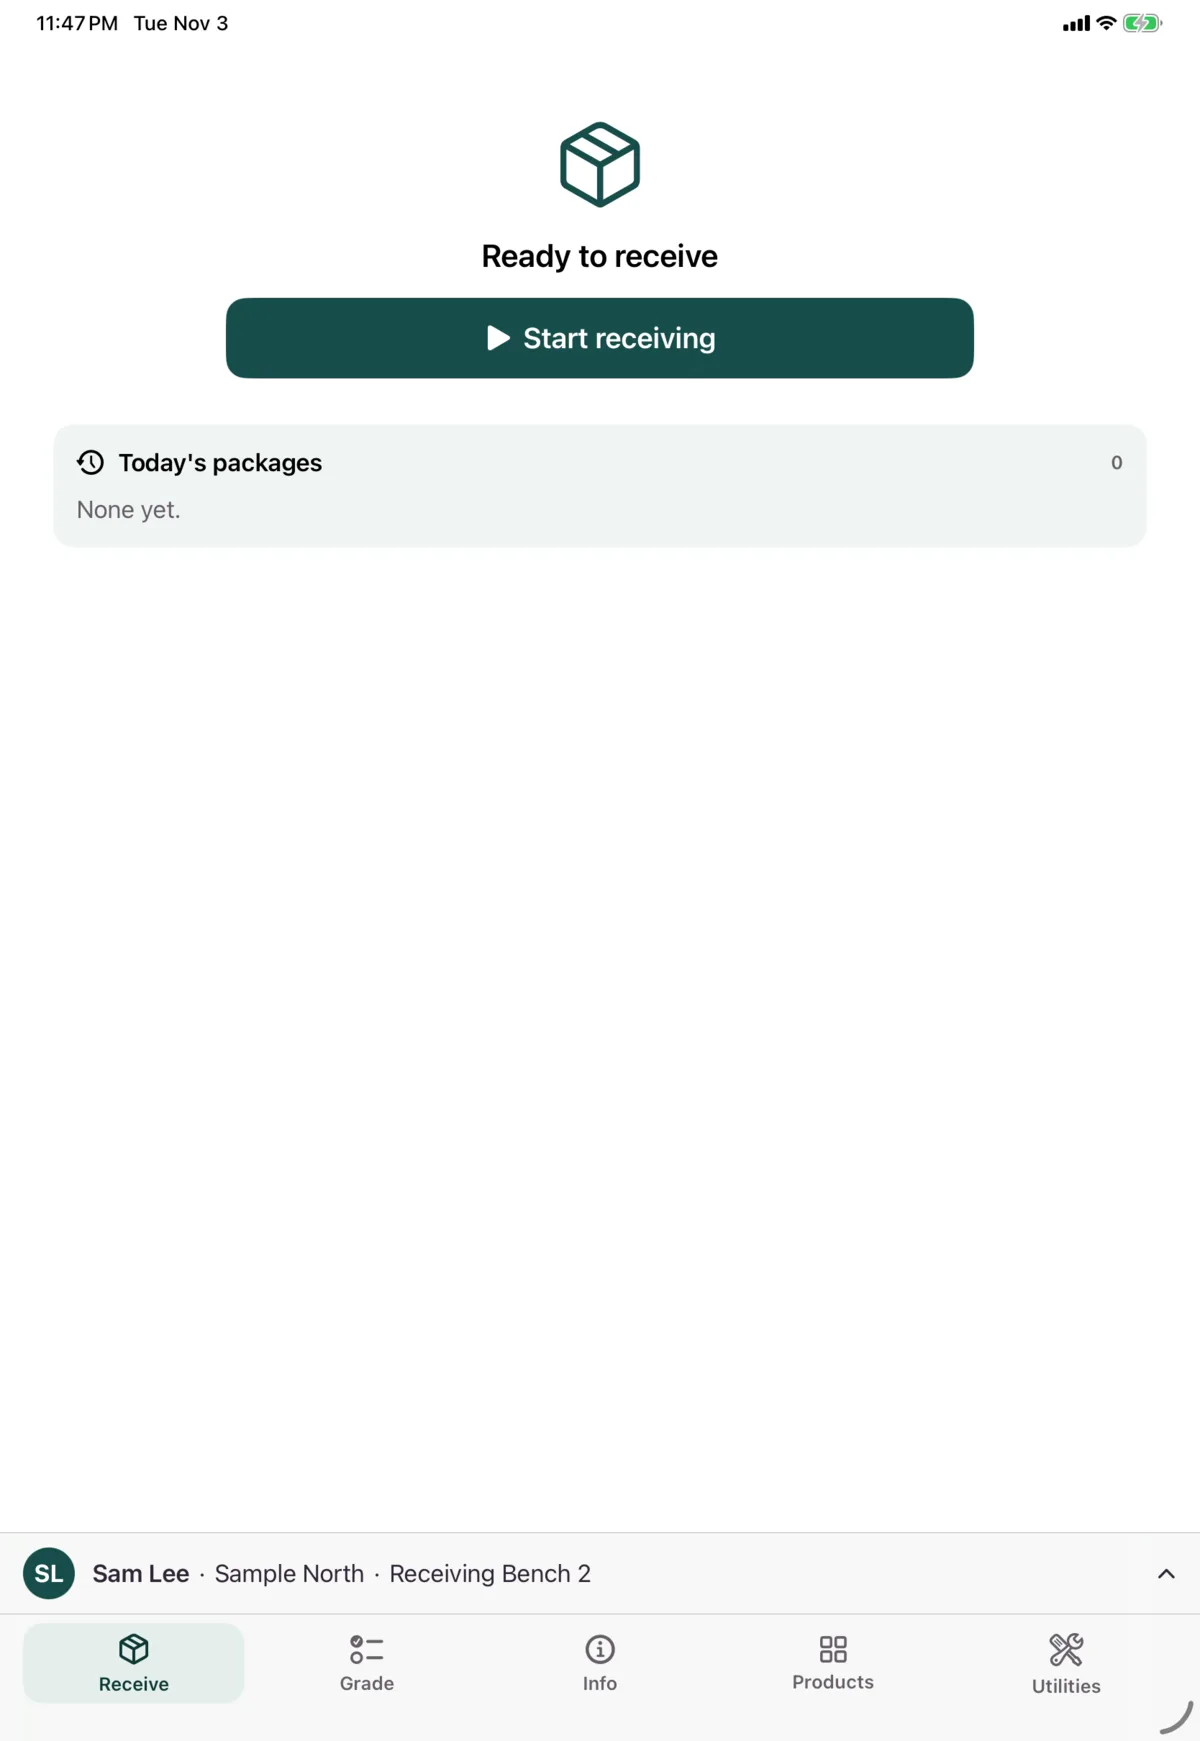
Open the Receive tab and tap Start receiving. If you already have a session running, it carries on.
The session bar shows when you started, how long you’ve been receiving, and how many units you’ve received.
Pause or end
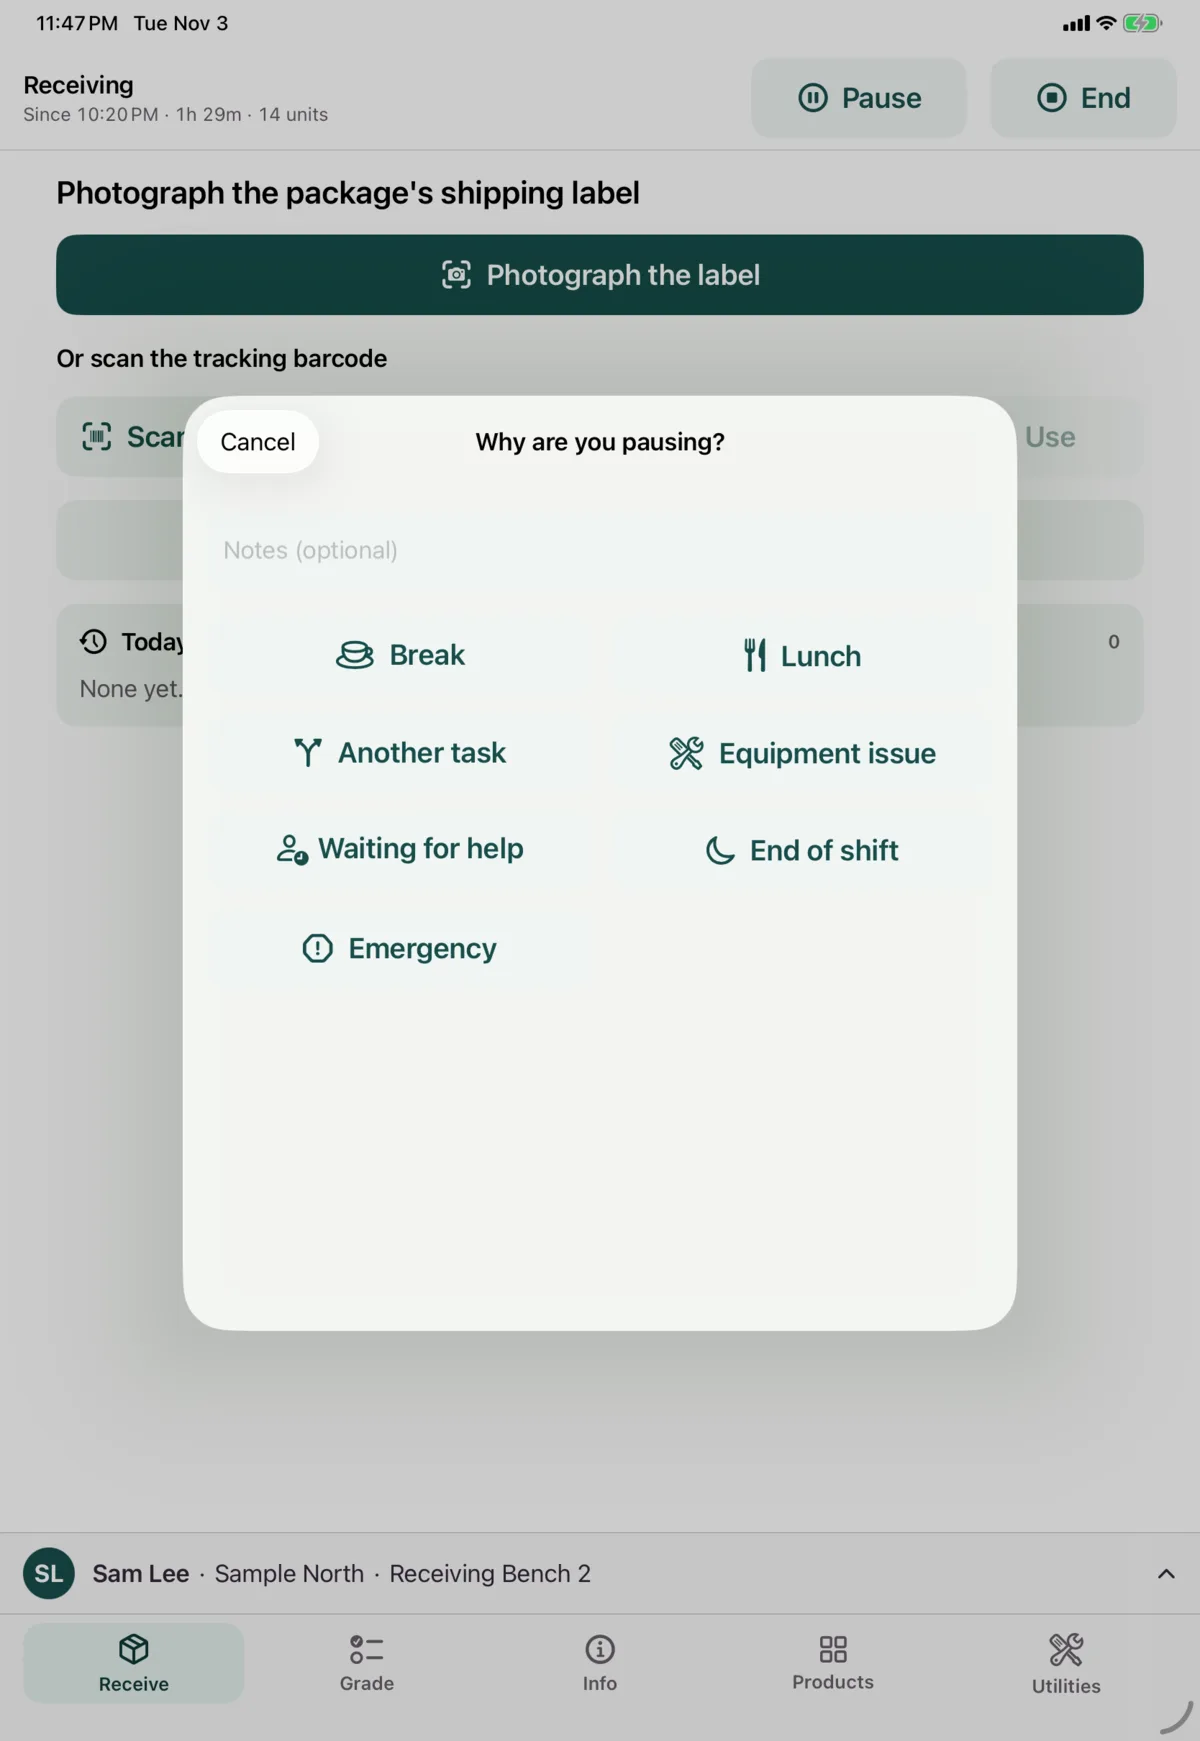
- Pause asks why, then pauses straight away: Break, Lunch, Another task, Equipment issue, Waiting for help, End of shift or Emergency. Tap Resume receiving to carry on.
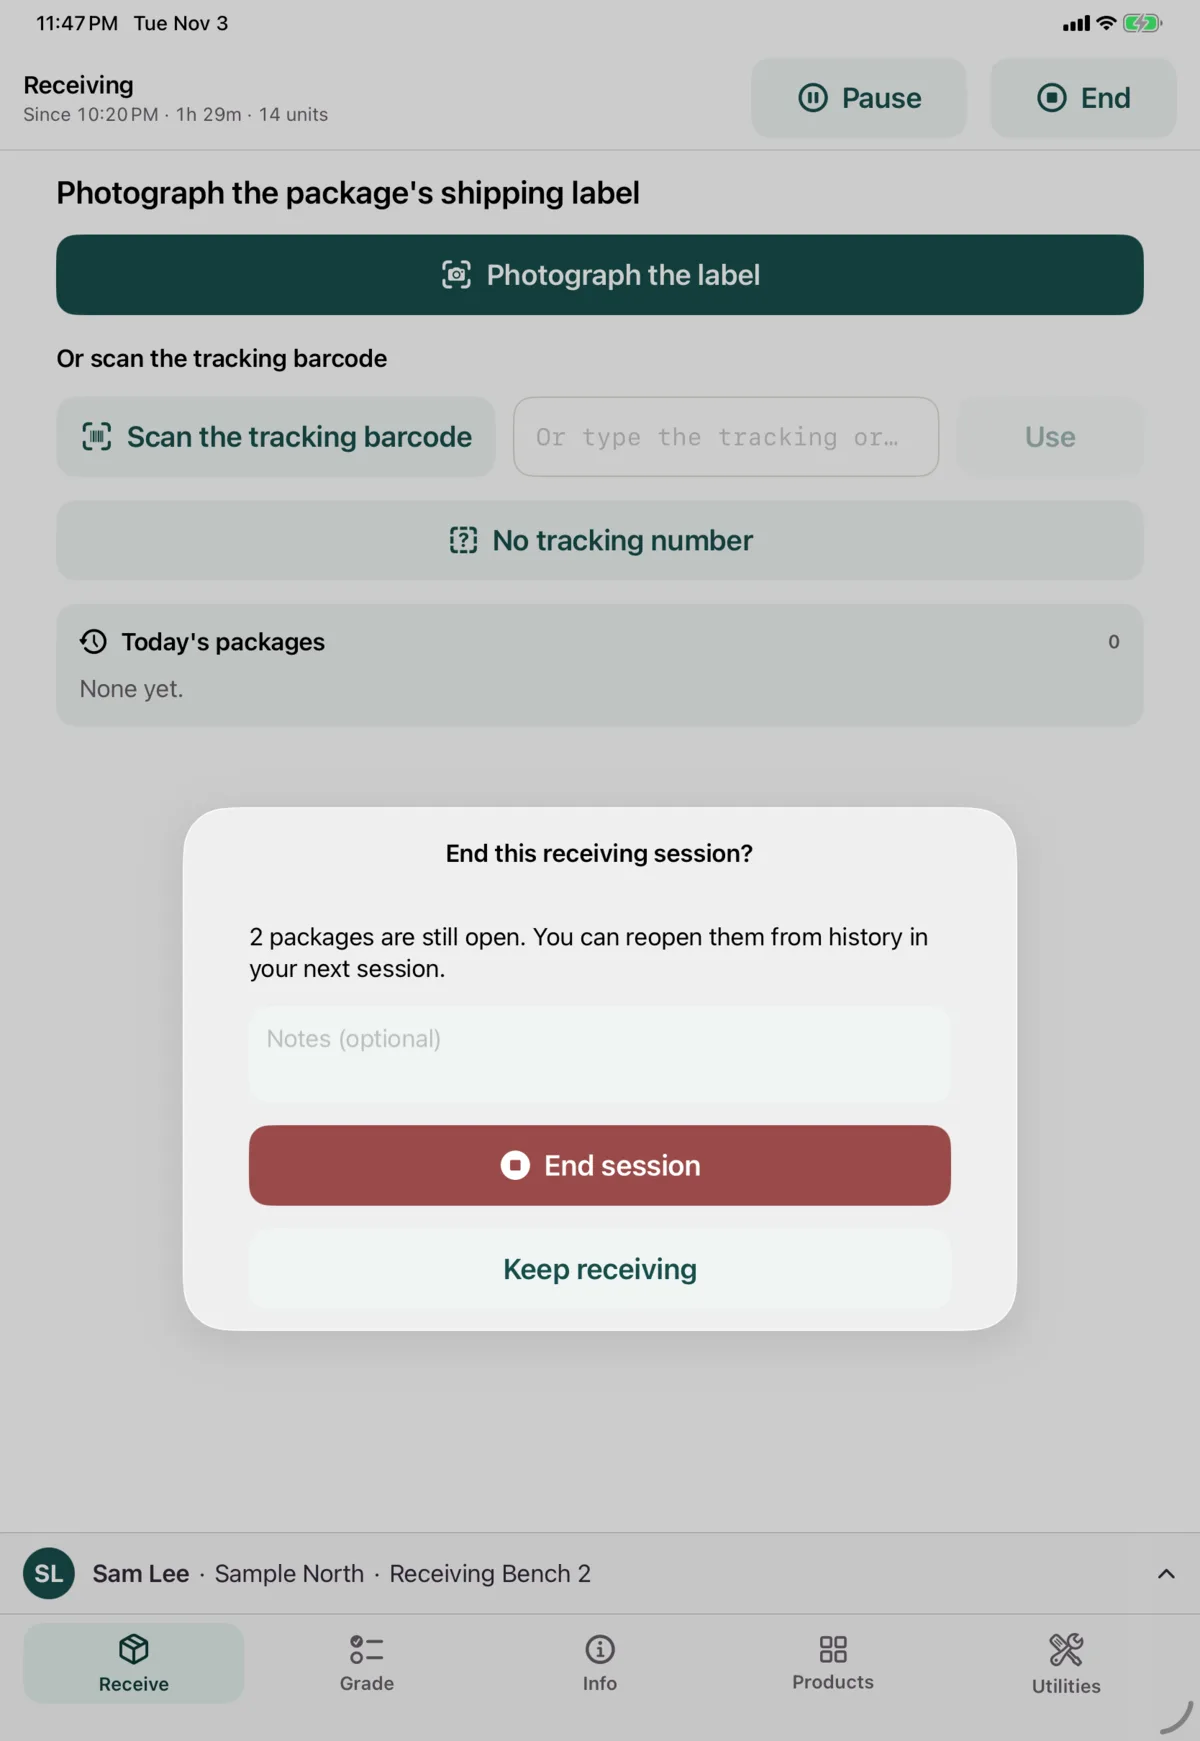
- End closes the session and shows what you received. A package that’s still open can be reopened in your next session.
Both need a connection. If work is still sending, you’ll be asked to wait until it’s sent.
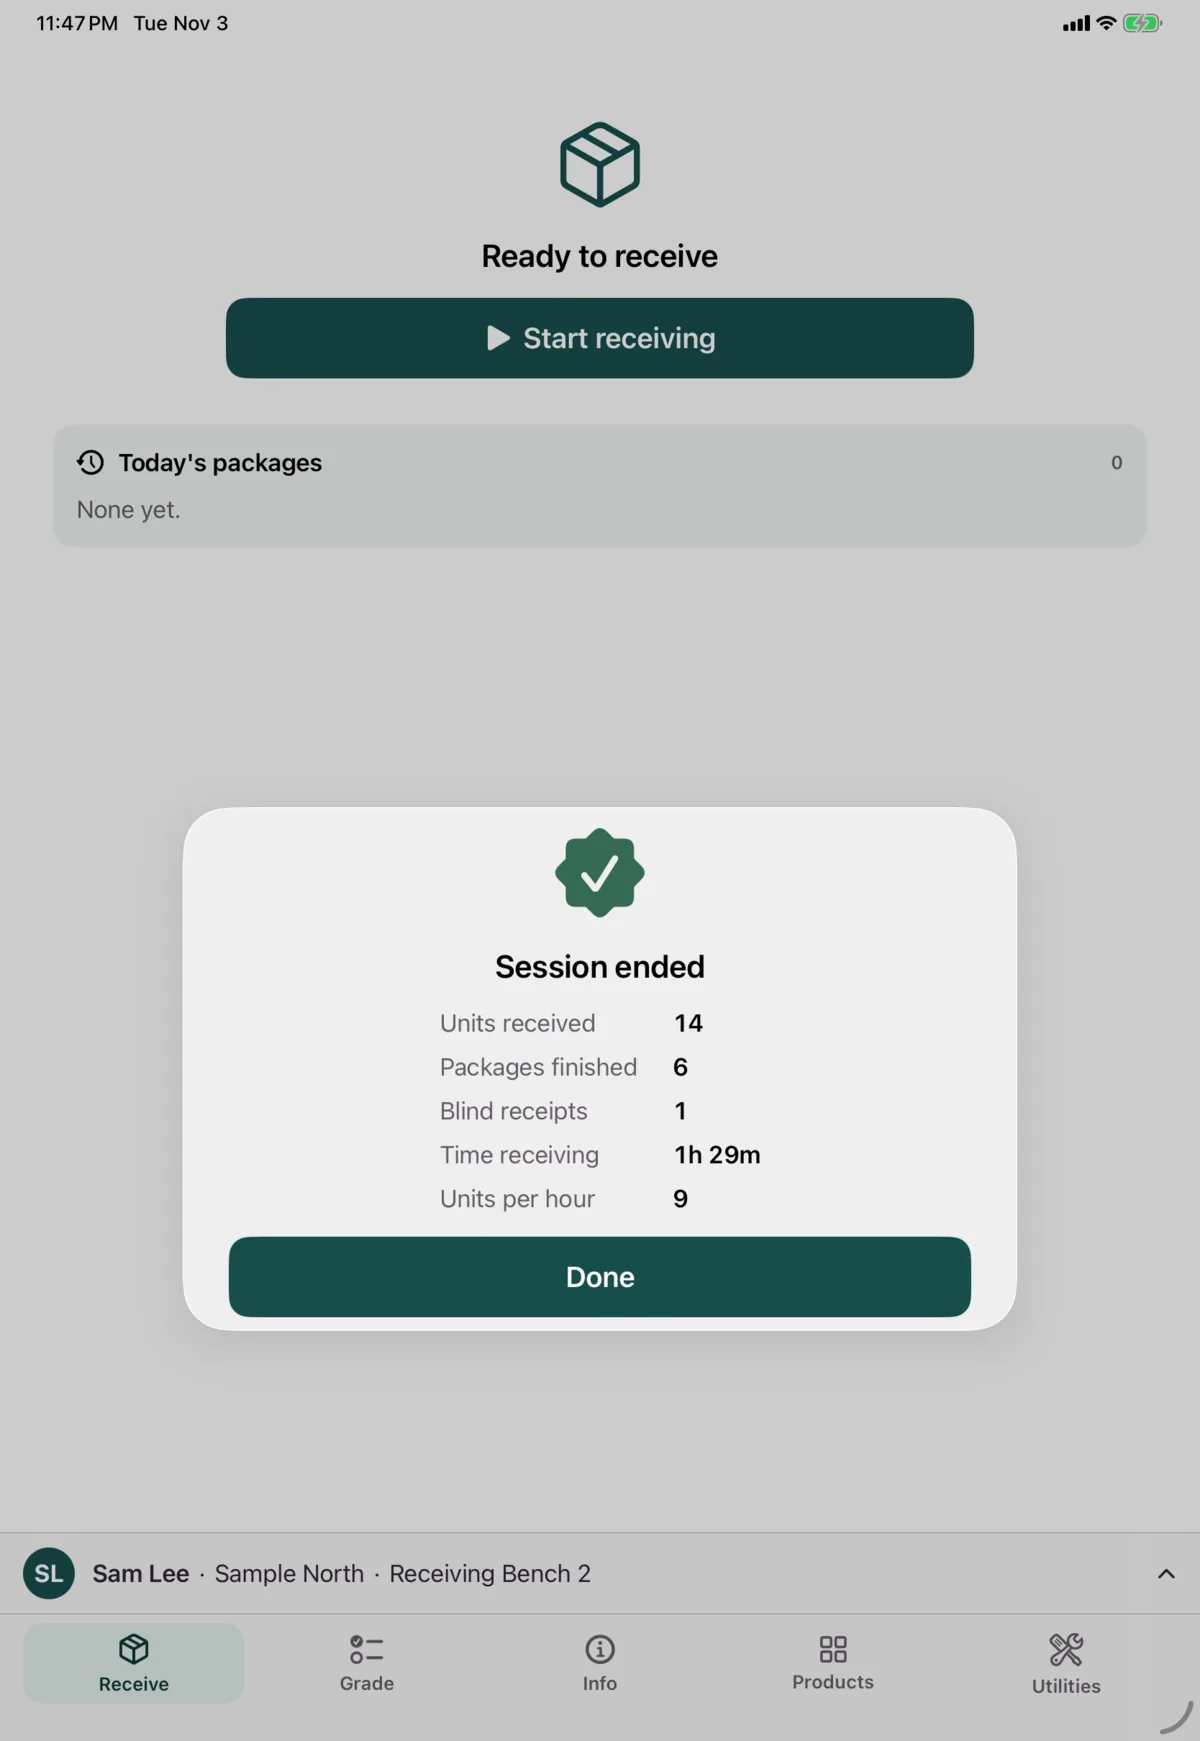
A session that received nothing isn’t kept.
2. Photograph the shipping label
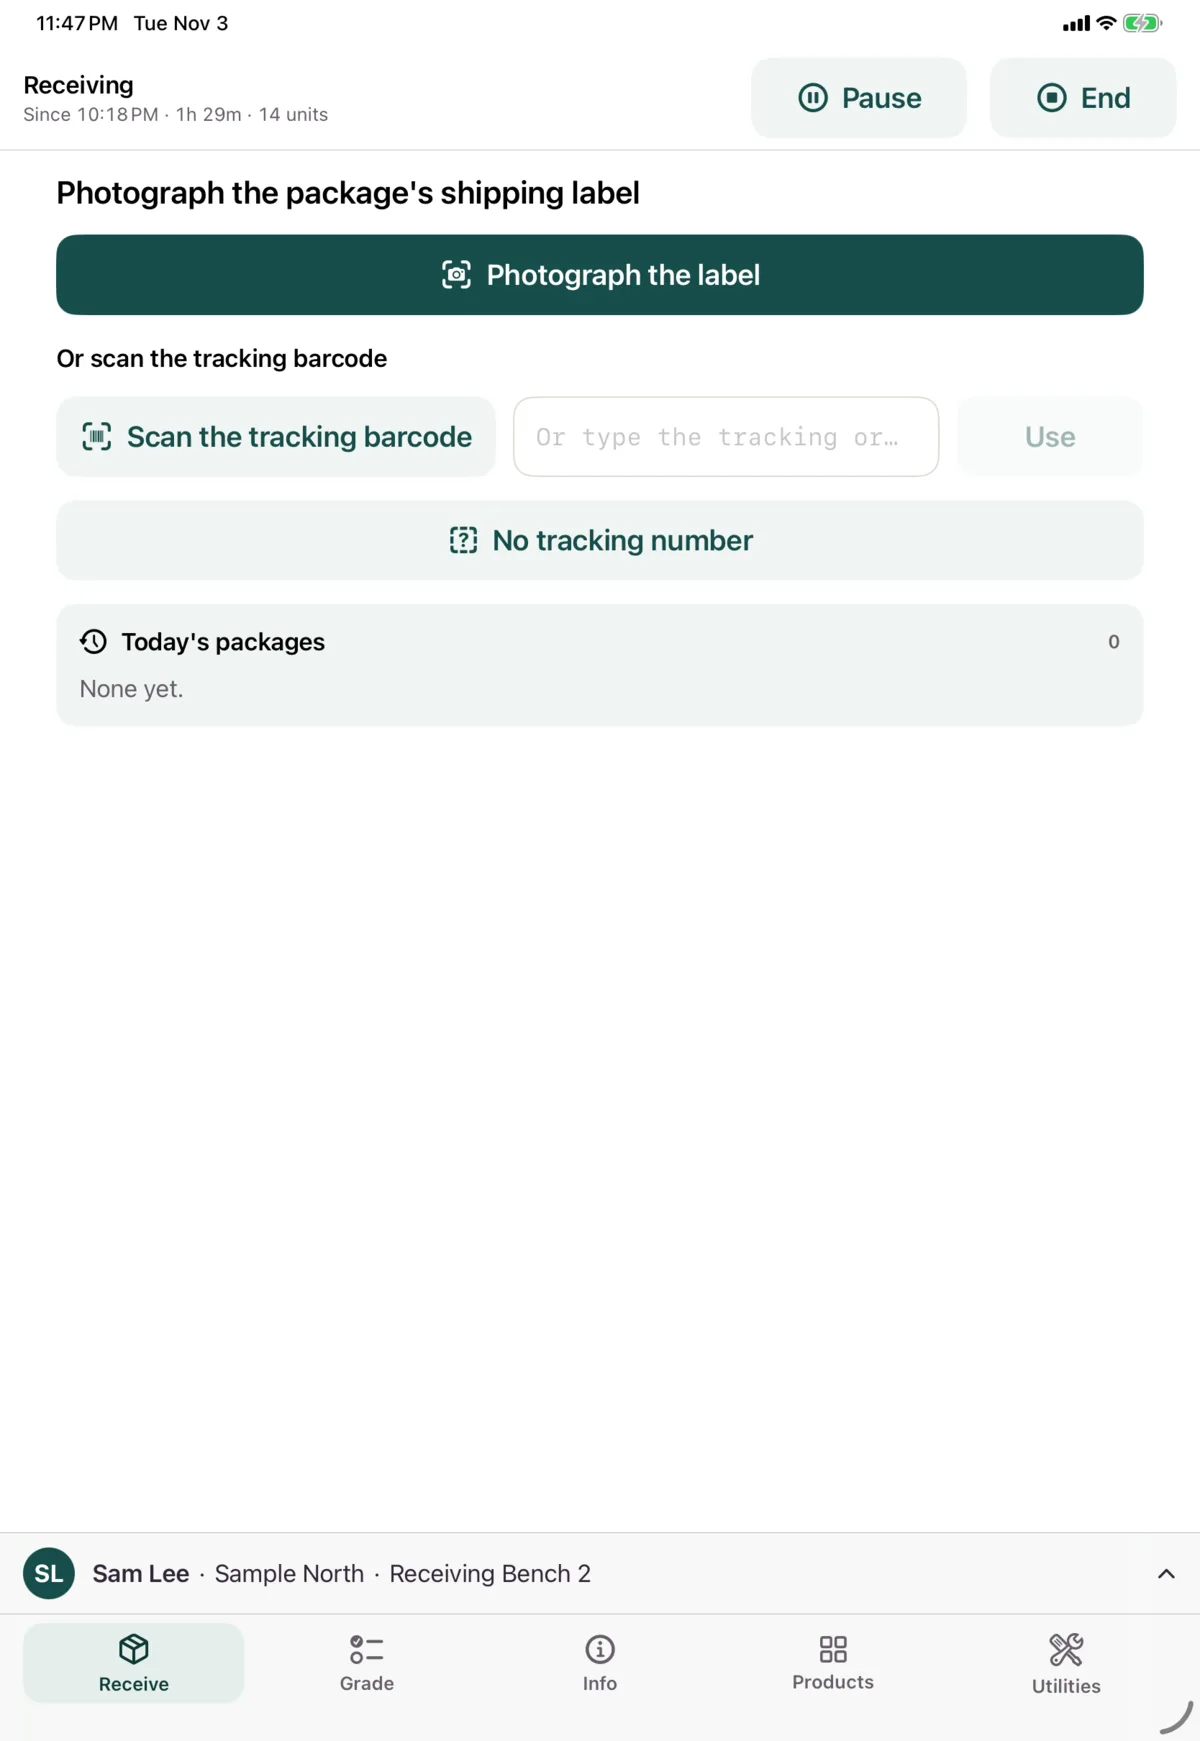
Tap Photograph the label and take a photo of the whole label. Nok Snap reads the tracking number from the photo, and keeps the photo with the package.
You have other options if you need them:
- Scan the tracking barcode opens the camera’s scanner.
- Or type the tracking or RMA number, then tap Use.
- A barcode scanner works here without tapping anything.
- No tracking number starts a blind receipt.
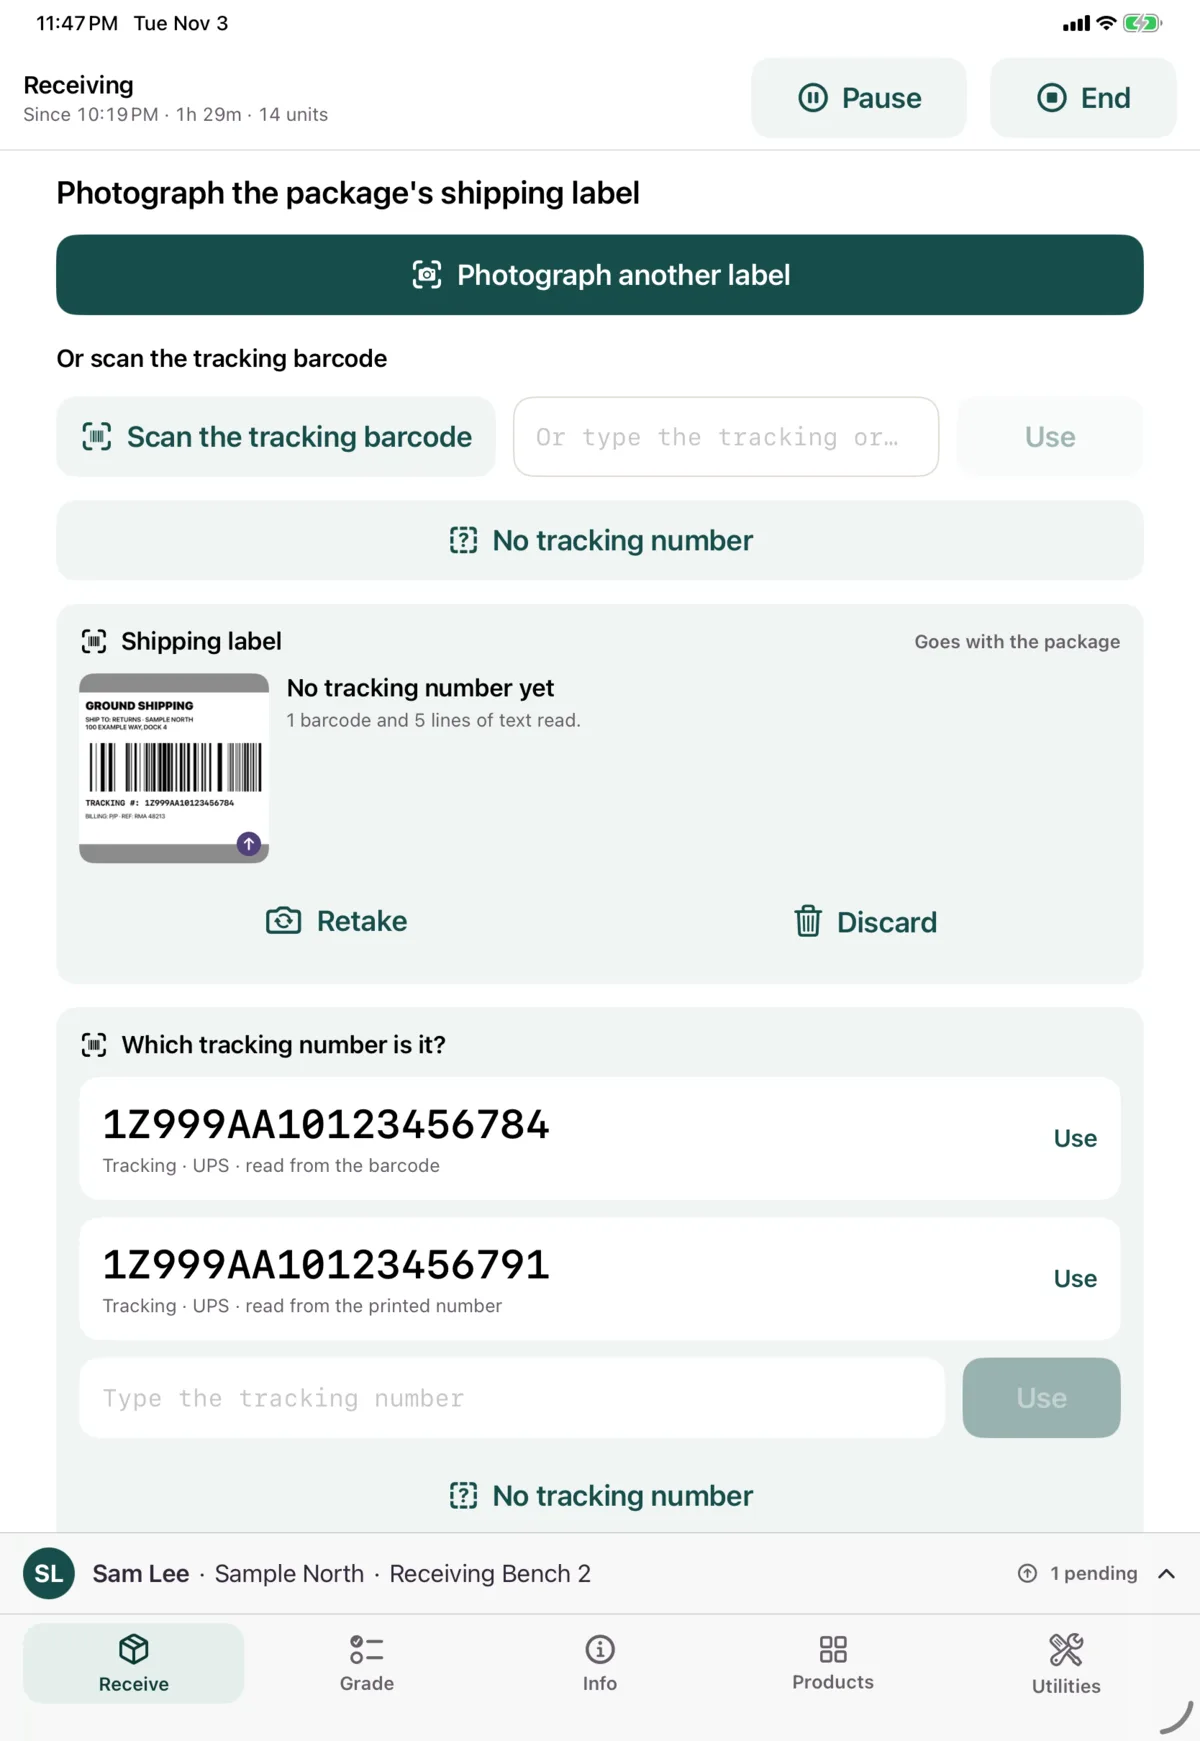
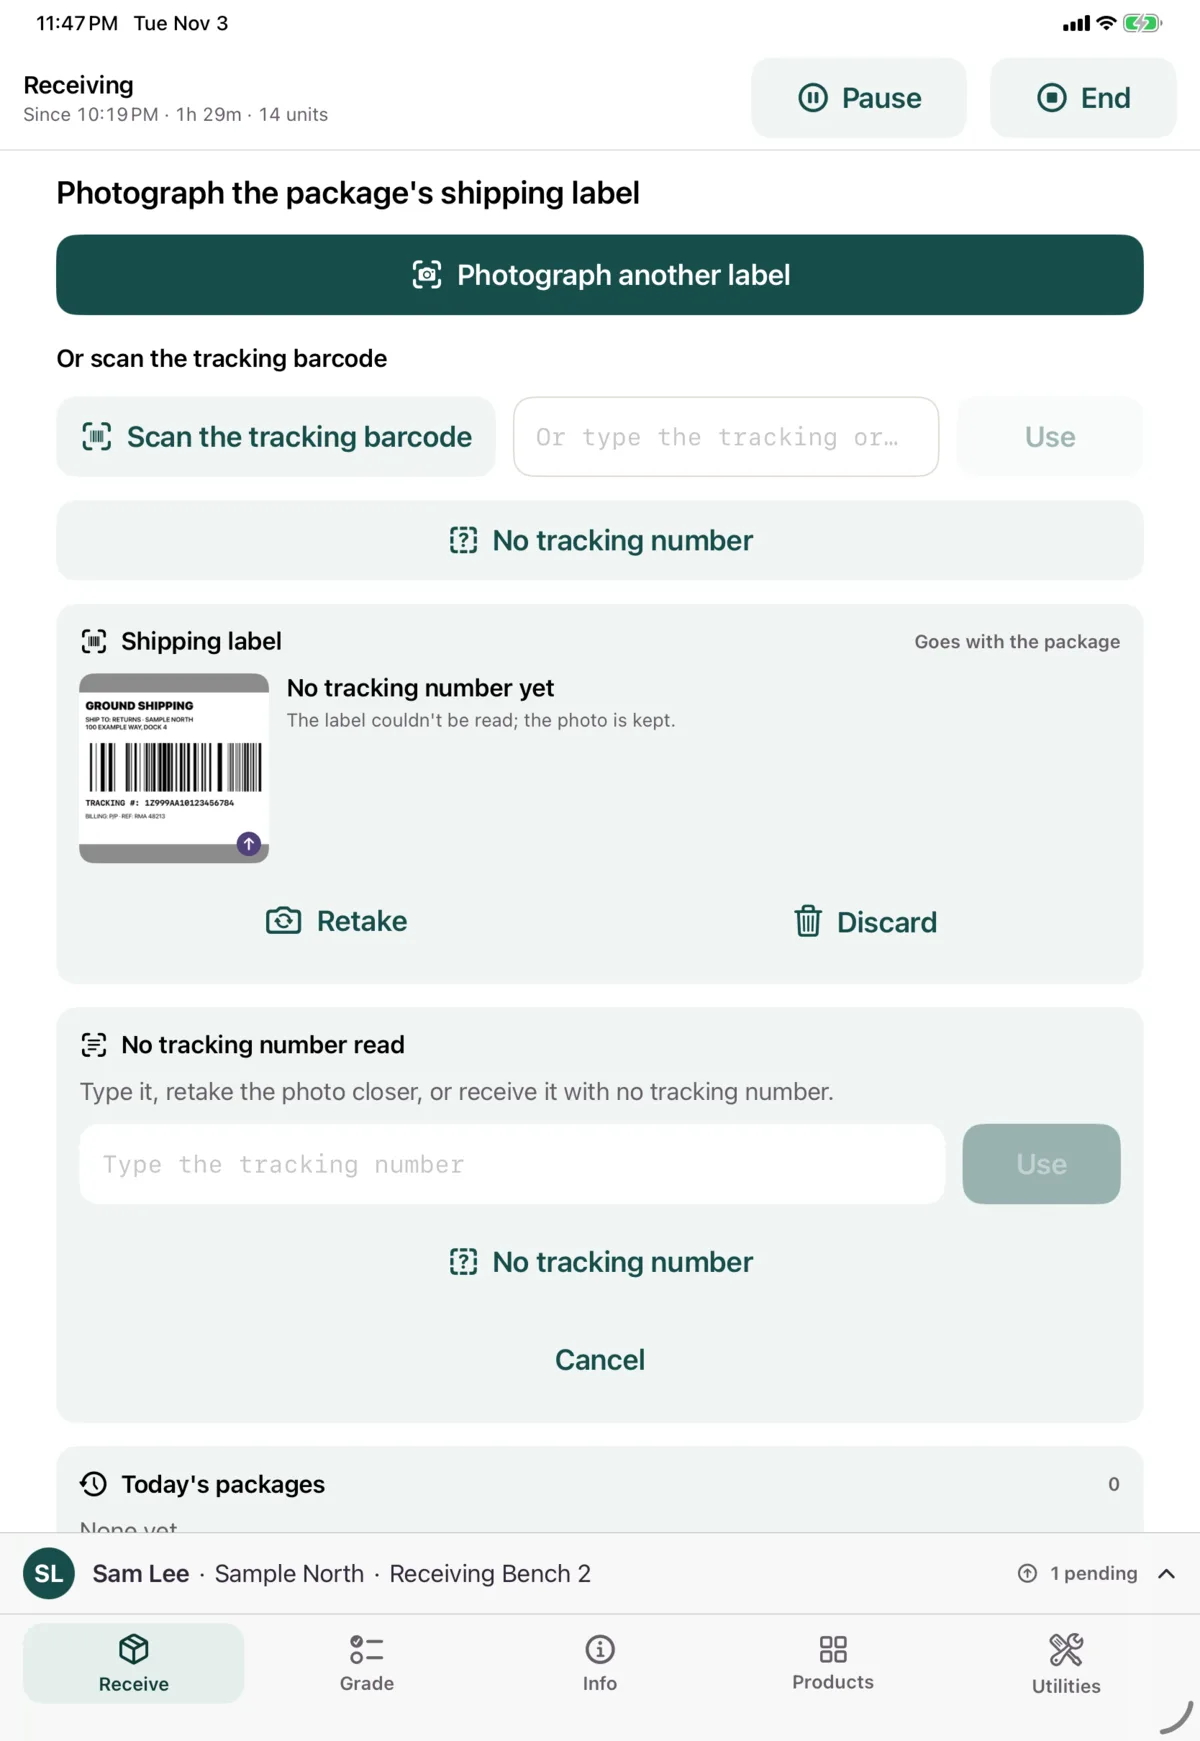
If the label is hard to read, Nok Snap asks you to choose:
- Which tracking number is it? Tap Use on the right one.
- No tracking number read. Type it, tap Retake for a closer photo, or tap No tracking number.
3. Open the return
Nok Snap searches for the return. Searching needs a connection. If it finds an exact match, the package opens straight away. Otherwise, you’ll see one of these:
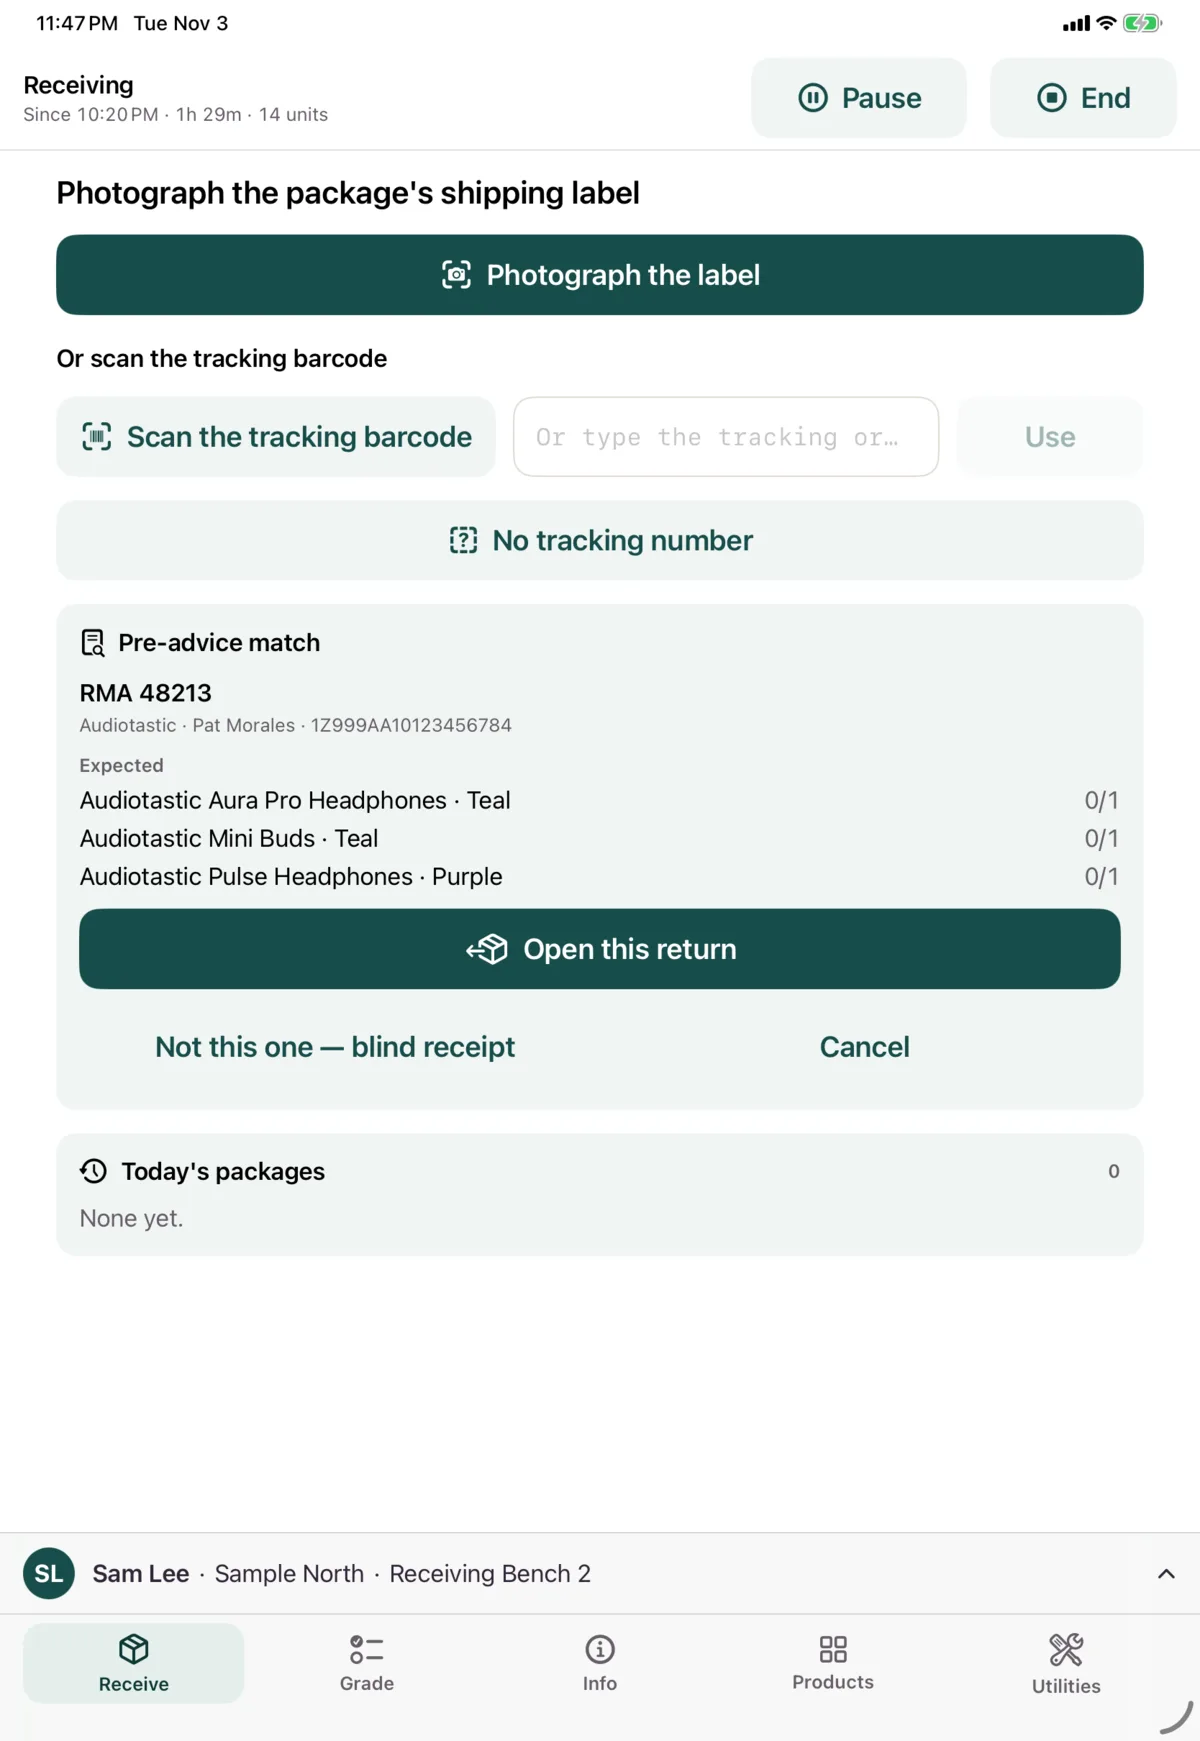
Pre-advice match
The package matches advance notice of a return. Check the expected items and tap Open this return. If it’s wrong, tap Not this one — blind receipt.
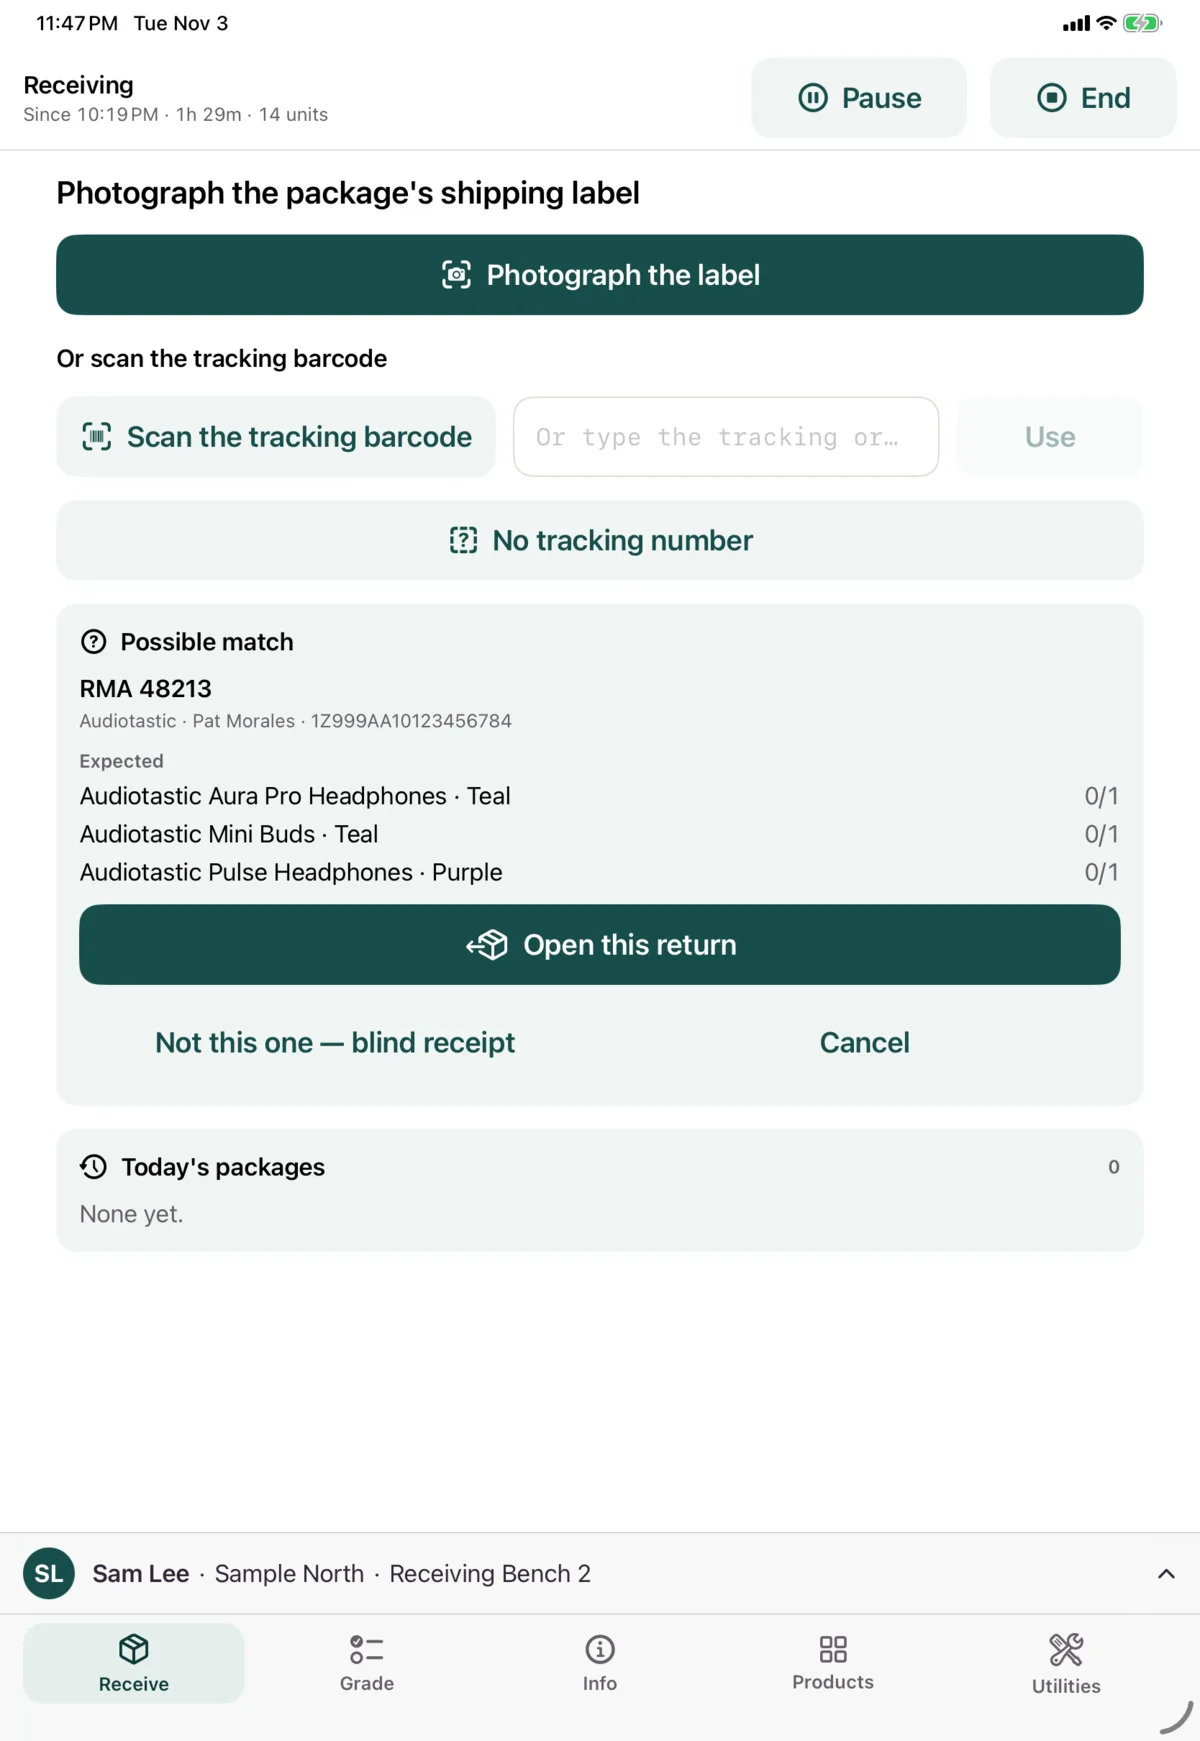
Possible match
A close match. Check it the same way, then tap Open this return.
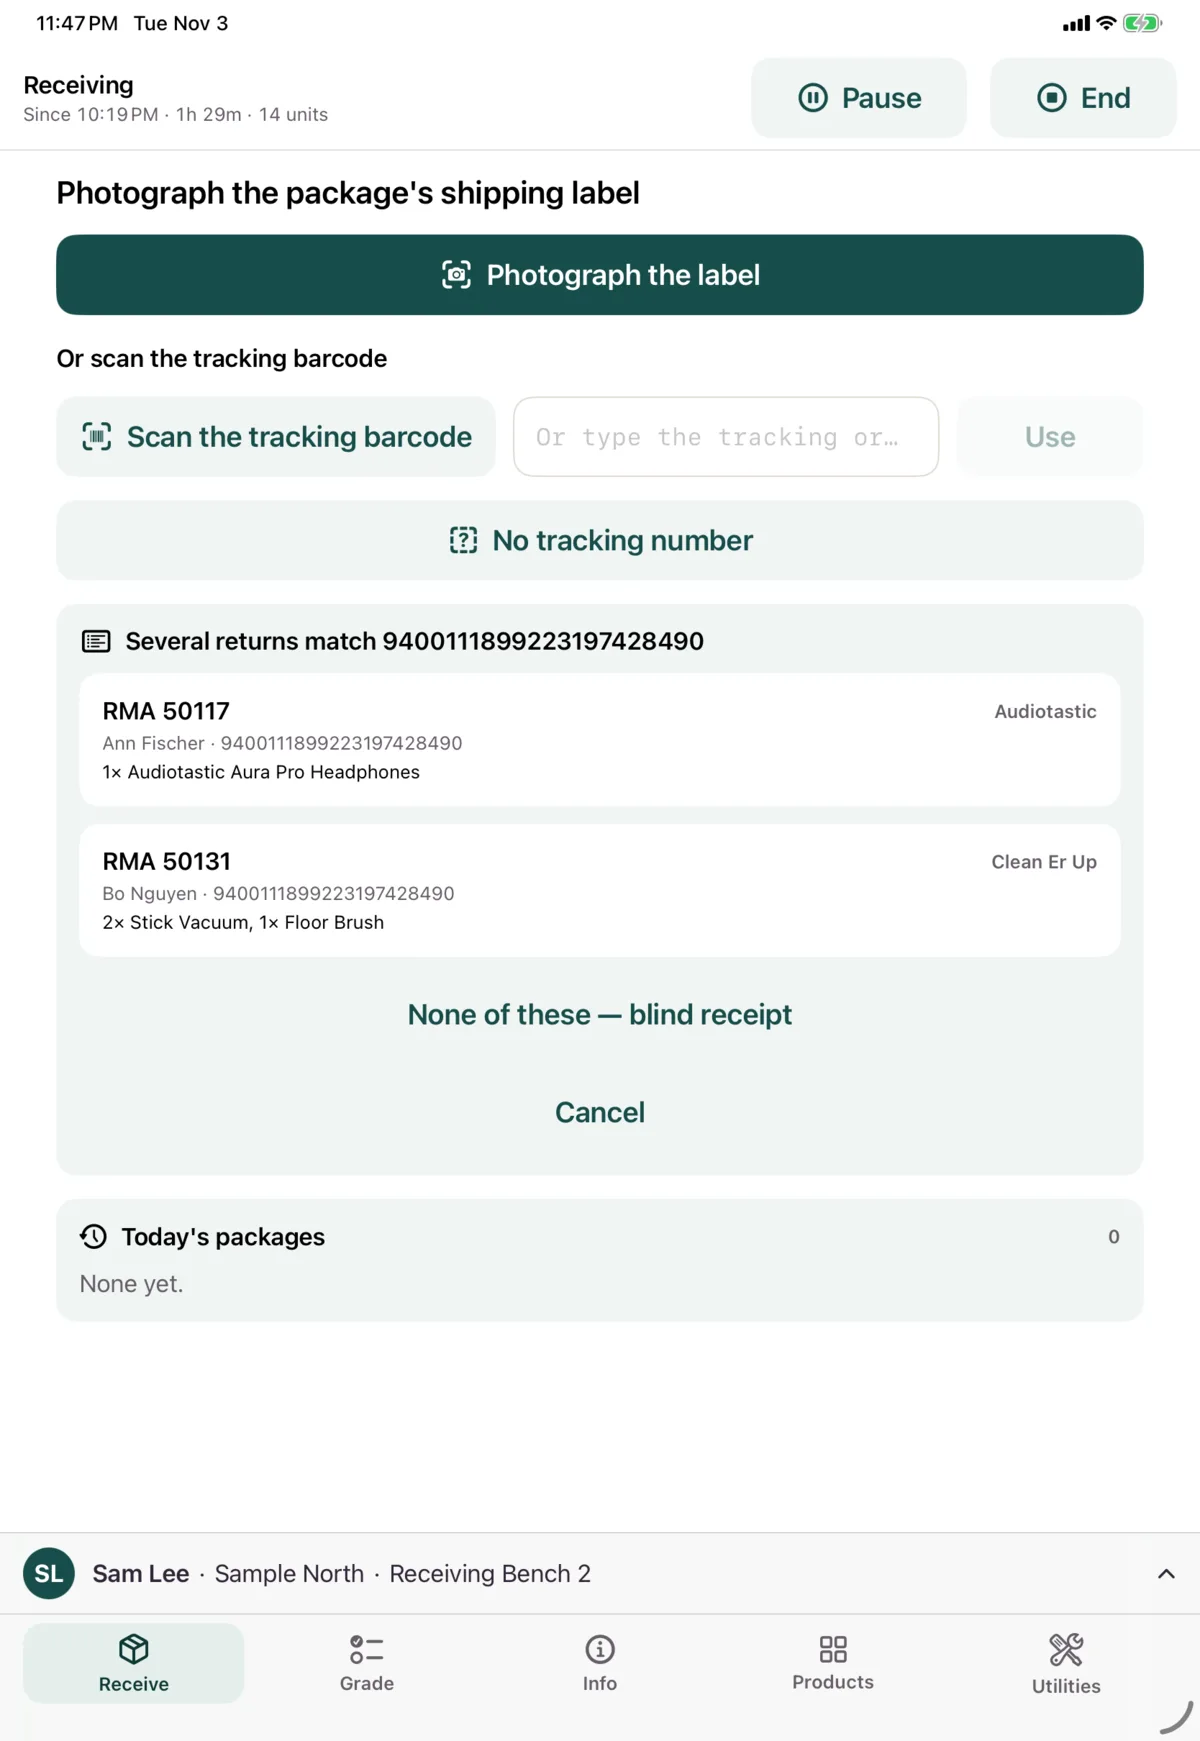
Several returns match
Tap the right one, or None of these — blind receipt.
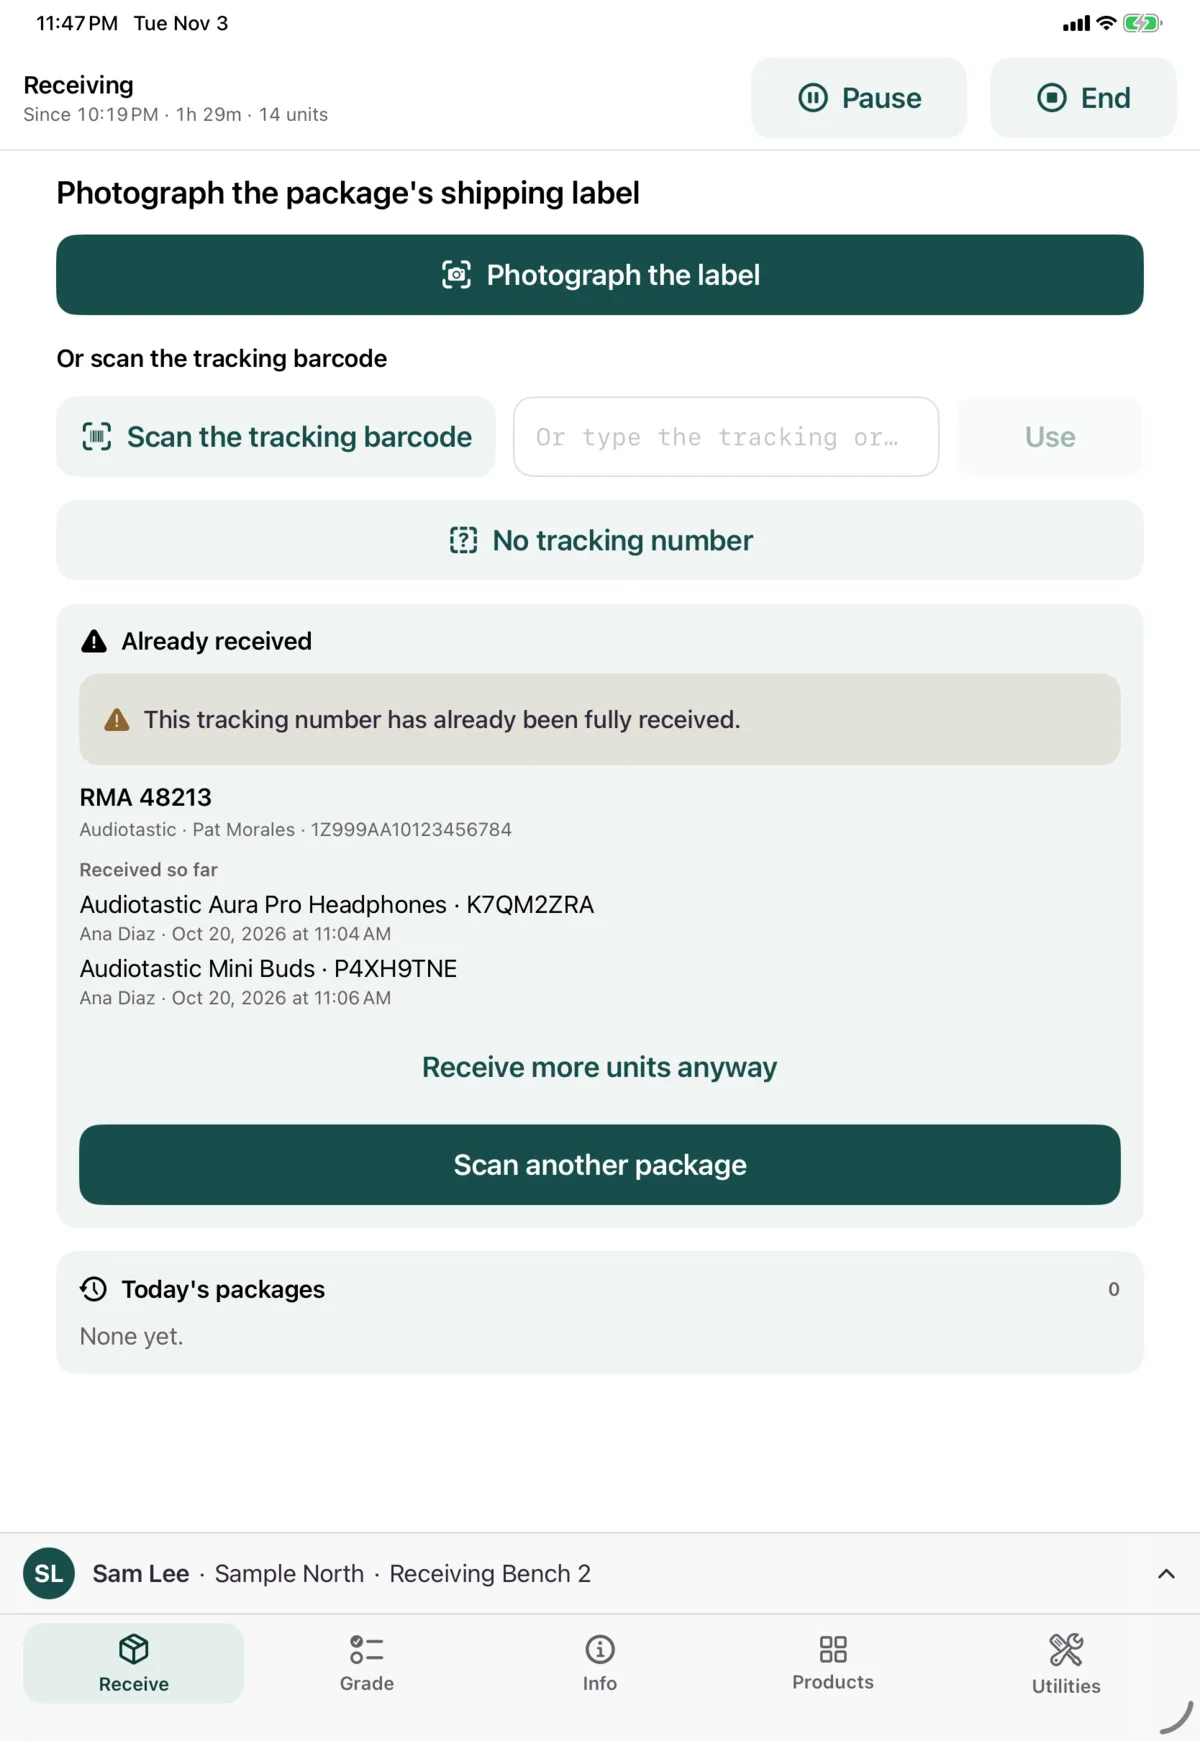
Already received
Everything on this return has been received. Tap Scan another package. If the box really does hold more units, tap Receive more units anyway and confirm. Each one is received as an extra.
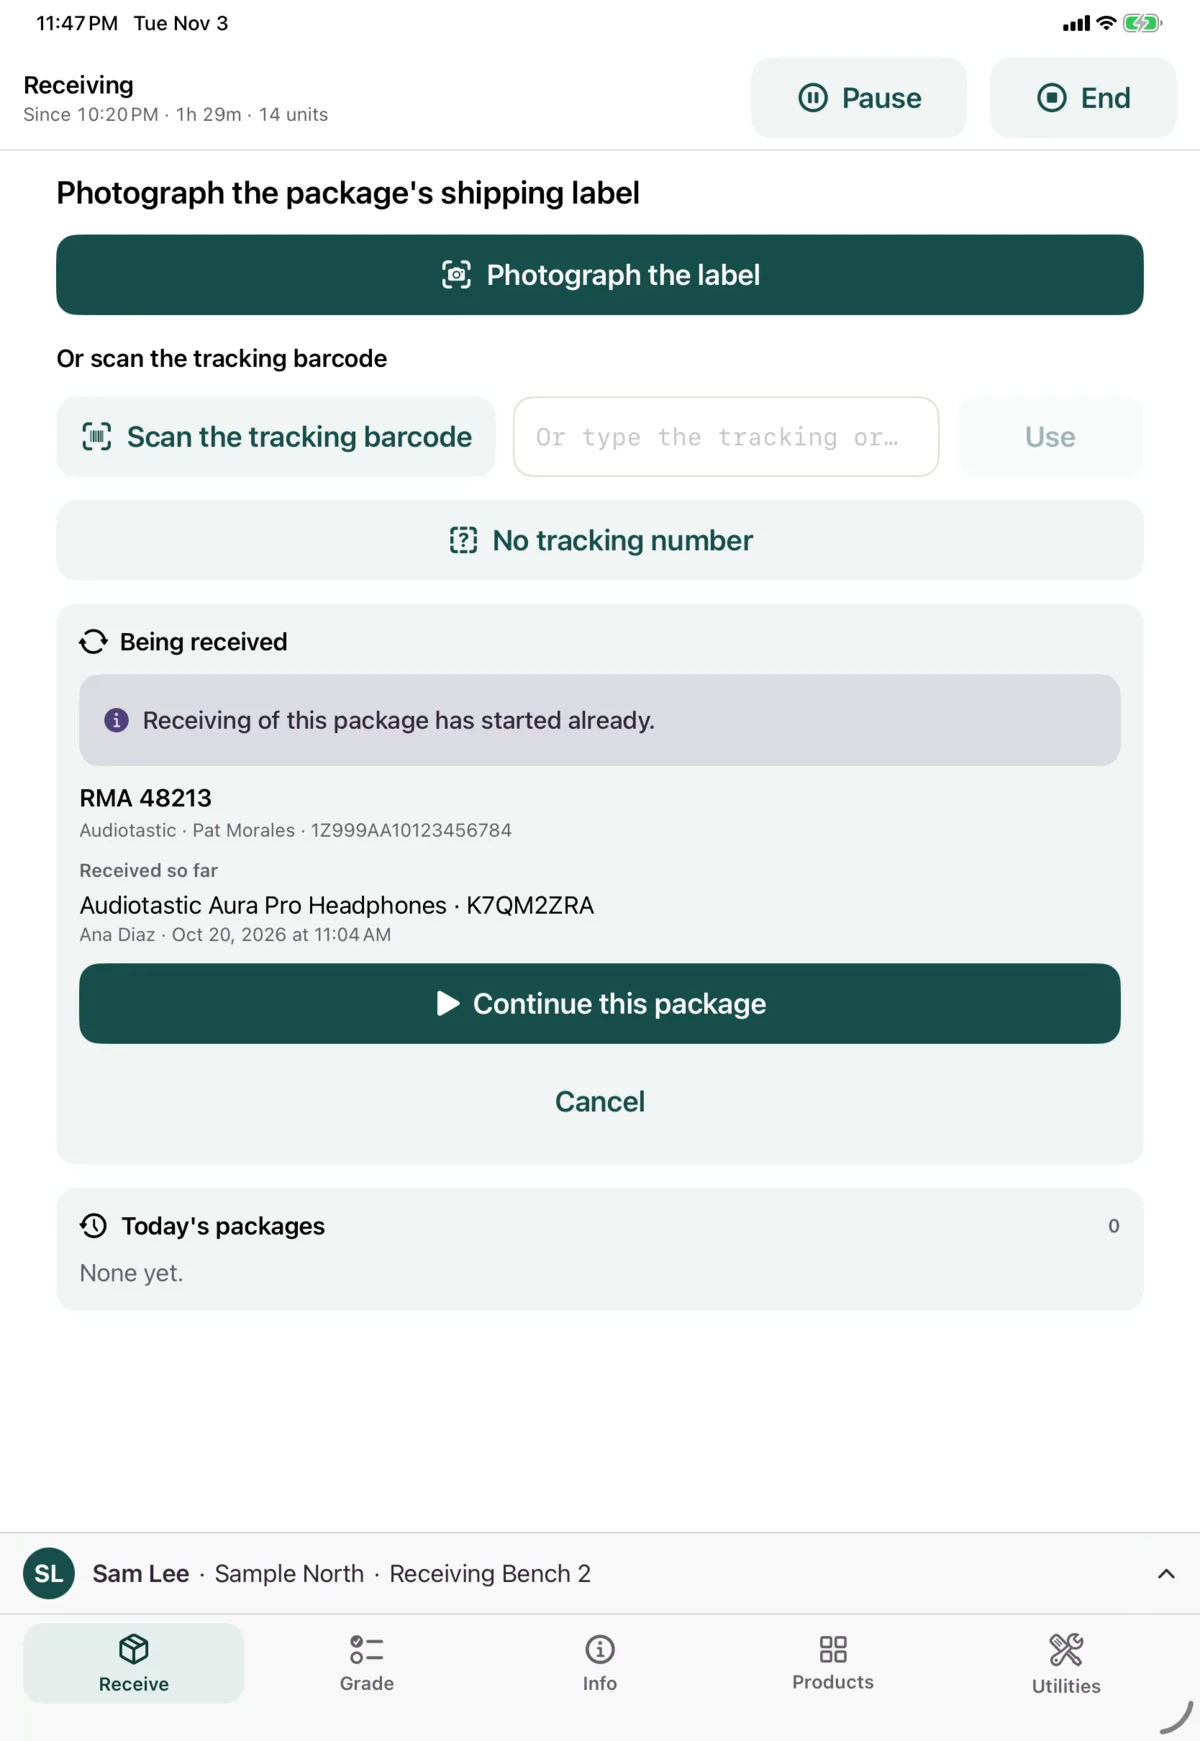
Being received
Someone has started receiving this package. Tap Continue this package.
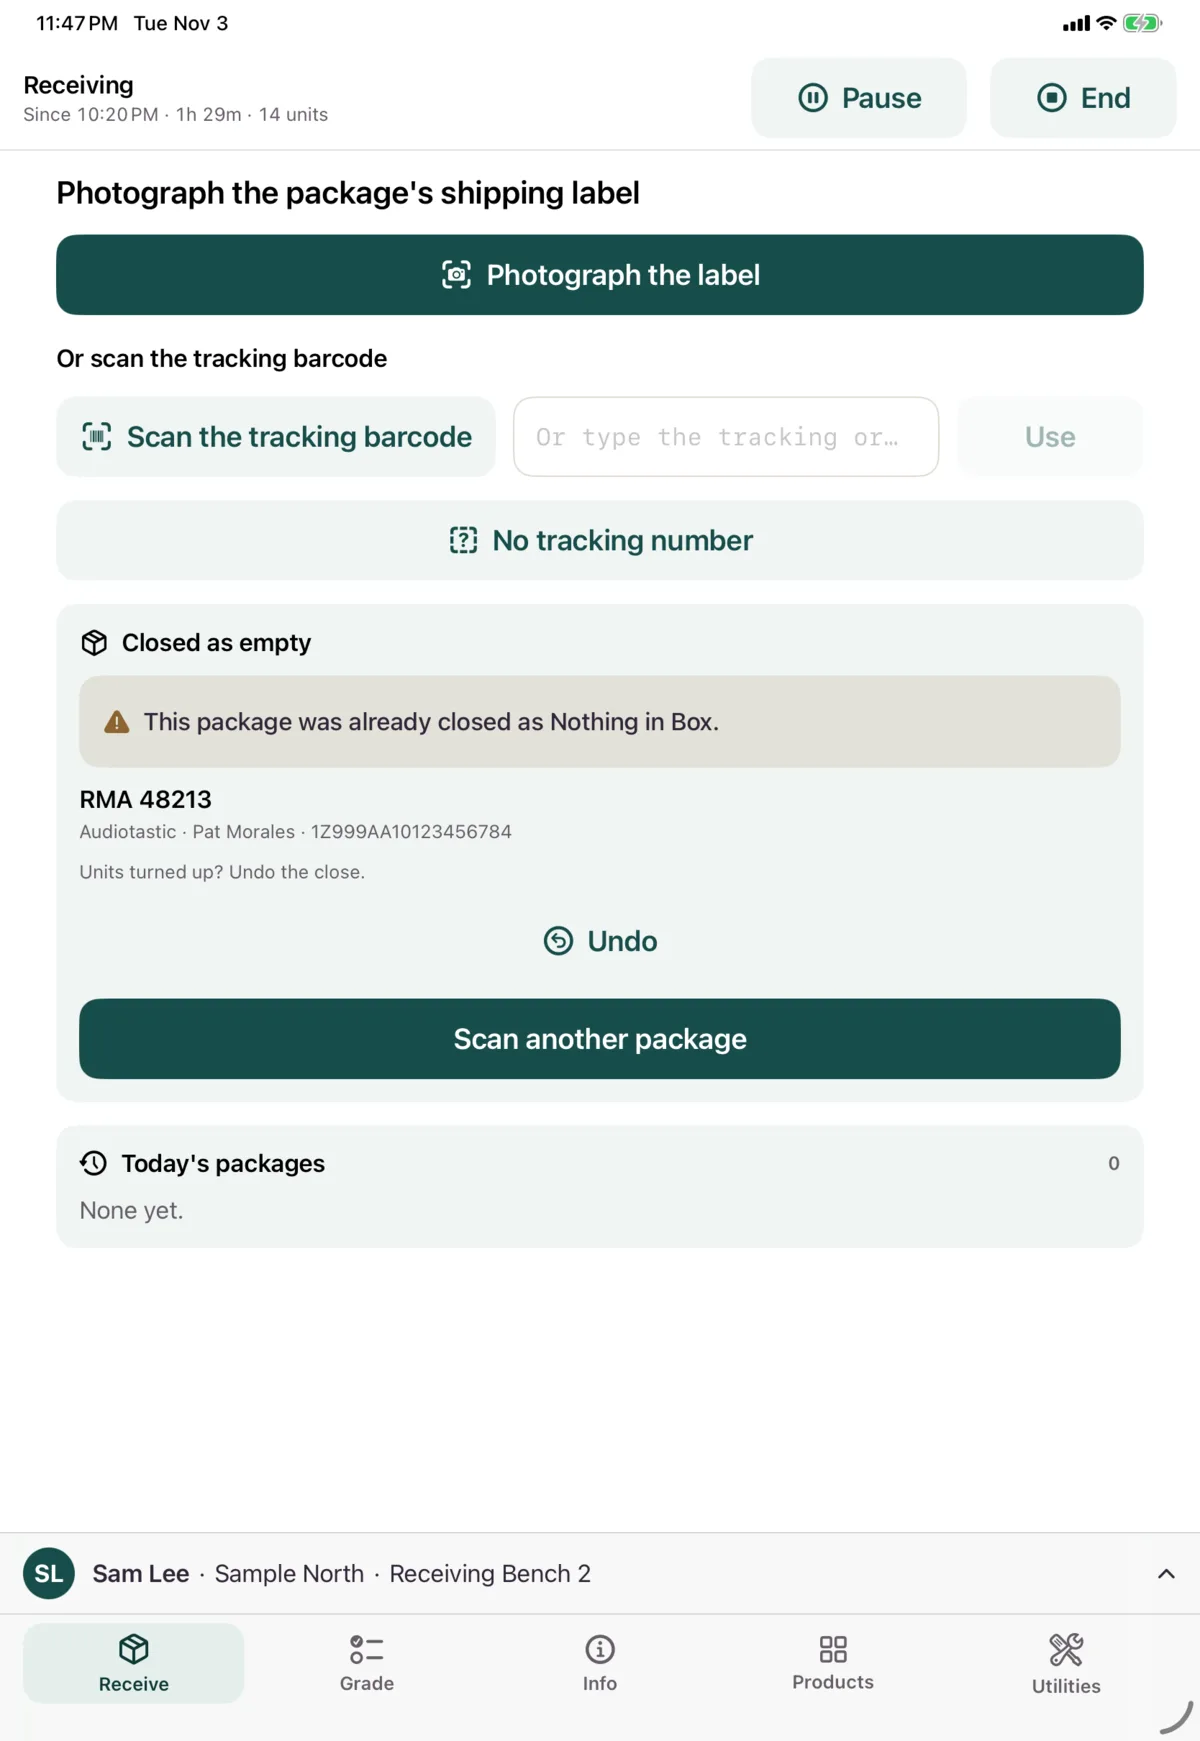
Closed as empty
This package was closed as Nothing in Box. If units have turned up, tap Undo and the package opens again.
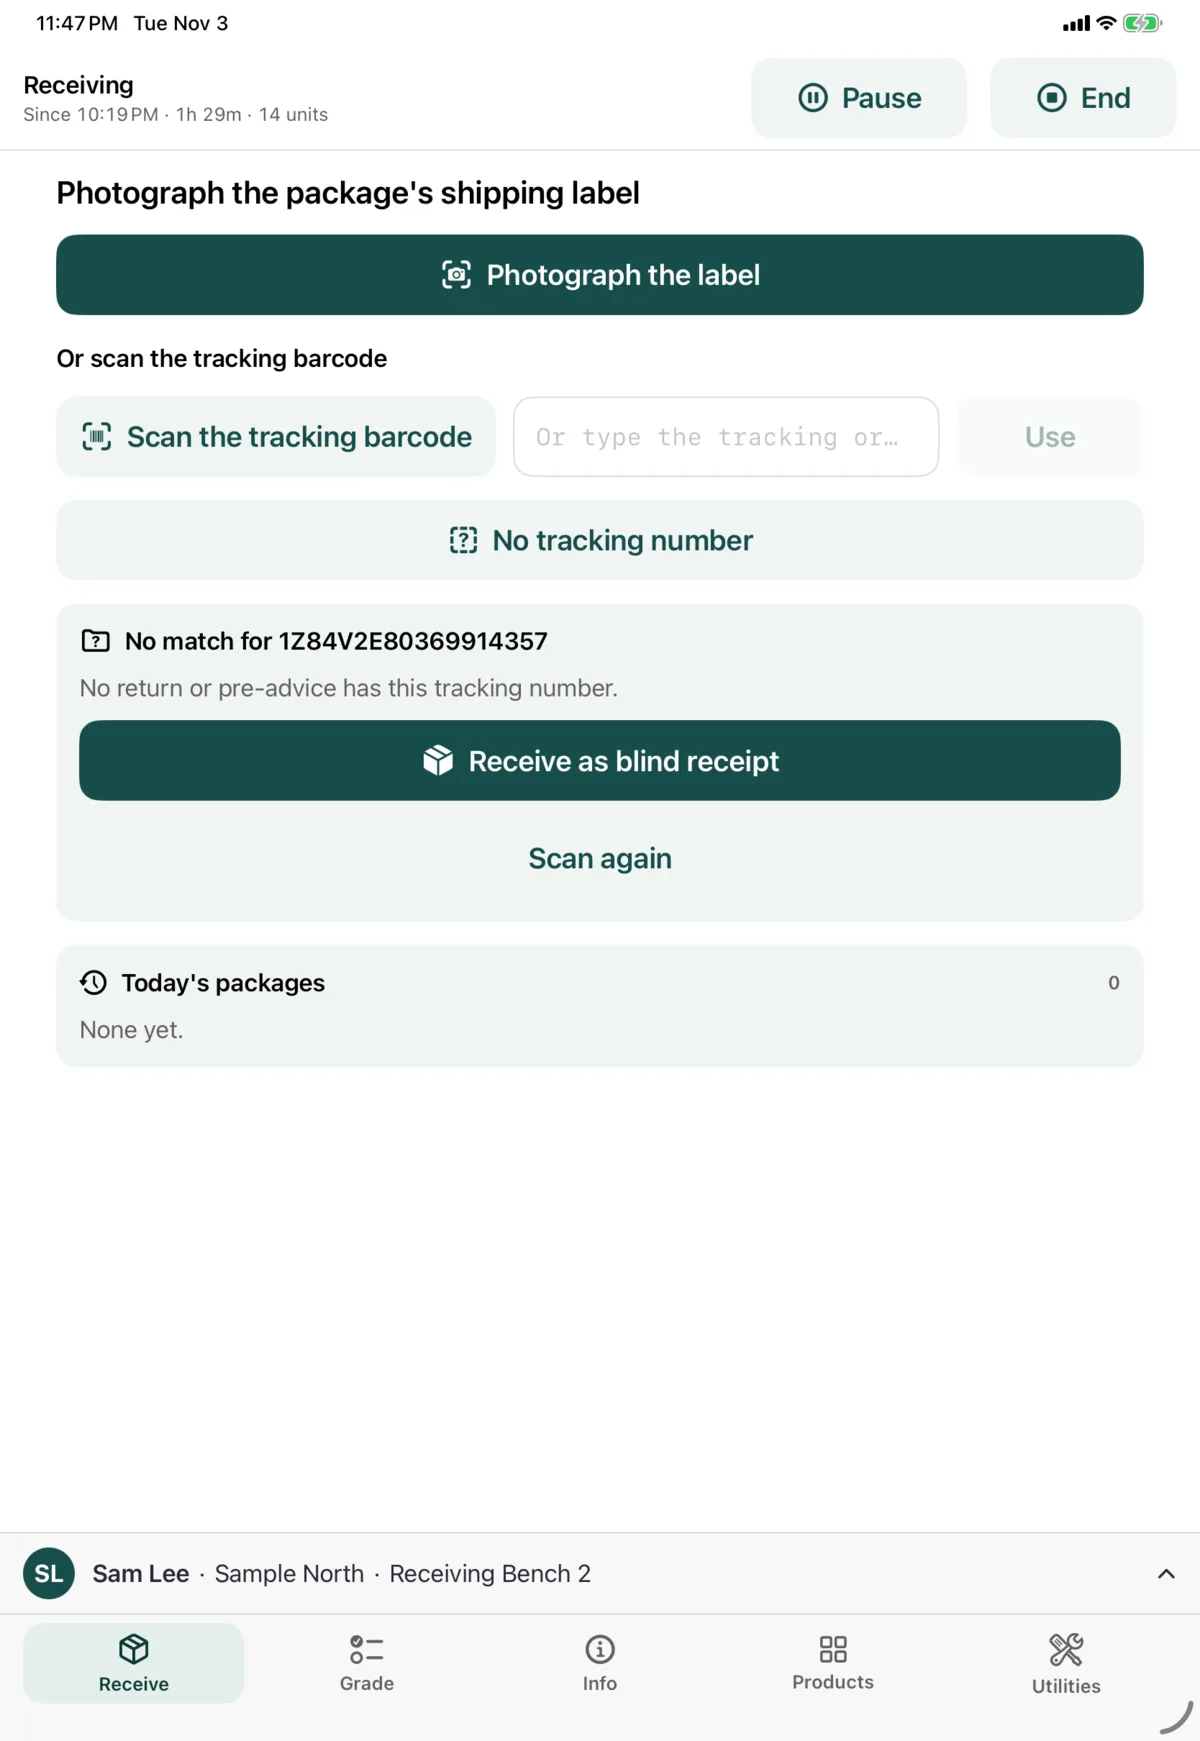
No match
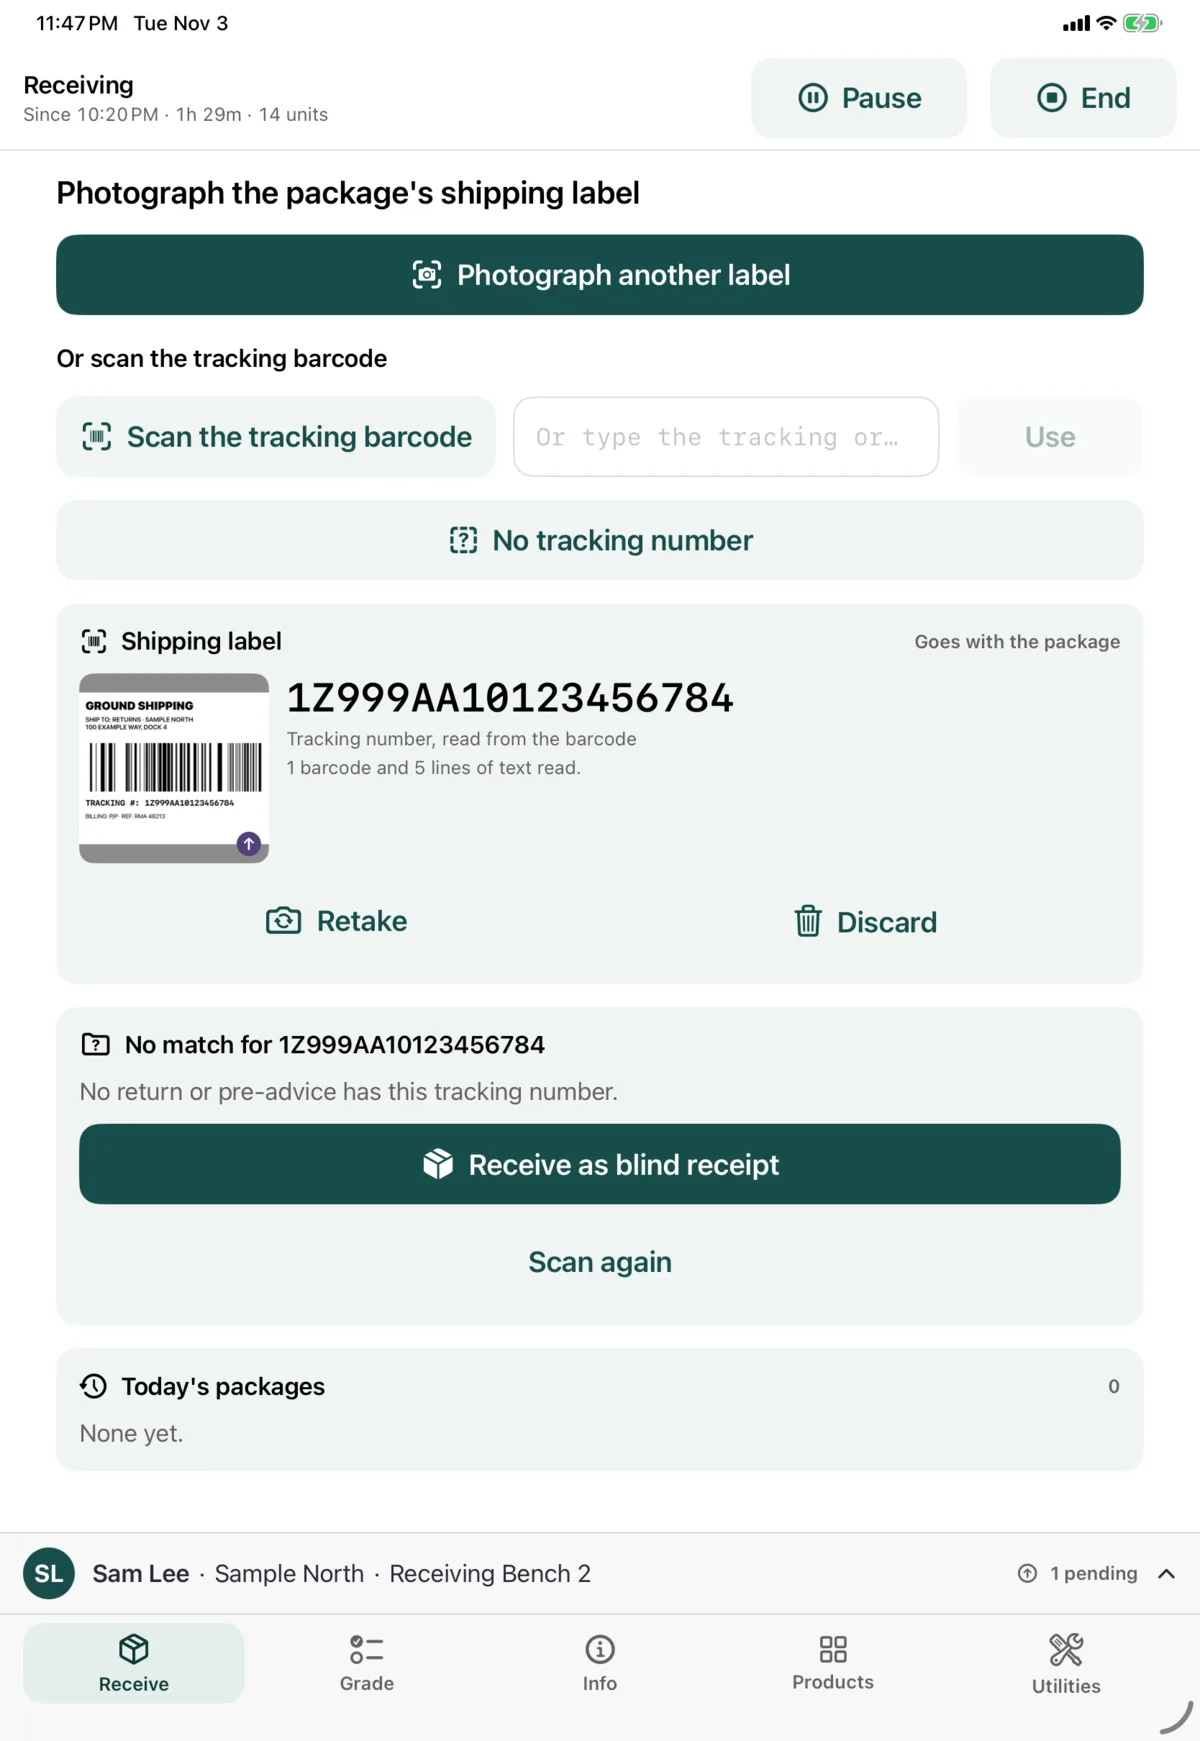
Nothing has this tracking number. Tap Receive as blind receipt, or Scan again.
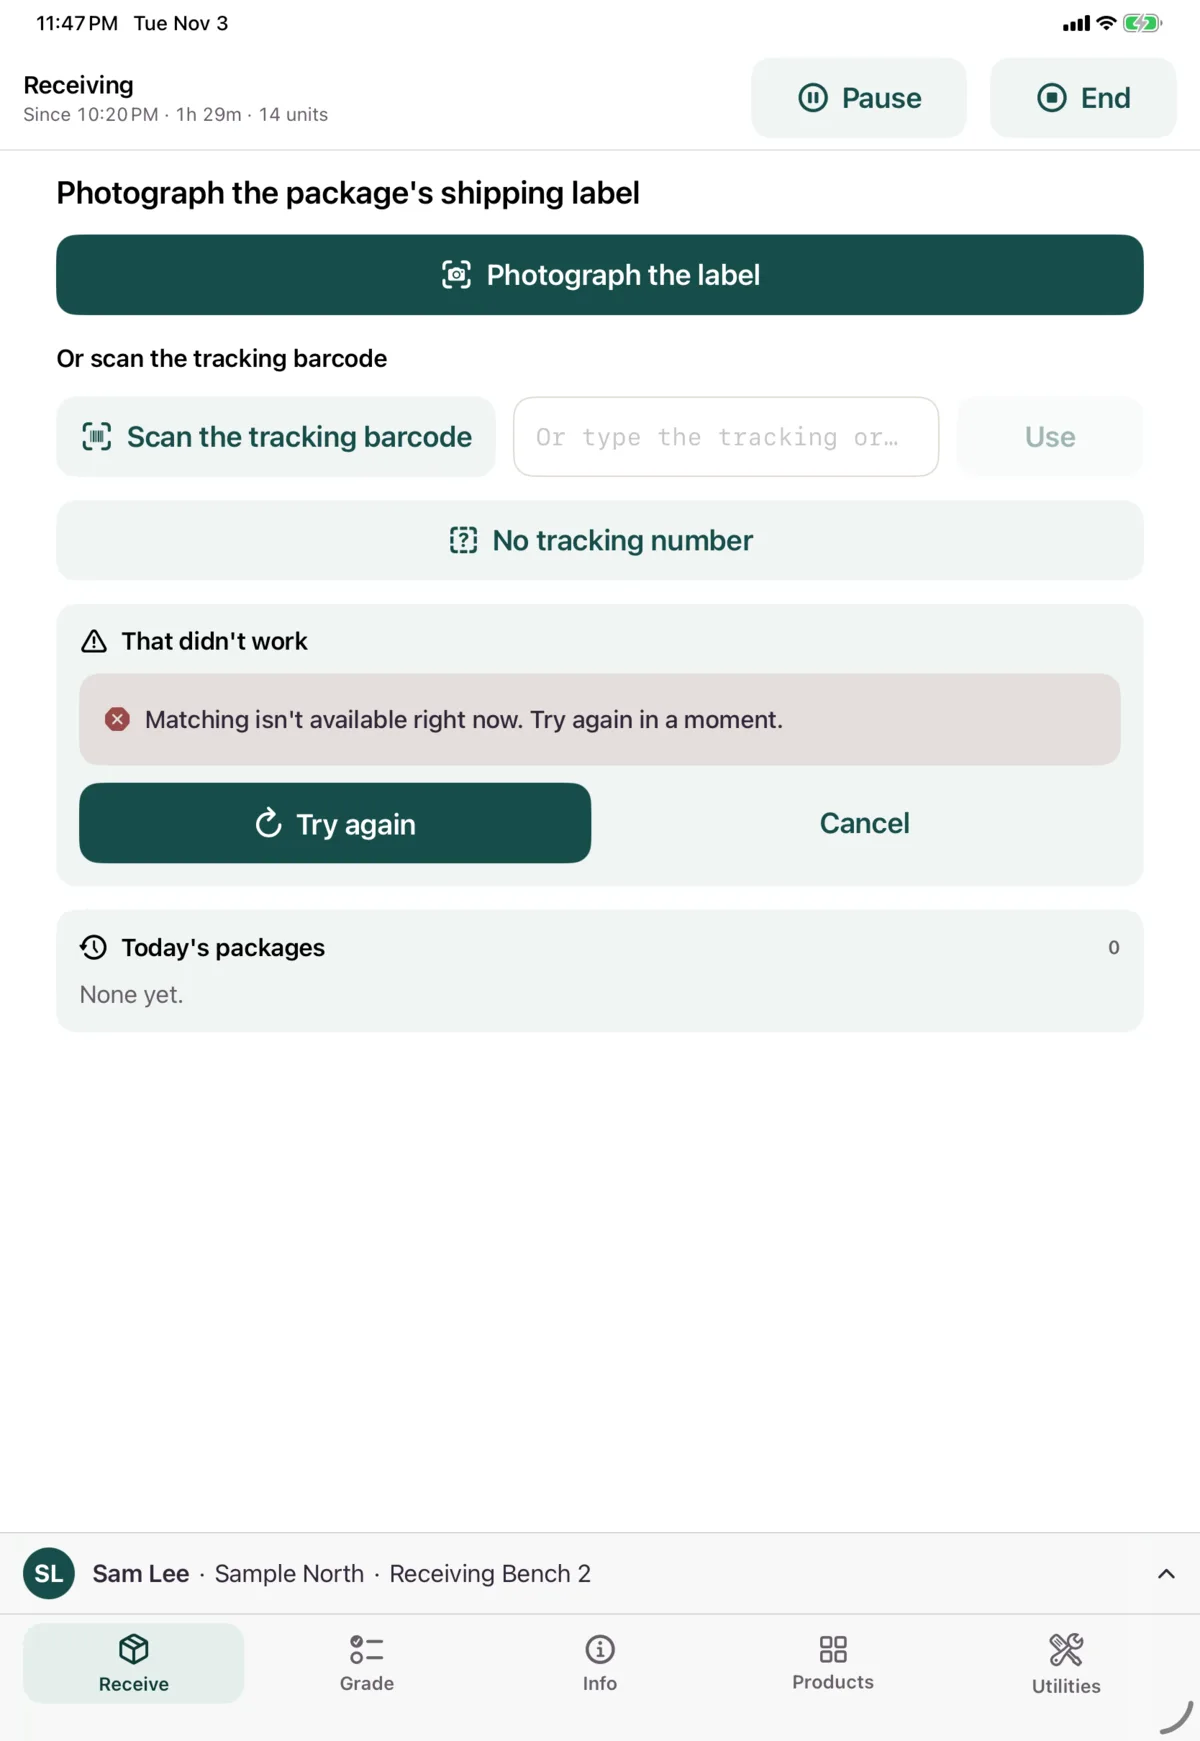
Offline, or it didn’t work
Tap Try again, or Cancel.
Blind receipts
A blind receipt is a package with no matching return. All it needs is a photo of the label, or of the box if there’s no label. You add the rest once it’s open.
- Take the photo, if it isn’t already filled in.
- Tap Receive as blind receipt, or Proceed without tracking if there’s no tracking number.
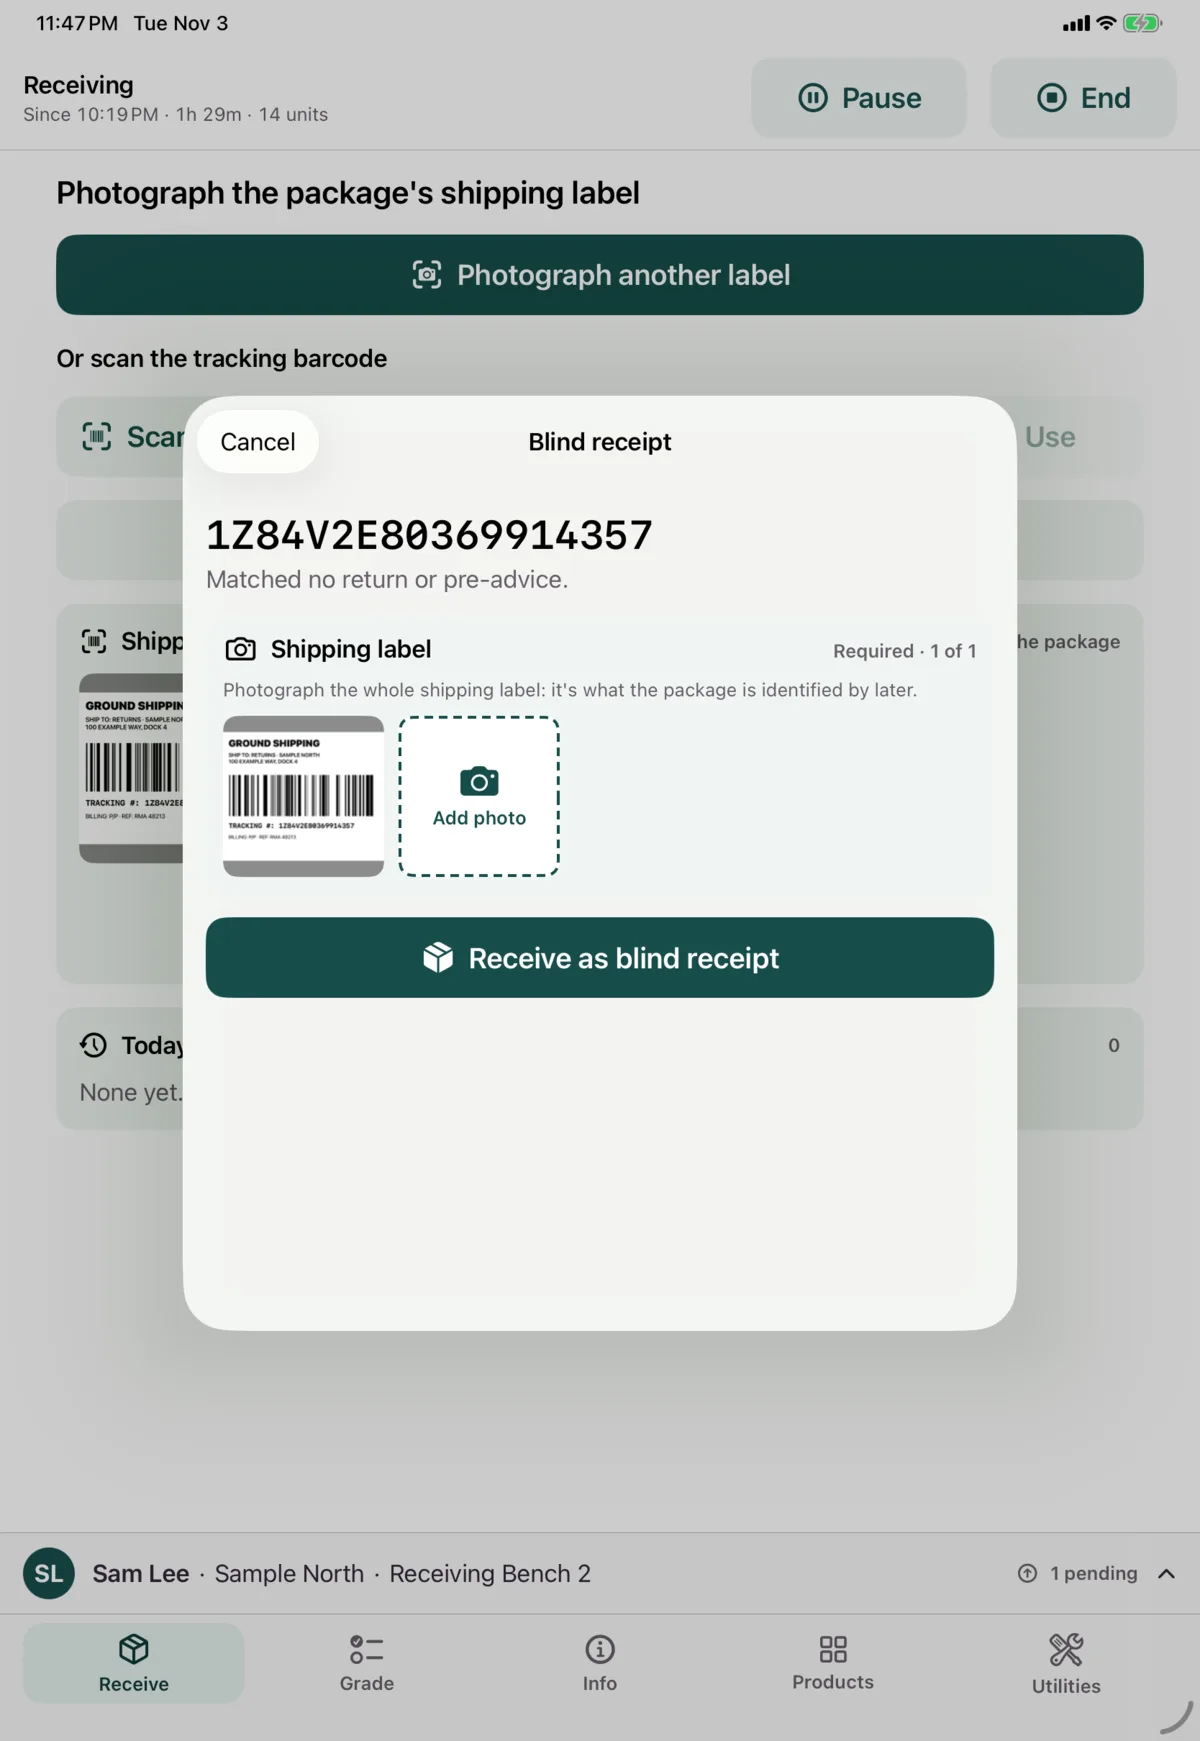
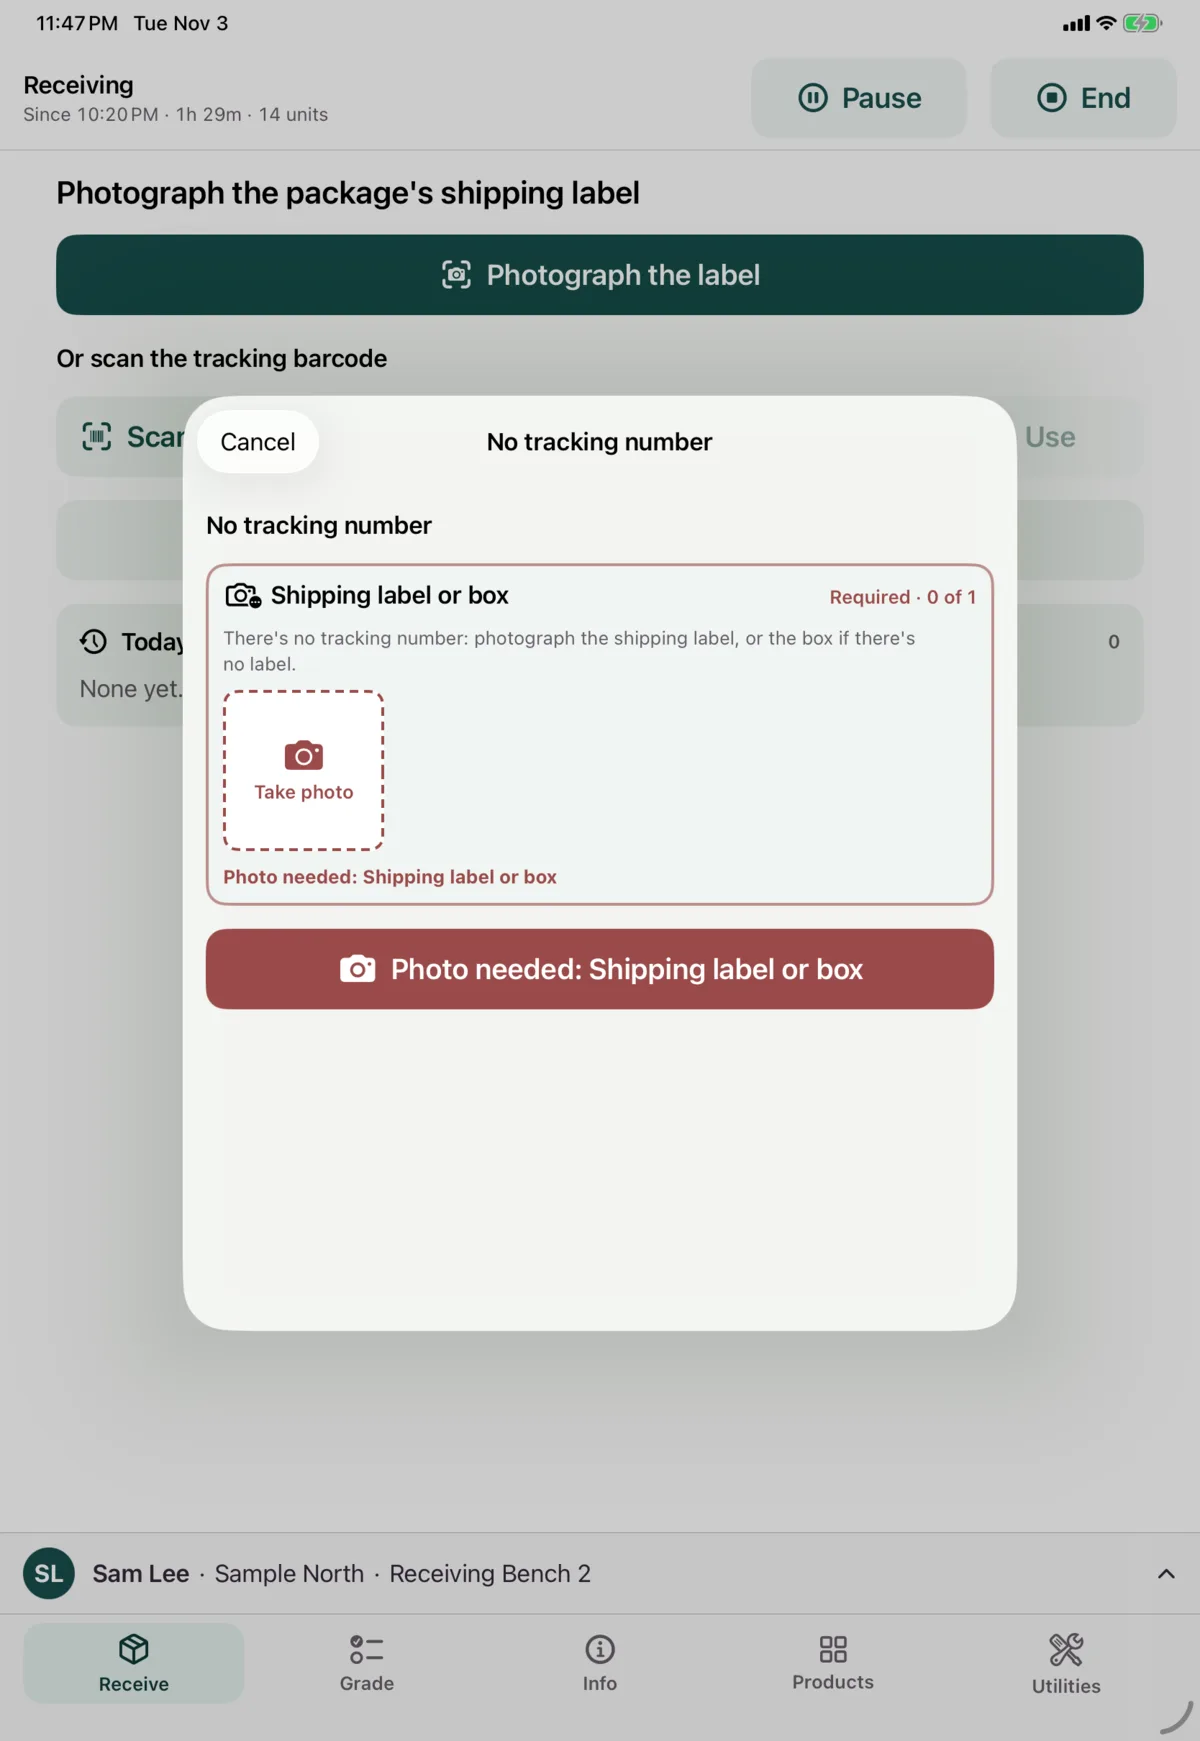
Creating one needs a connection.
Next: The package screen