
Receive an item
Each unit gets its own record. On a matched return, a line for three units shows as three items.
Tap Receive this item on the item in your hand. On a blind receipt, or for anything else, tap Add an item. The form opens inside the item. You can fill it in any order.
If you tap an item for a different product partway through a unit, you’re asked first, because switching drops what you’ve entered.
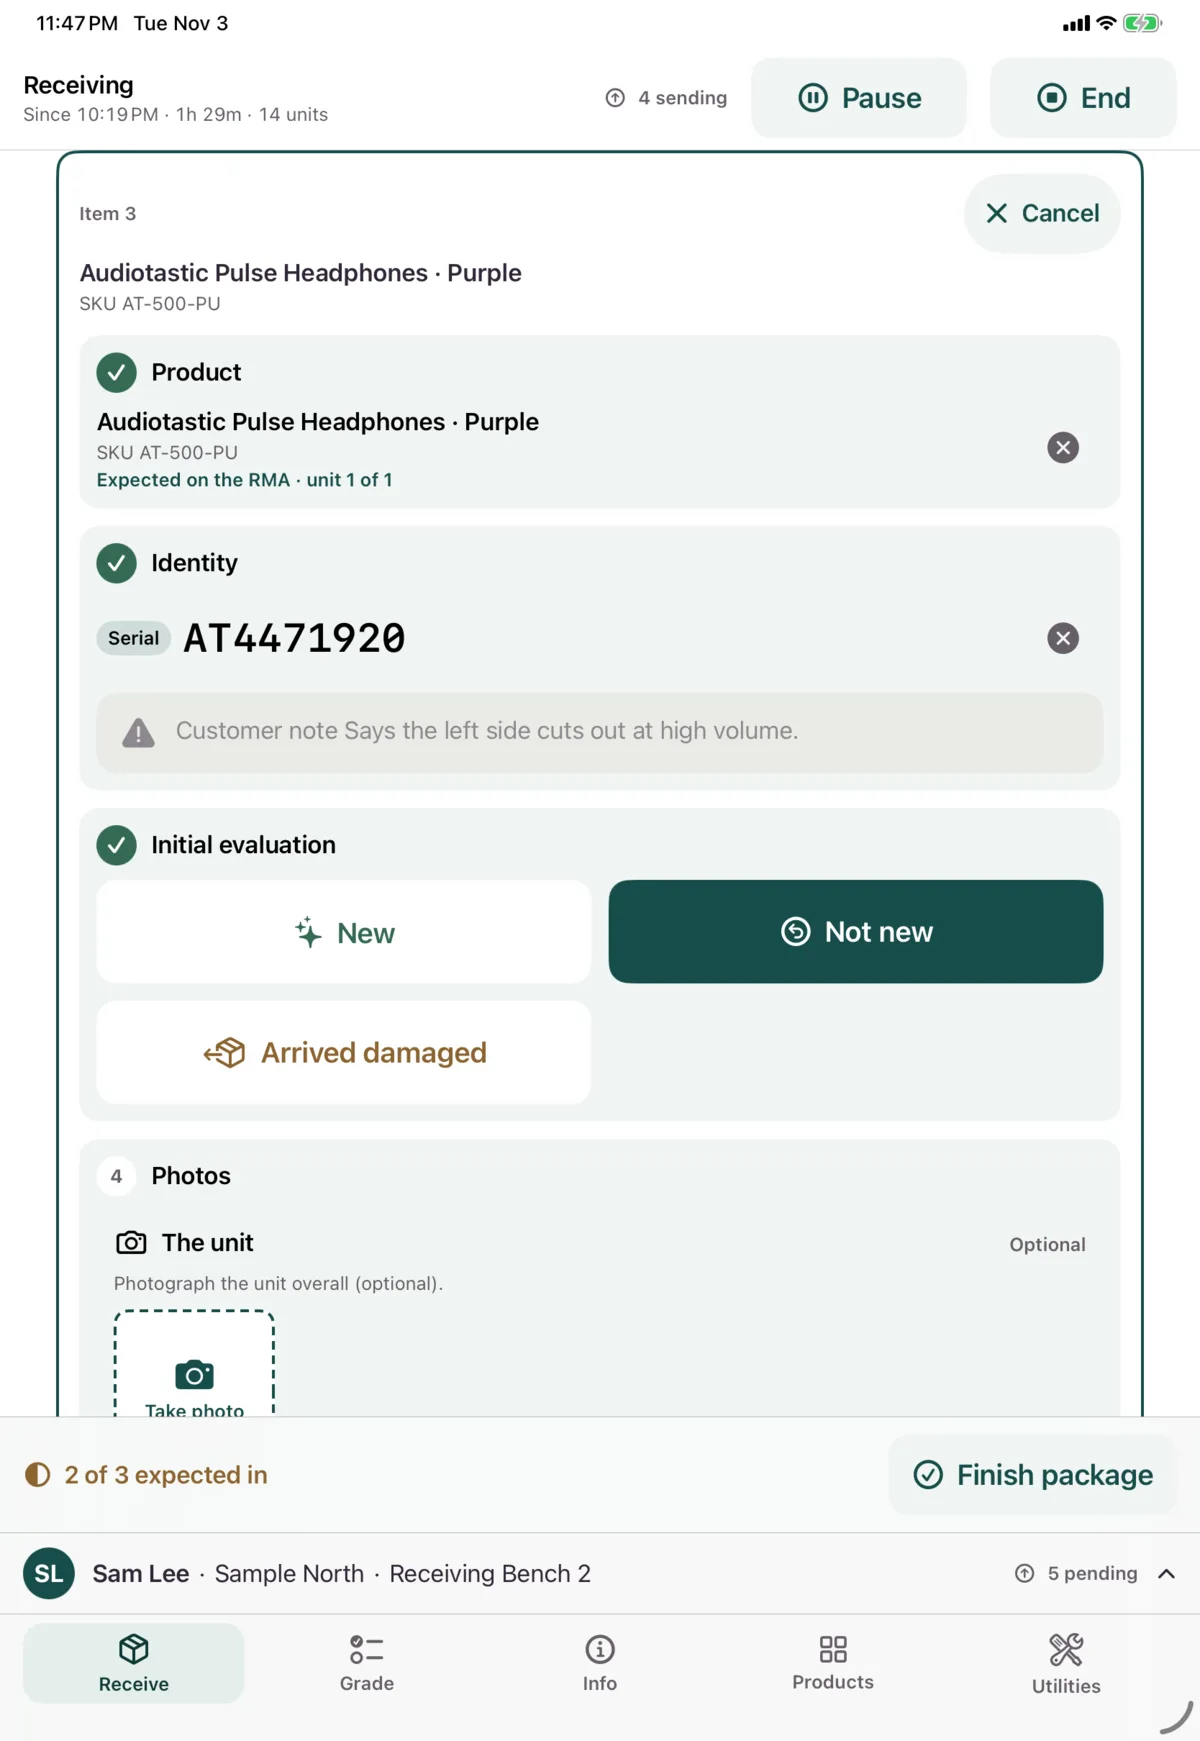
Step 1: Product
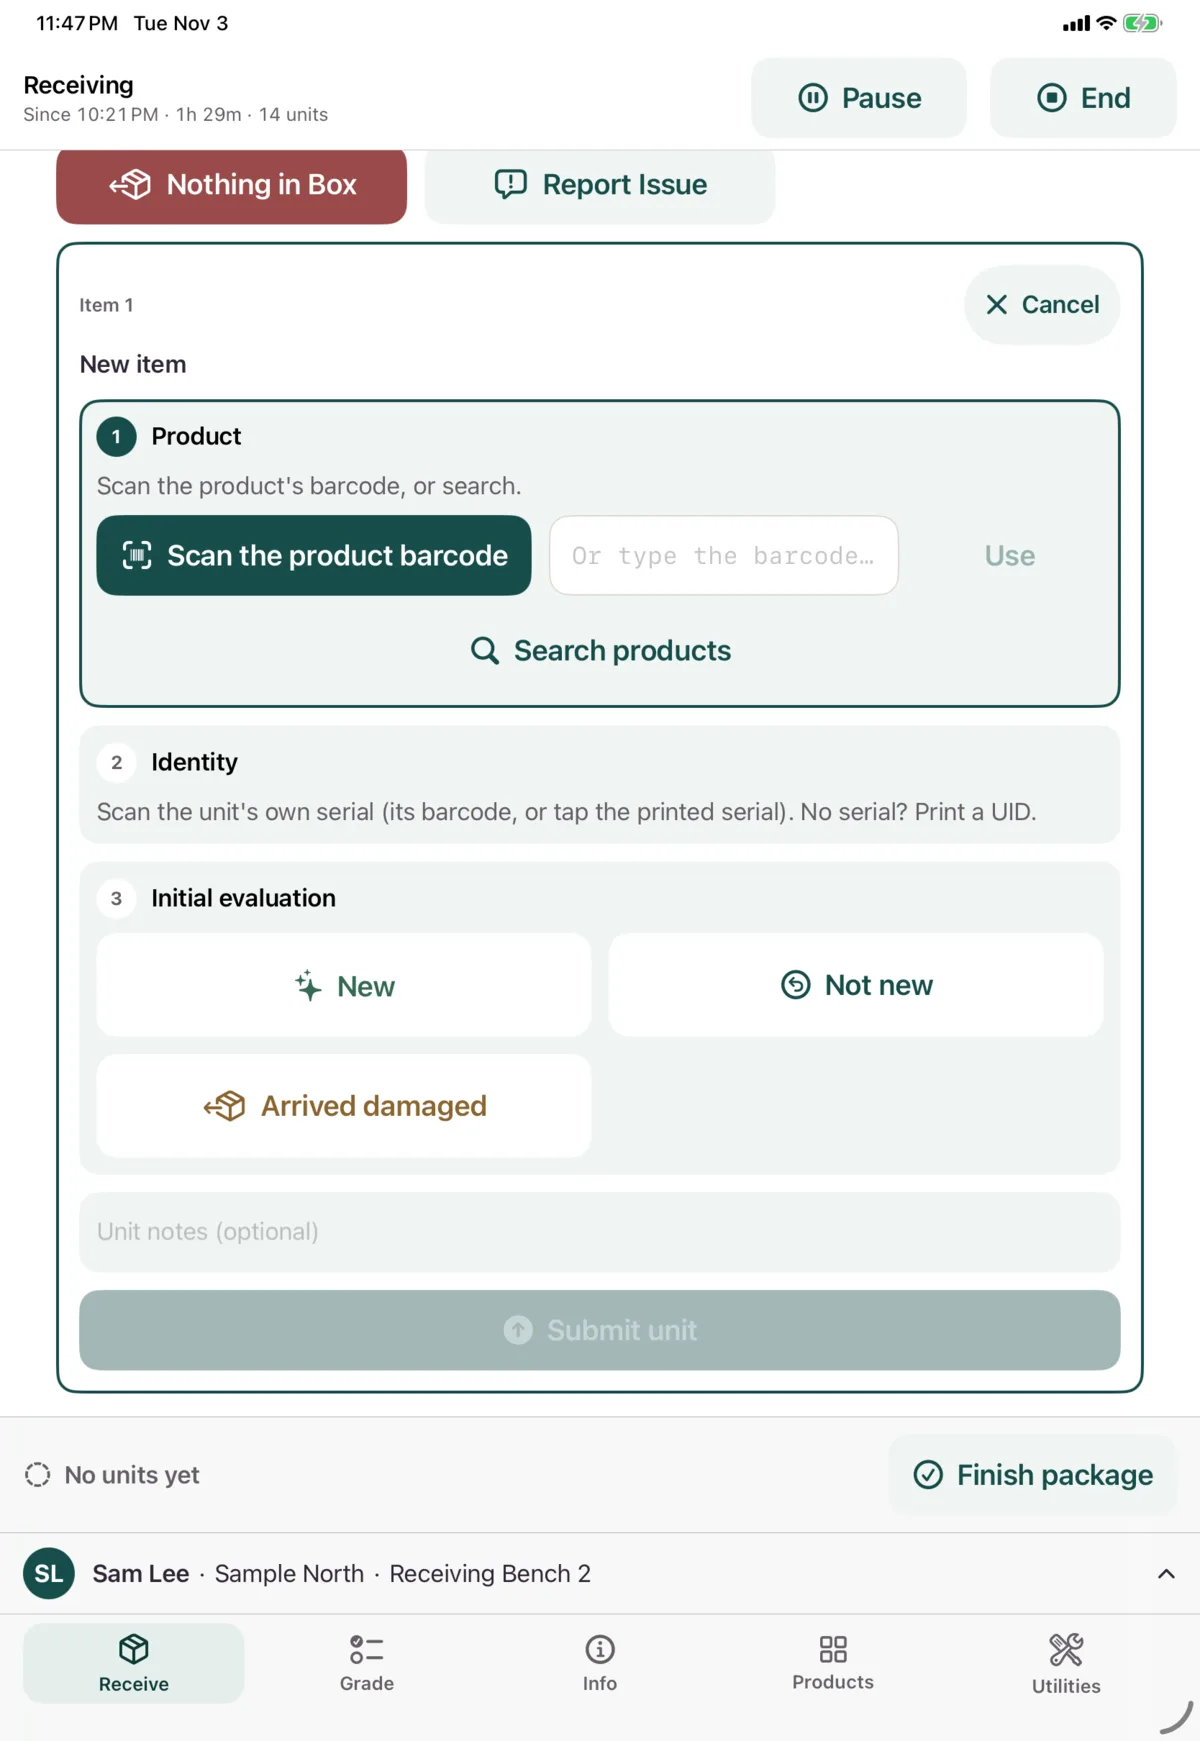
Tapping an expected item fills this in. Otherwise, use any of these:
- Scan the product barcode. The UPC, EAN or SKU on the box or product. A barcode scanner works anywhere on this screen.
- Or type the barcode, SKU or UPC, then tap Use.
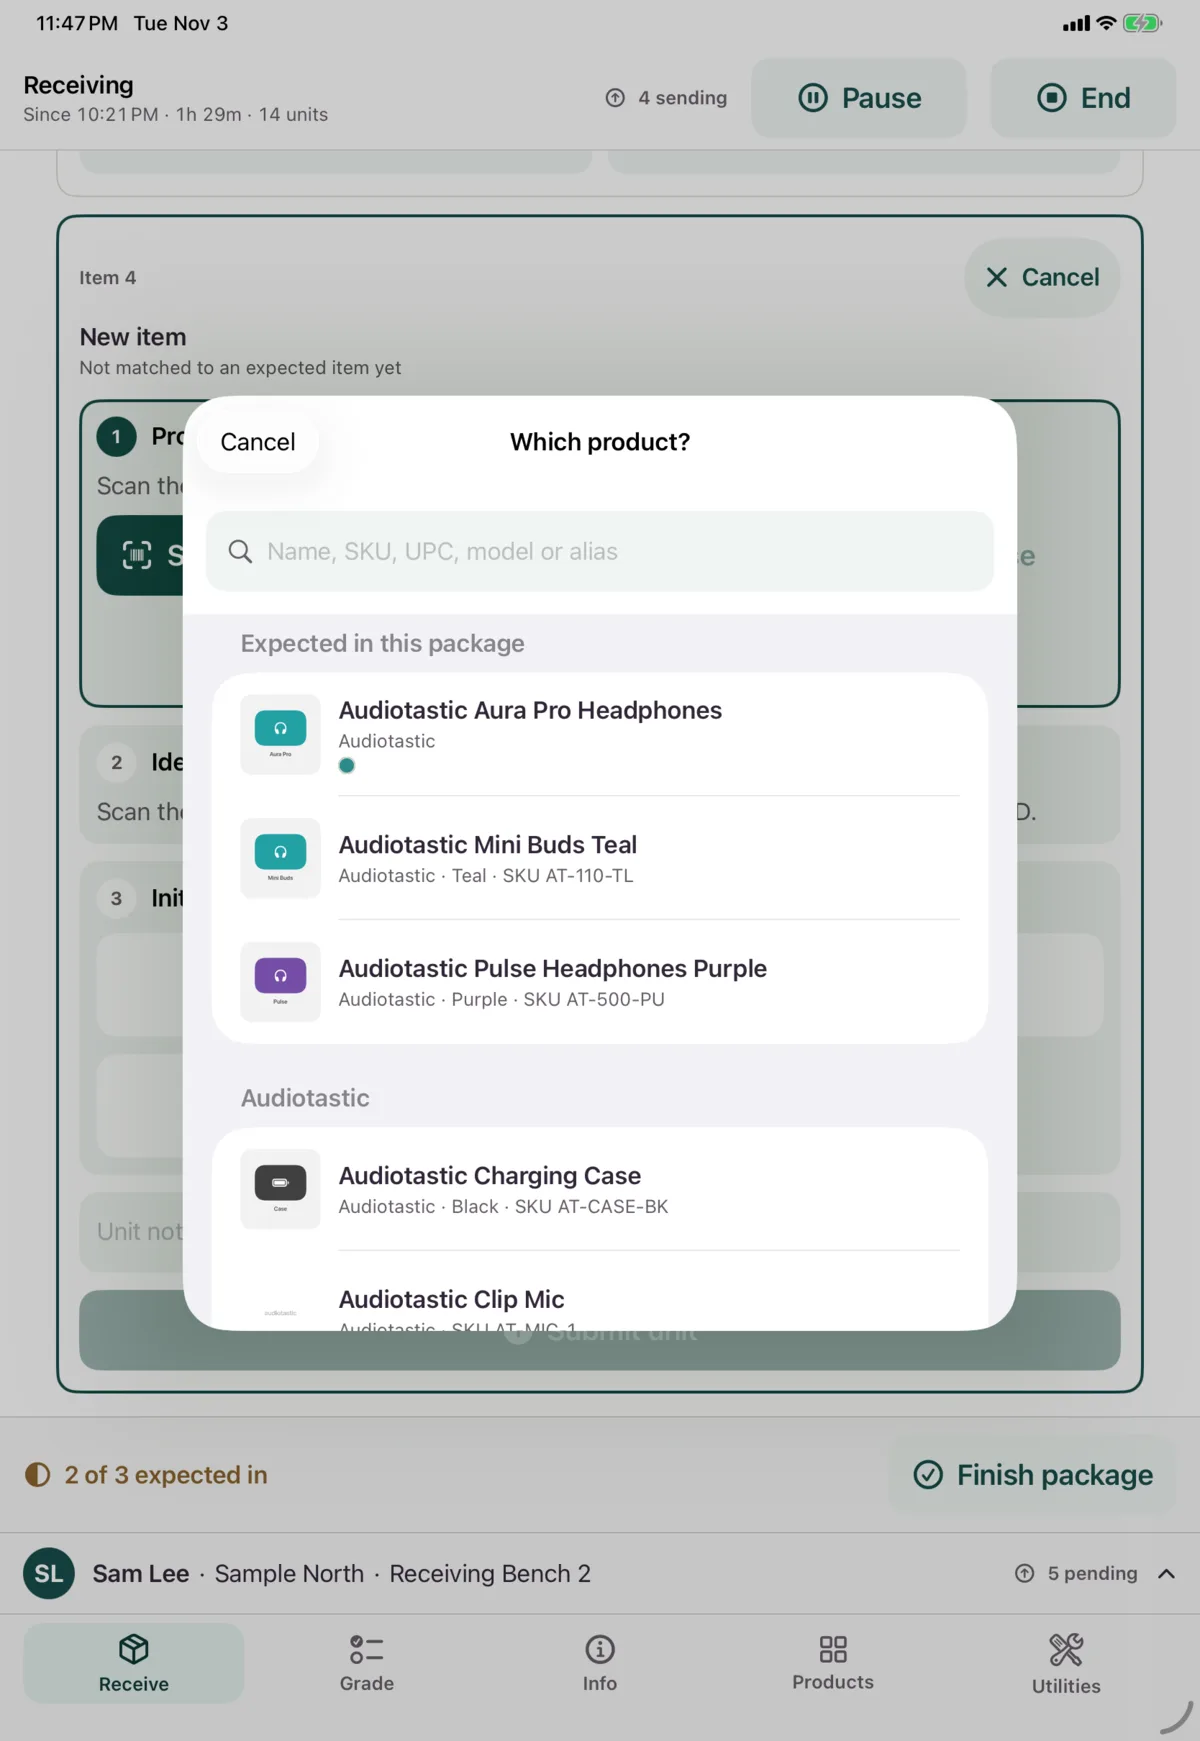
- Search products, to find it by name.
- Create product, if nothing matched.
Search products opens the catalog, with the items expected in this package first.
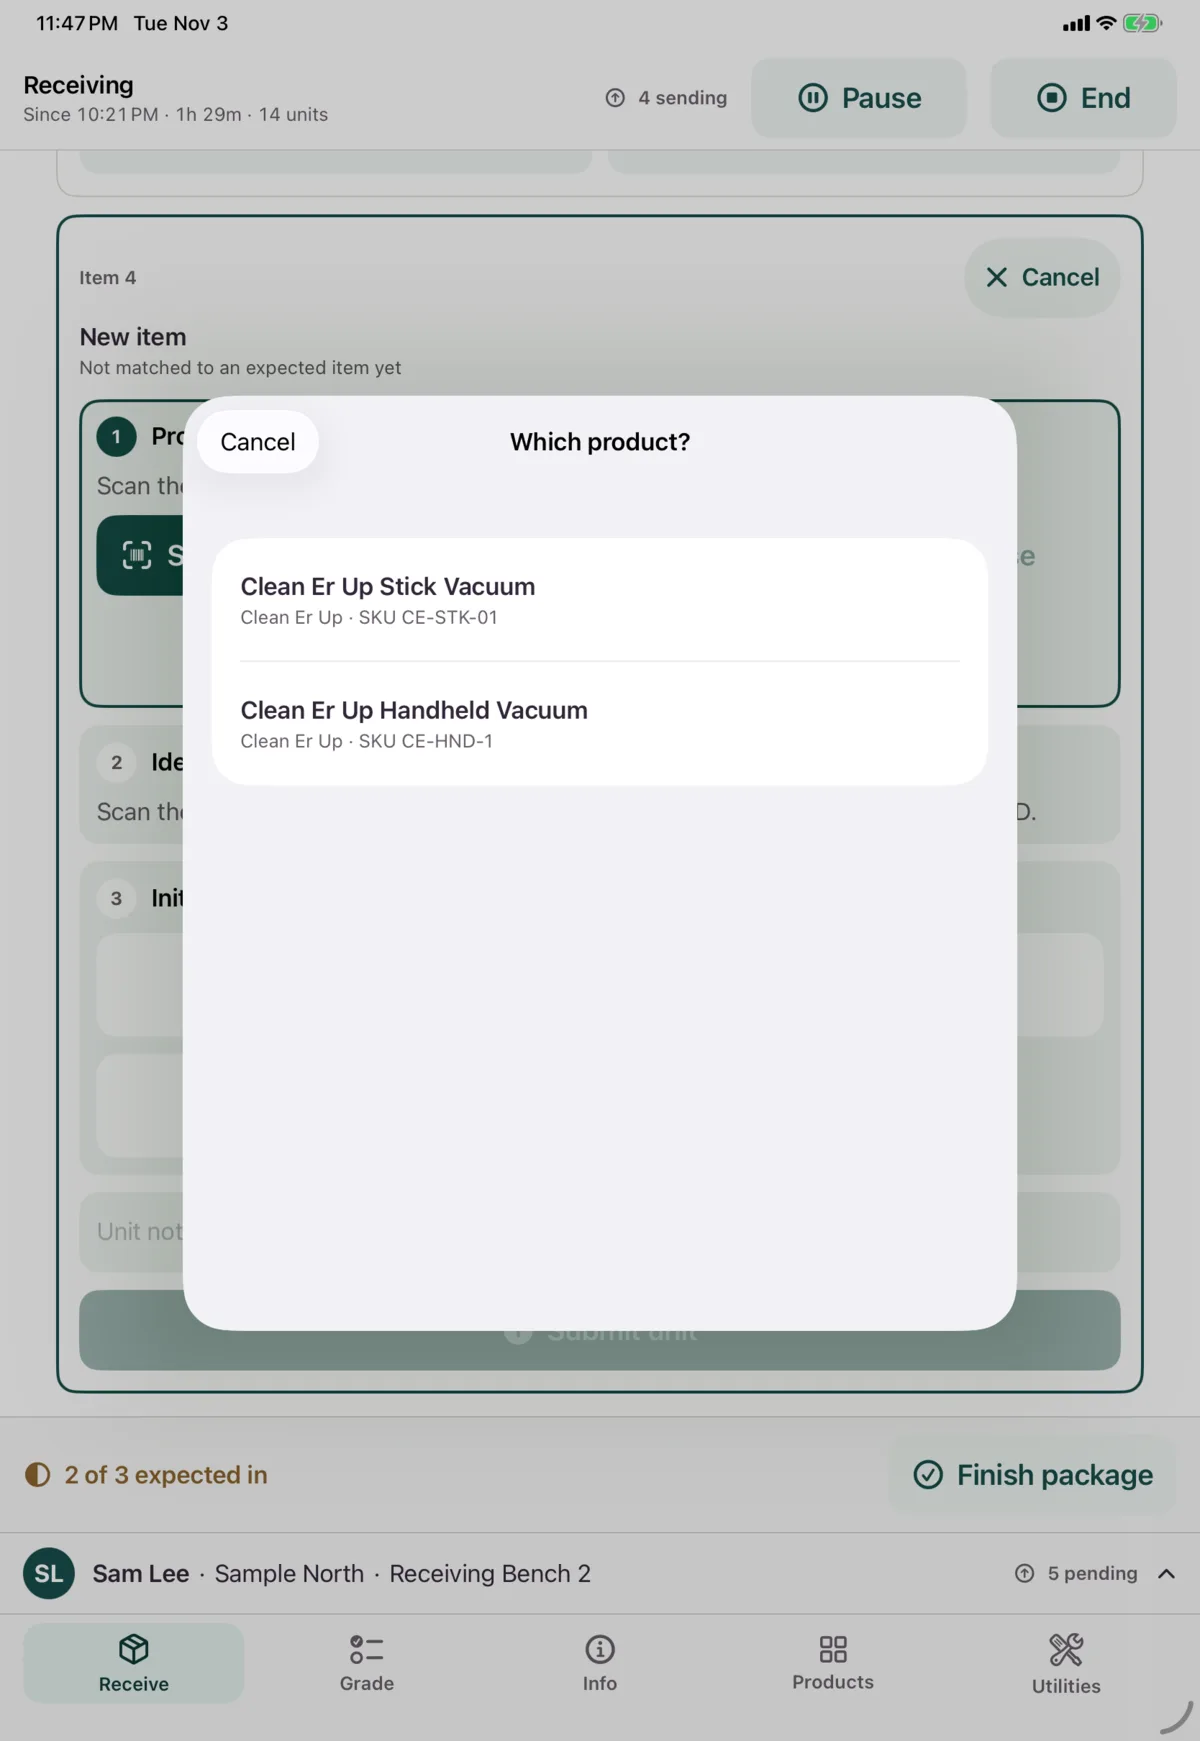
If several products share a barcode, choose the one in your hand.
If nothing matches, Nok Snap says so and offers Create product.
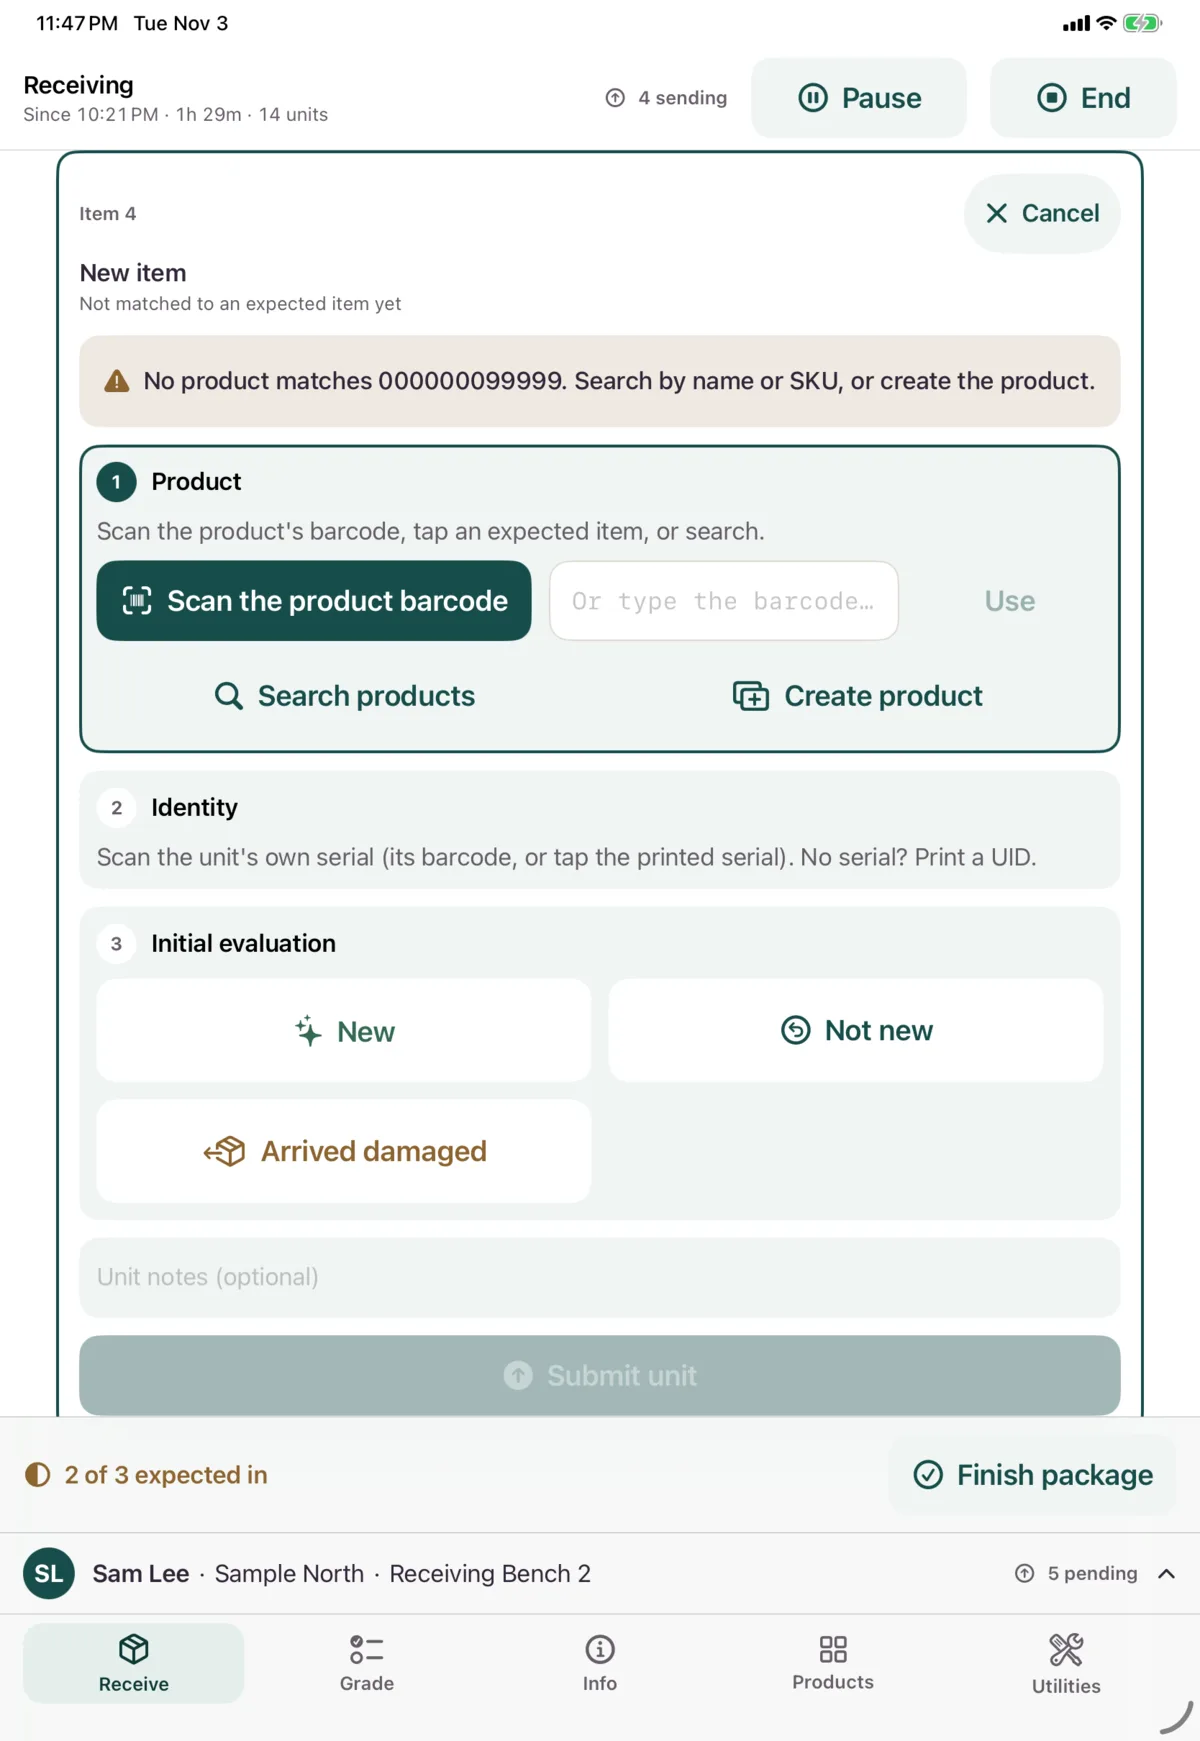
Create a product
You need a name, a brand, a UPC and at least one photo. The SKU is optional. Tap Create and receive. The new product is flagged for the catalog team to check. Creating a product needs a connection.
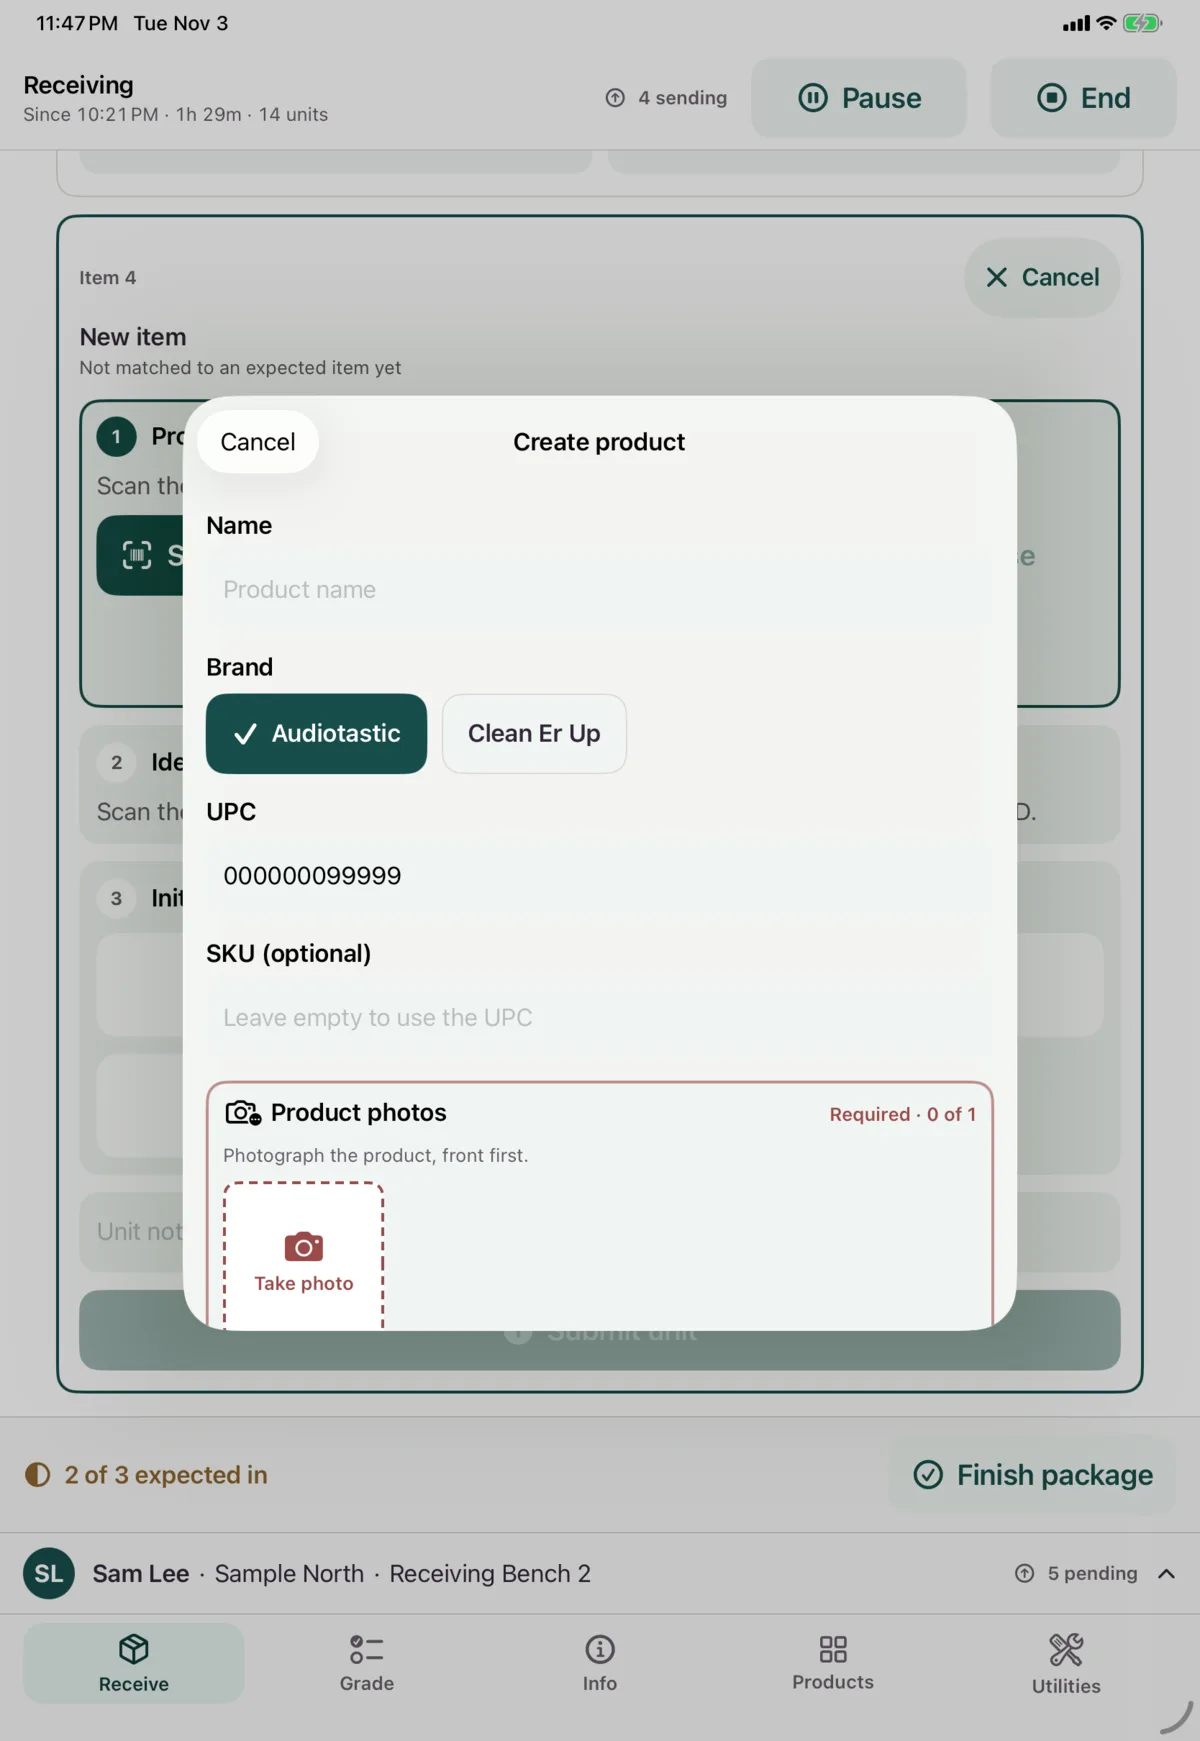
Package details
On a blind receipt, some brands ask for details from the package when you choose their first product. Add them and tap Continue receiving, or Skip.
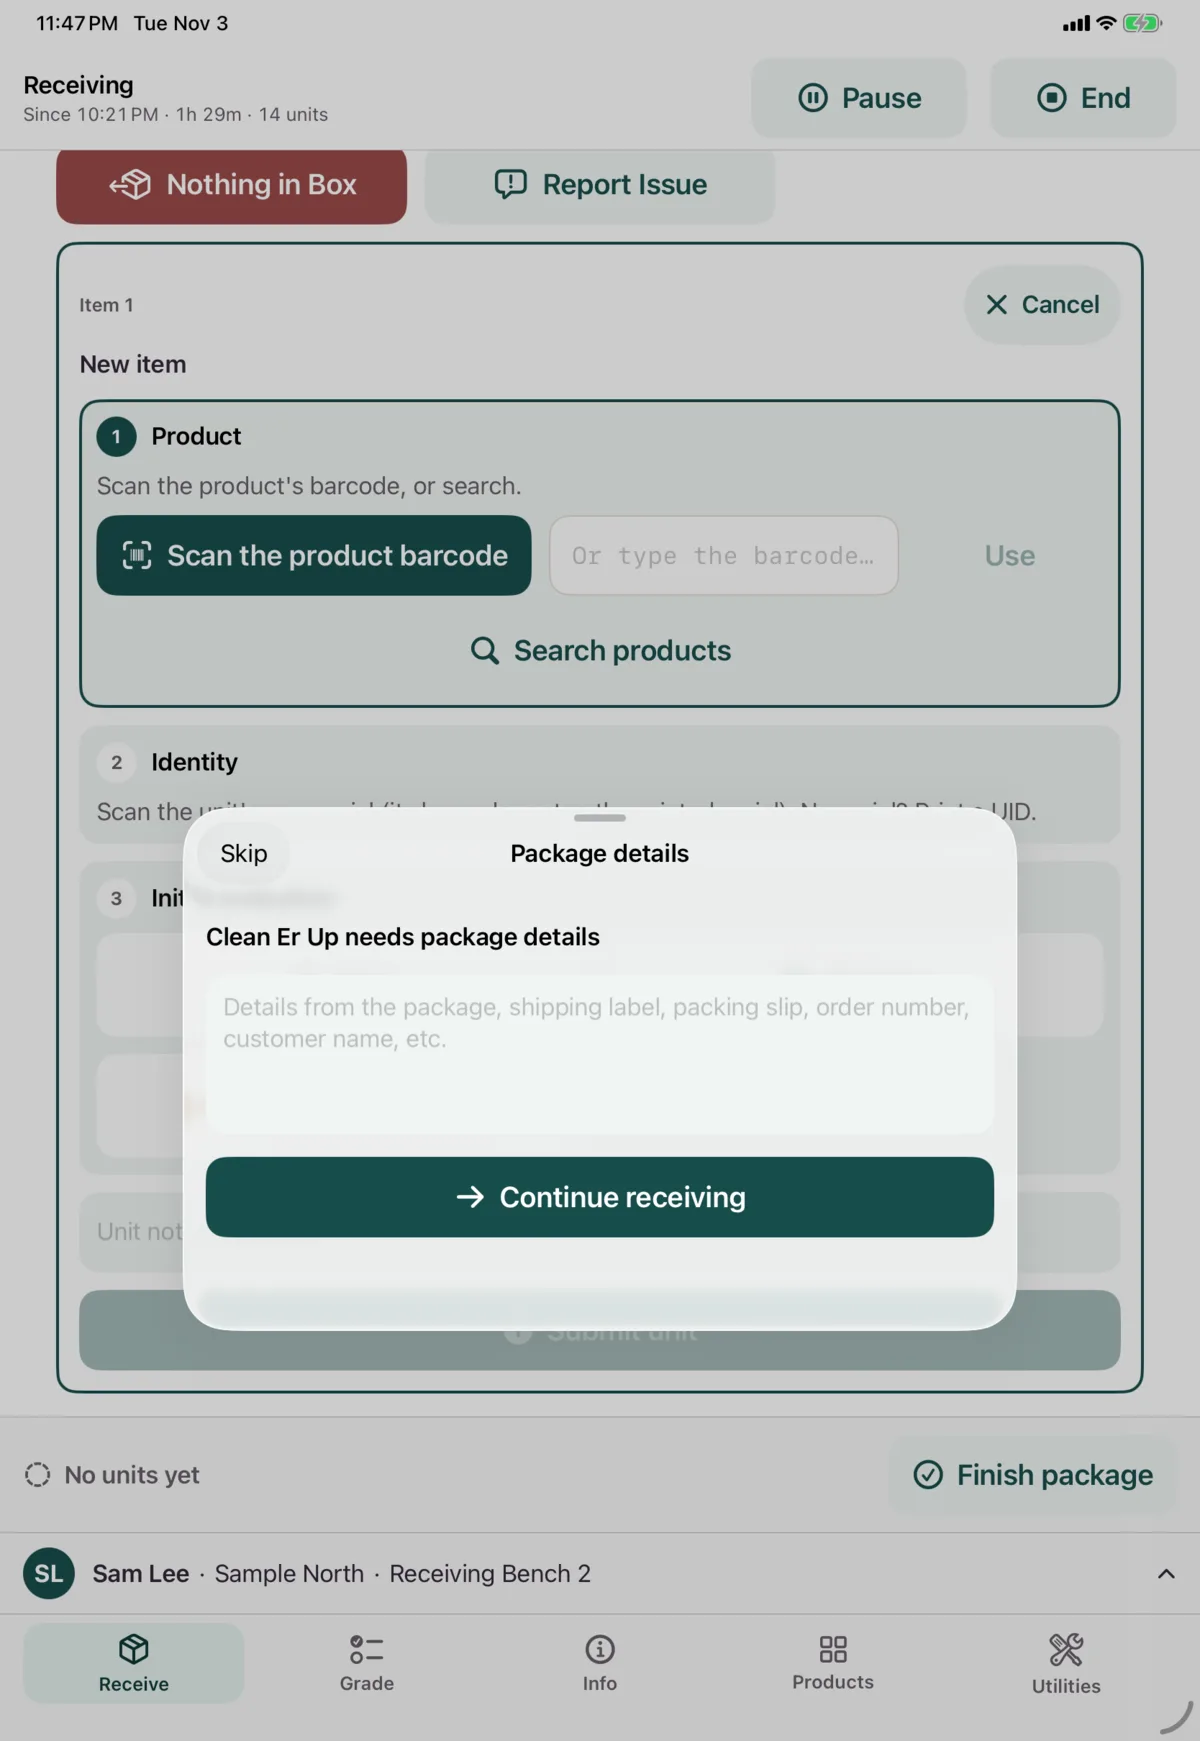
Step 2: Identity
This says which unit it is, not just what product it is.
- The unit has its own serial: tap Scan the serial or UID label, or type it. The scanner can read the serial’s barcode, or you can tap the printed serial.
- It has no serial: tap Print a UID. A label prints on your station’s printer. Stick it on the item and tap It’s on the item. Until you confirm, it isn’t used.
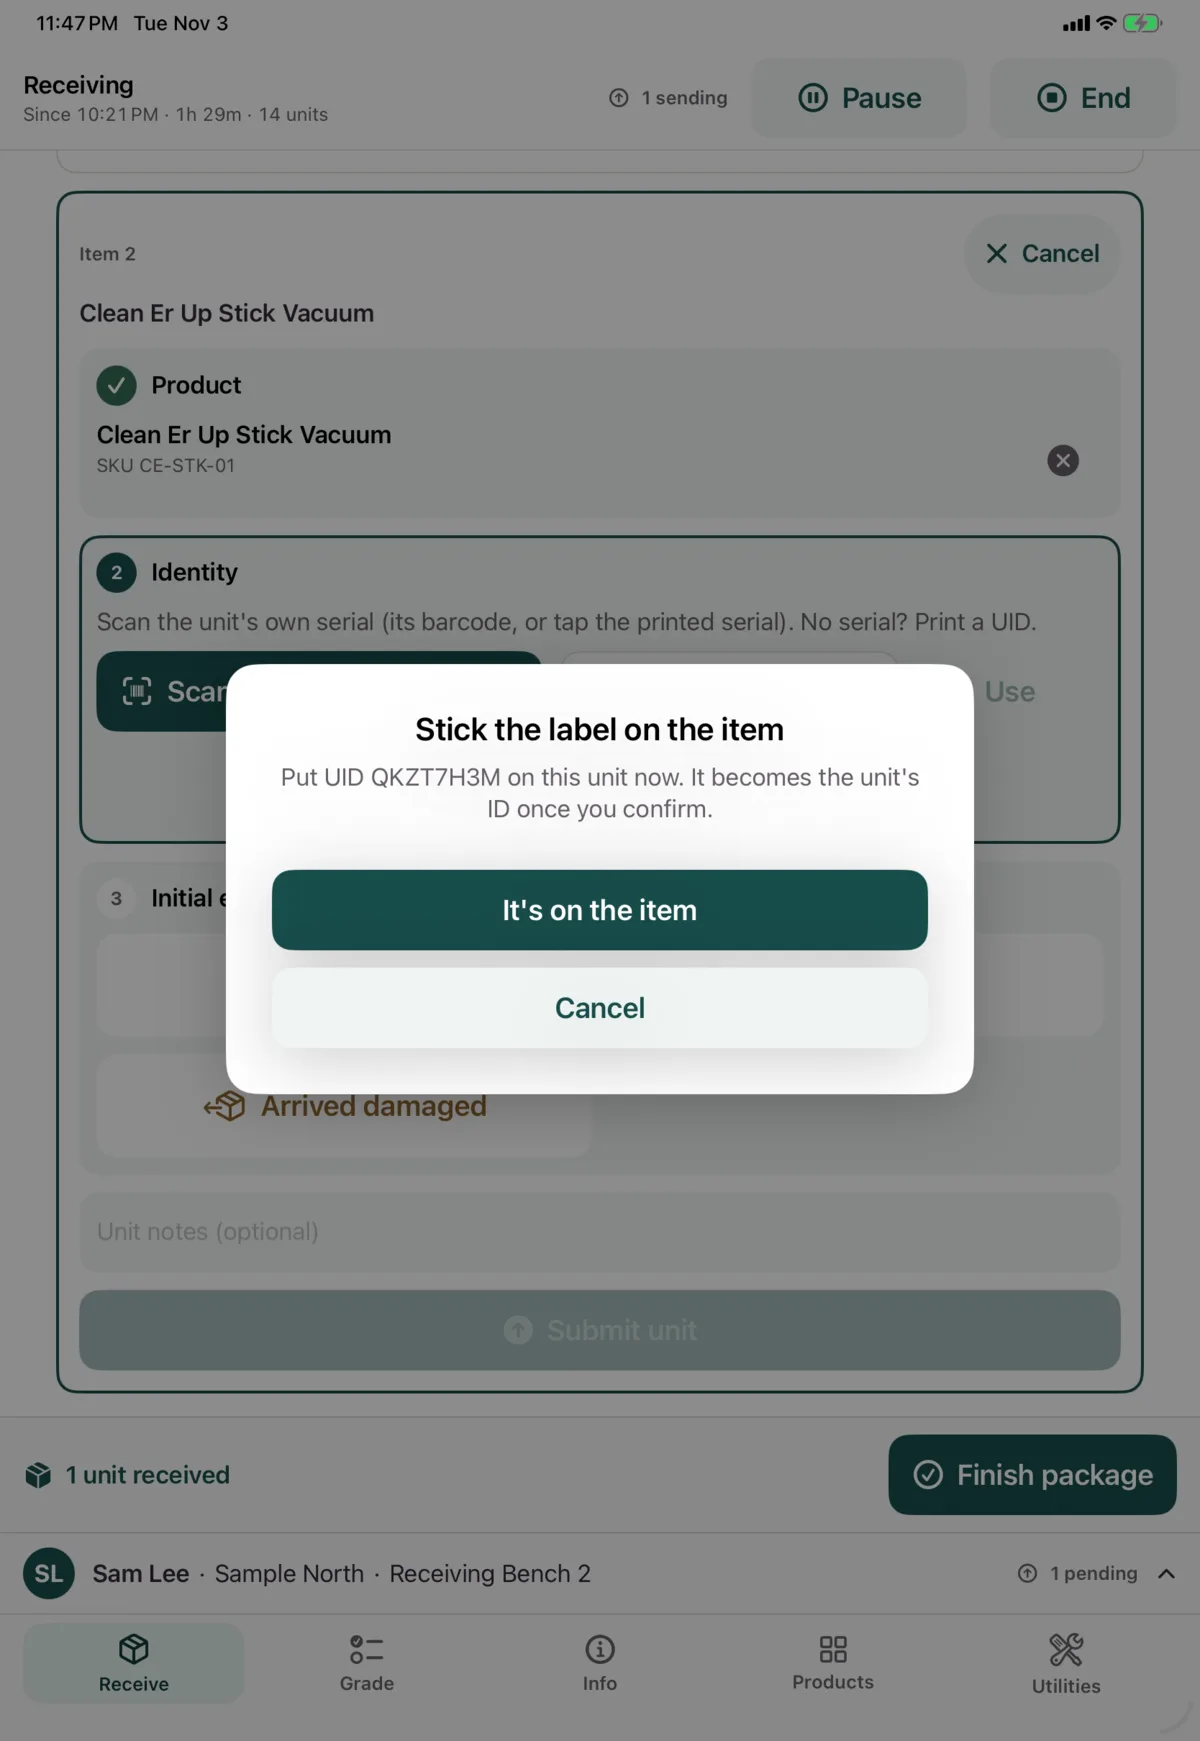
Identities are kept exactly as read. Nok Snap stops you if the code is the product’s barcode, or if it’s already been used:
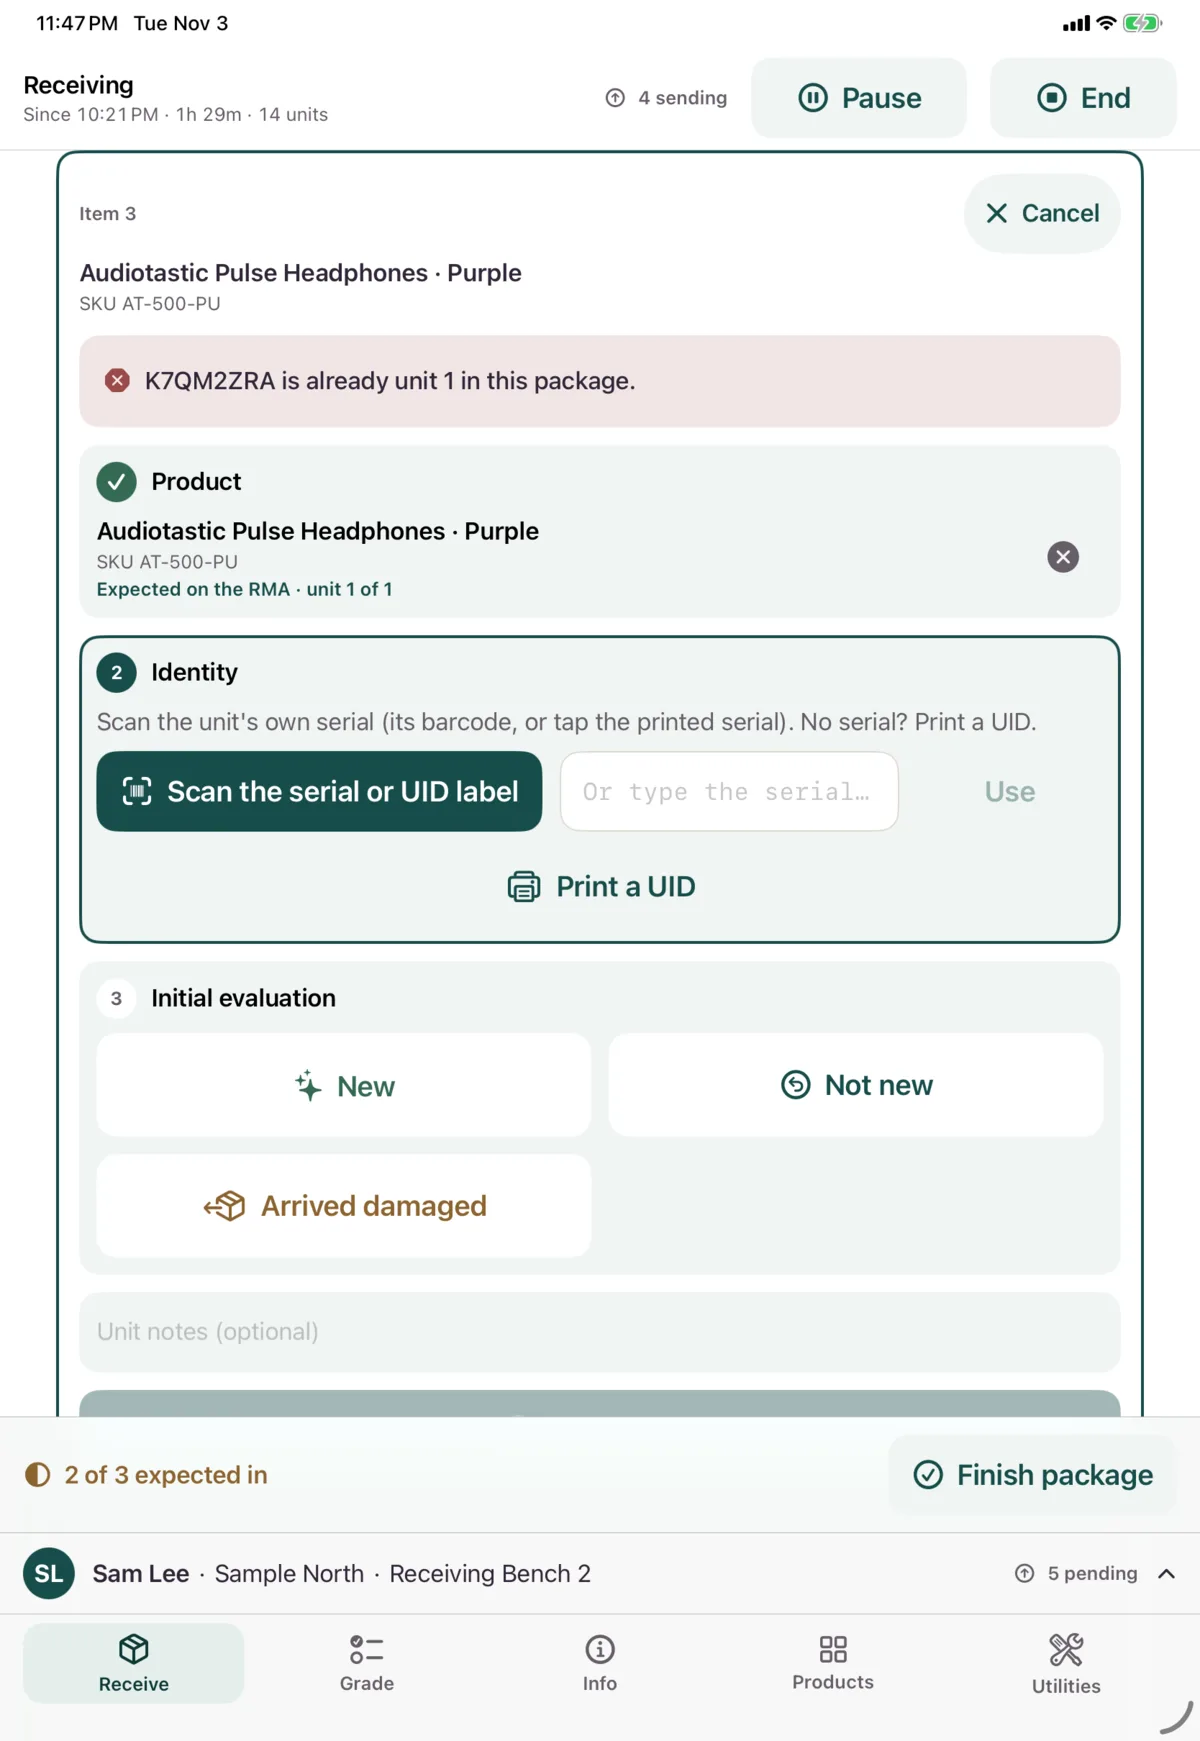
If a tracking number or location label gets scanned here, it’s used, with a warning. Clear it if it’s wrong.
Notes on this unit
Nok checks for notes on each identity. Read any that appear. A critical note appears in red, and you must tap it to confirm you’ve read it before you can submit.
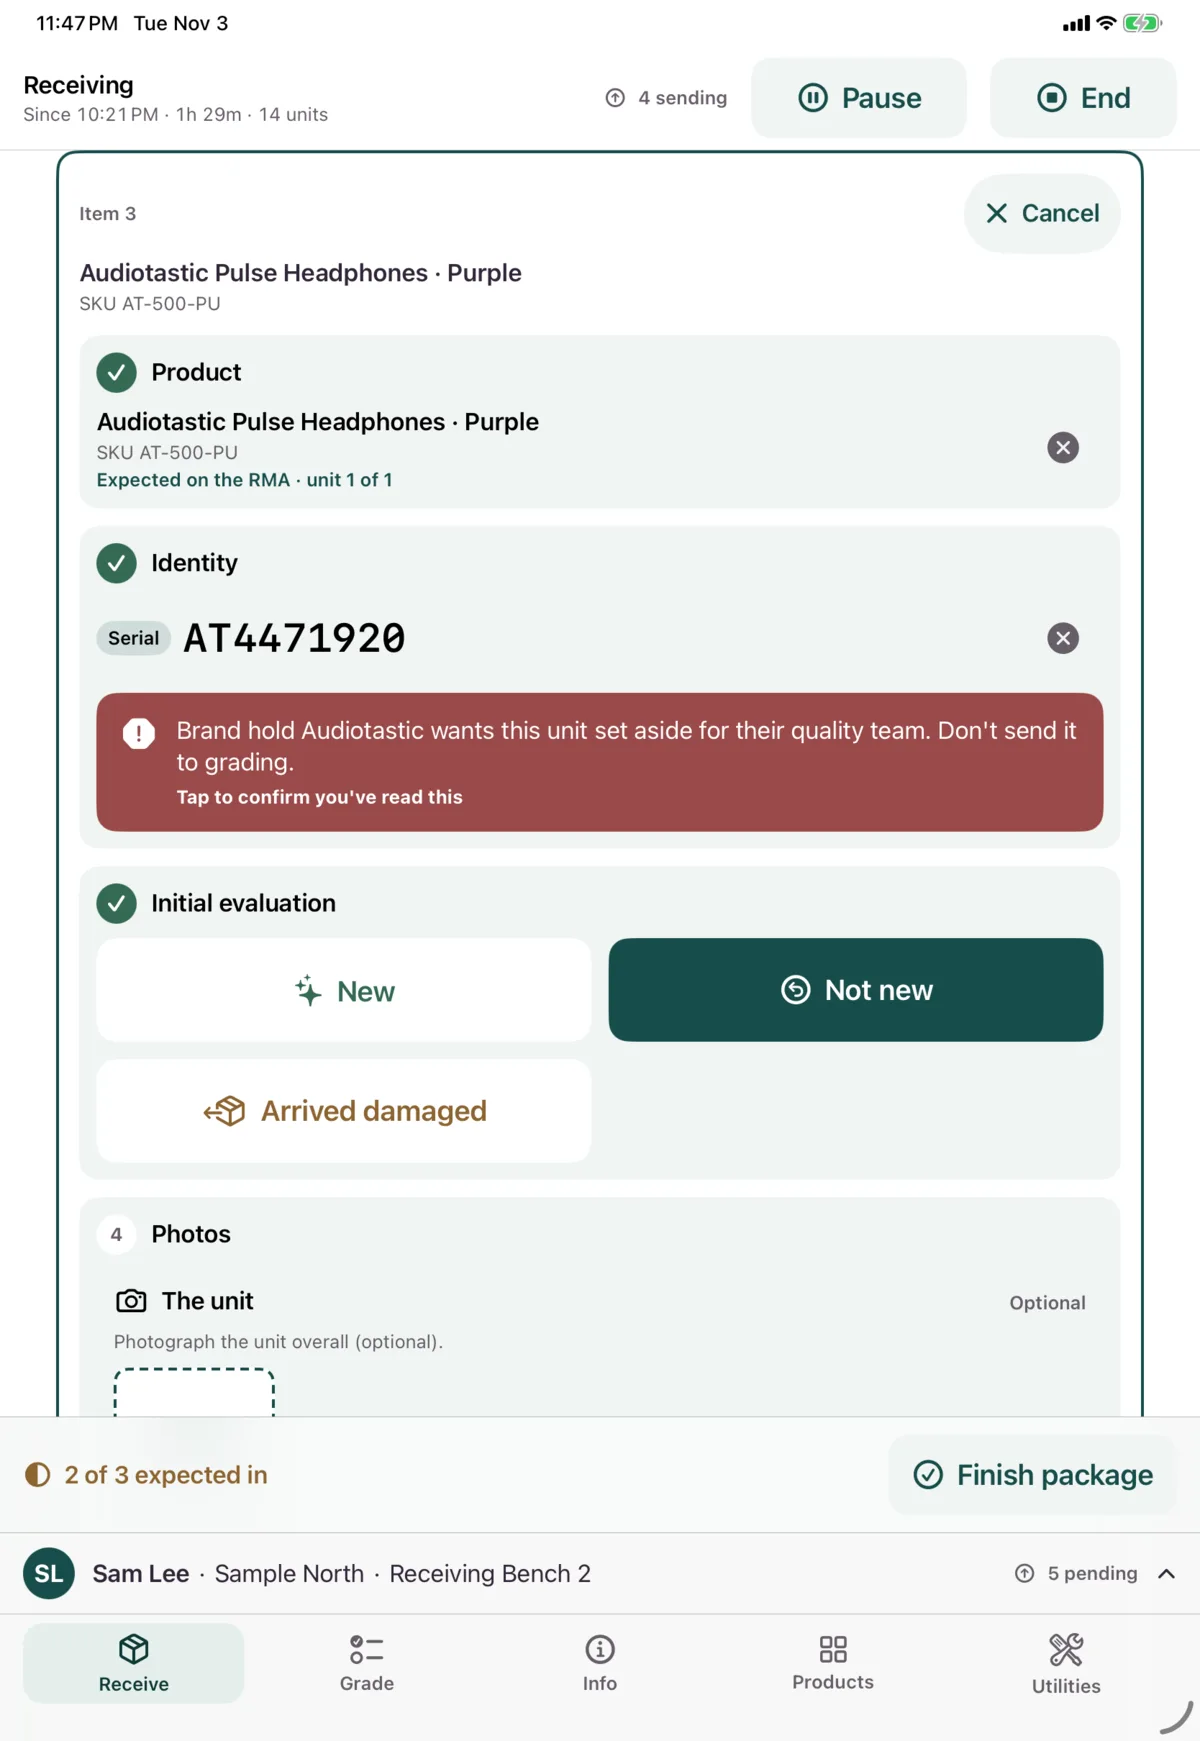
Step 3: Initial evaluation
Choose the unit’s condition as it arrived. This isn’t its grade.
| Choice | Photo | What happens next |
|---|---|---|
| New | Optional, of the seal or packaging | Graded New on receipt, and skips grading |
| Not new | Optional, of the unit | Goes on to grading |
| Arrived damaged | Required, of the damage | Graded Damaged on receipt, and skips grading |
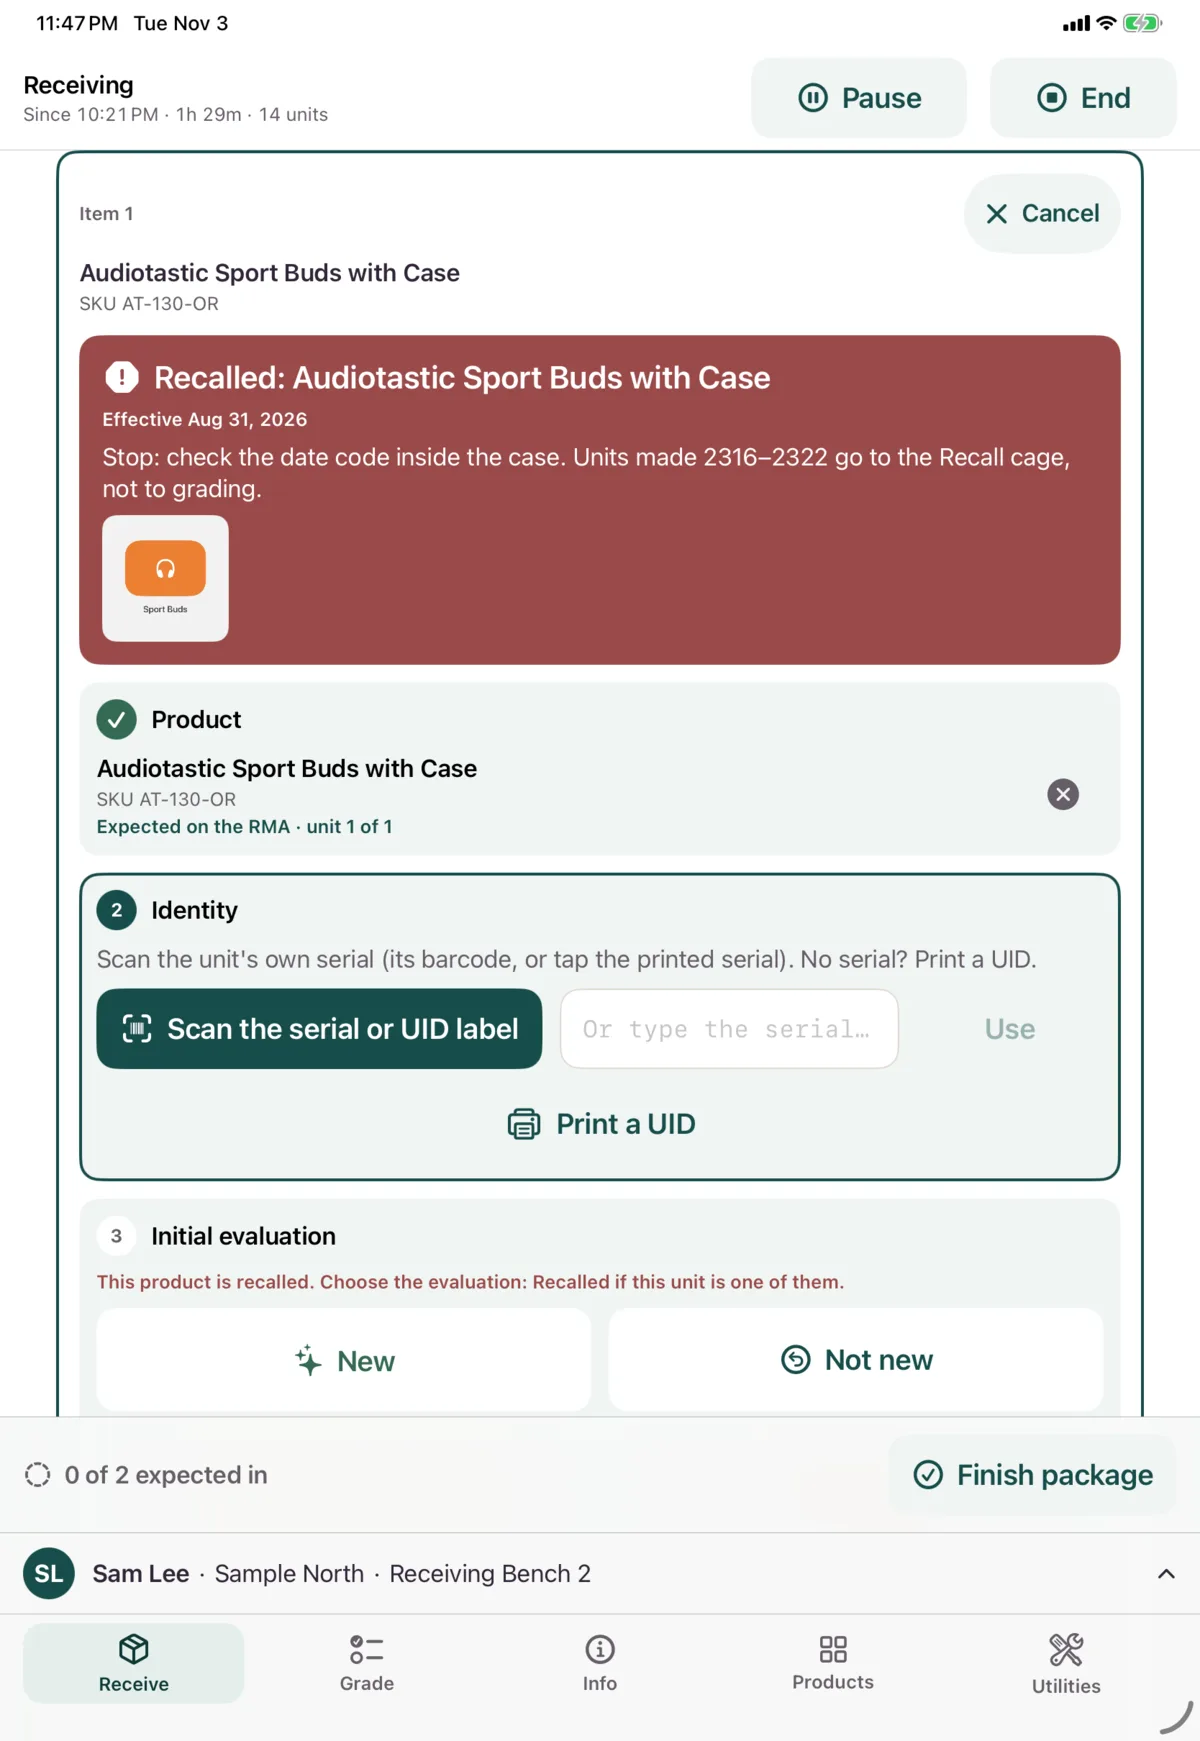
| Recalled | Required, of the product or serial label | Graded Damaged on receipt, and skips grading. Only offered for a recalled product |
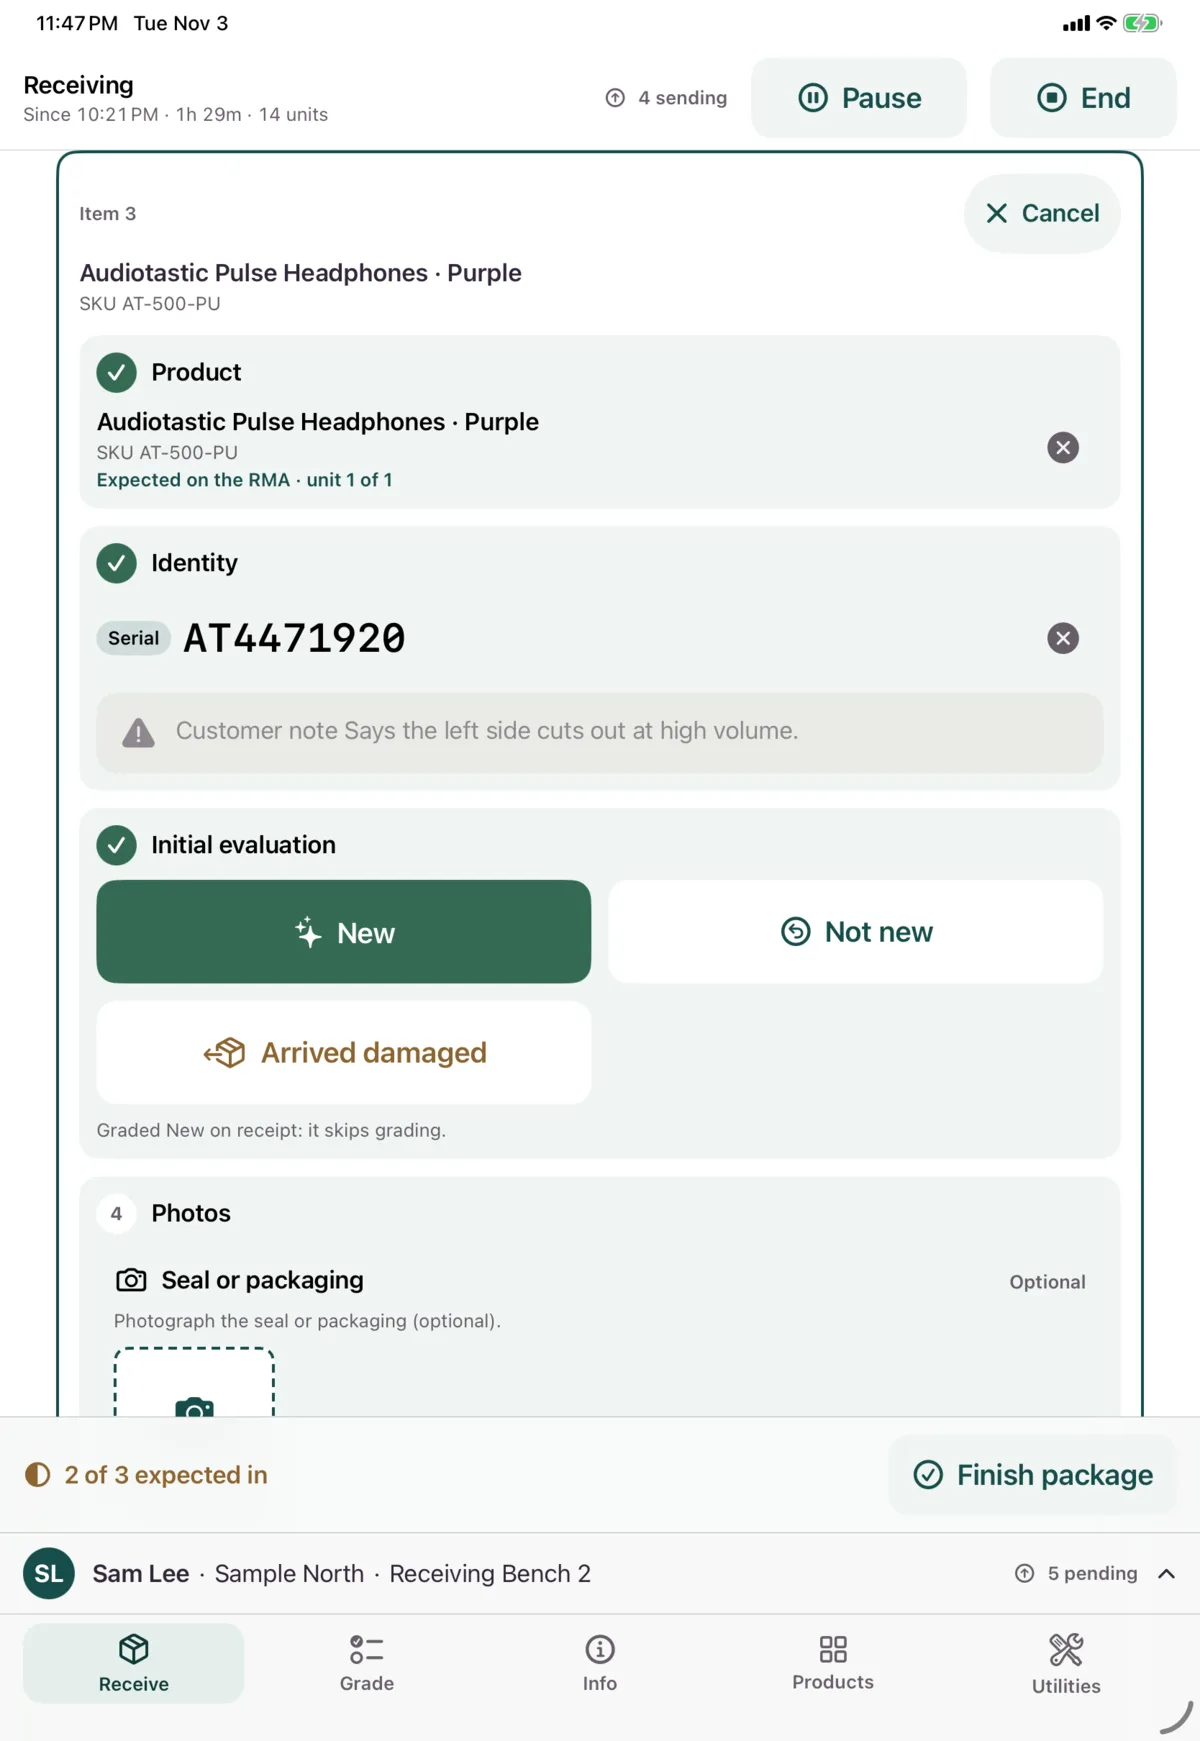
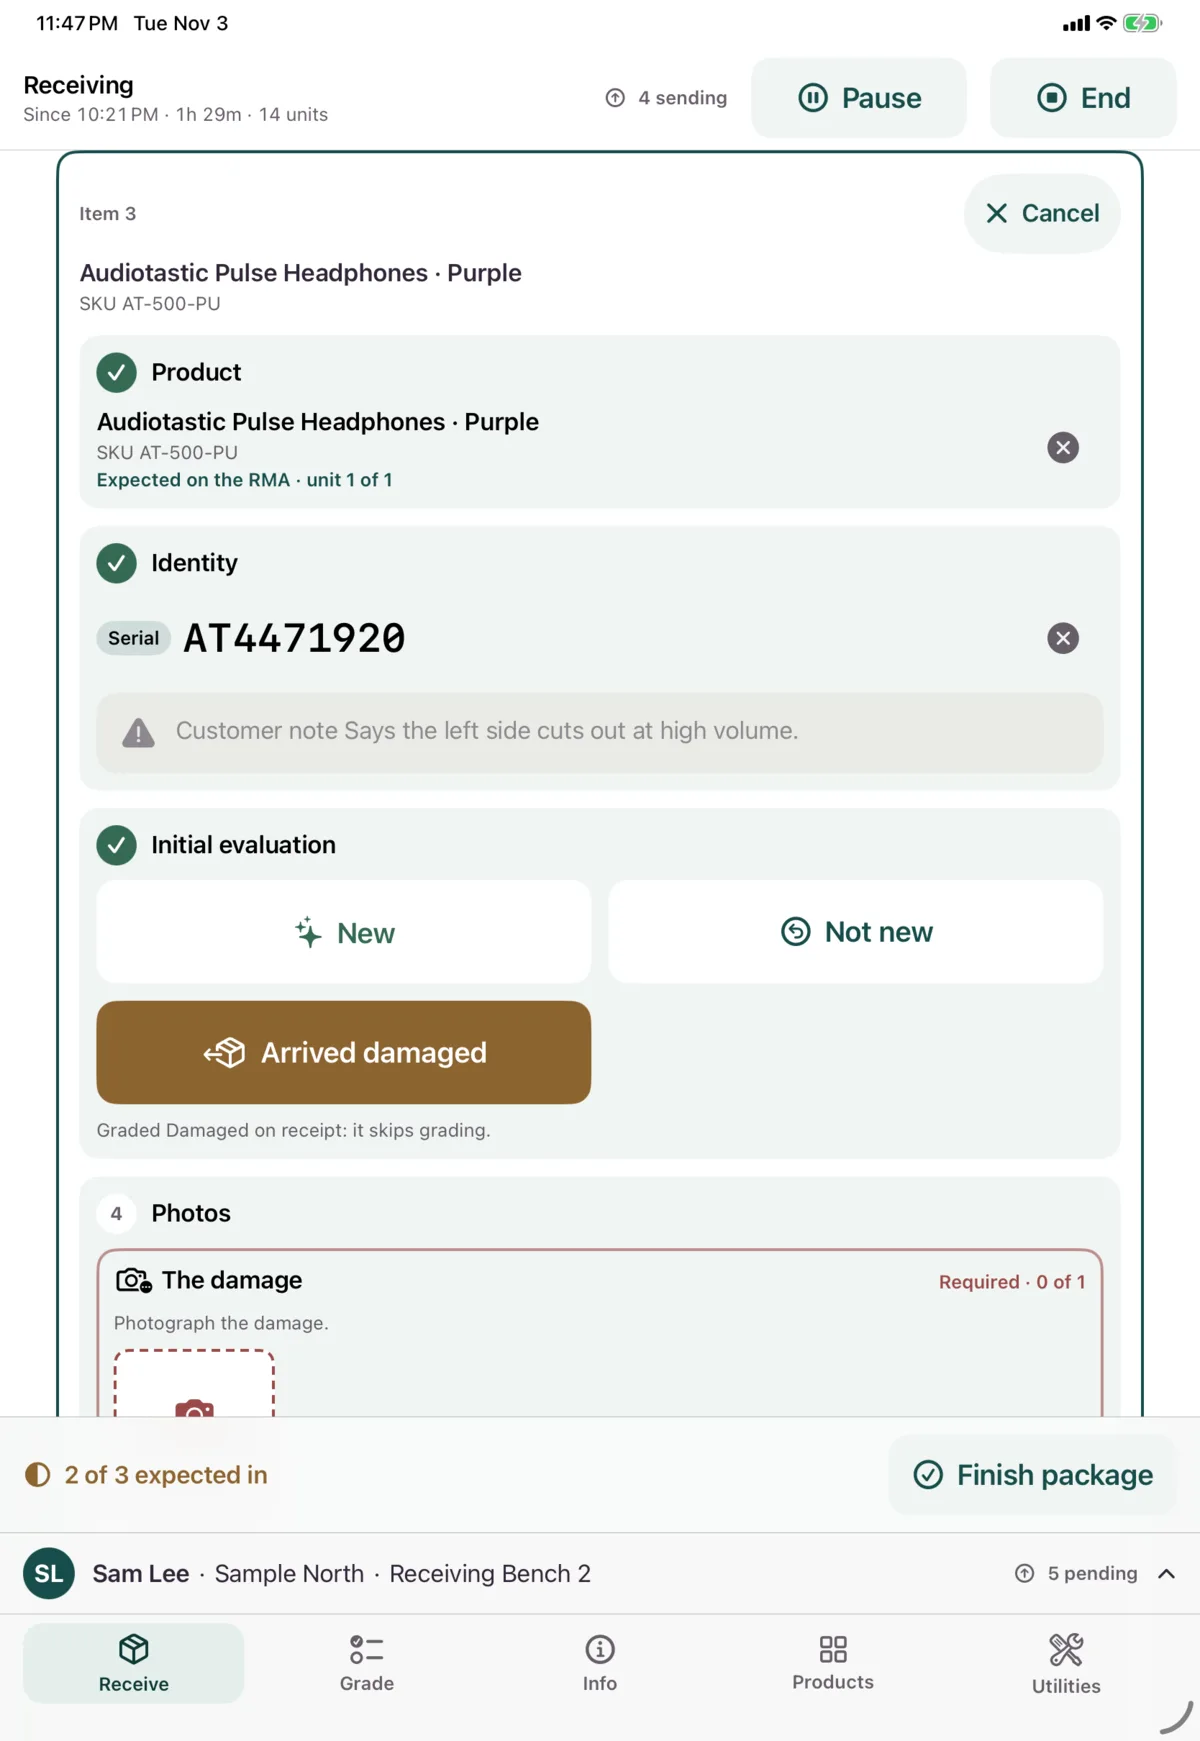
Recalled products
A red banner shows the recall’s instructions and date. Tap a photo or video to open it. Choose Recalled if this unit is one of them.
Warranty claims
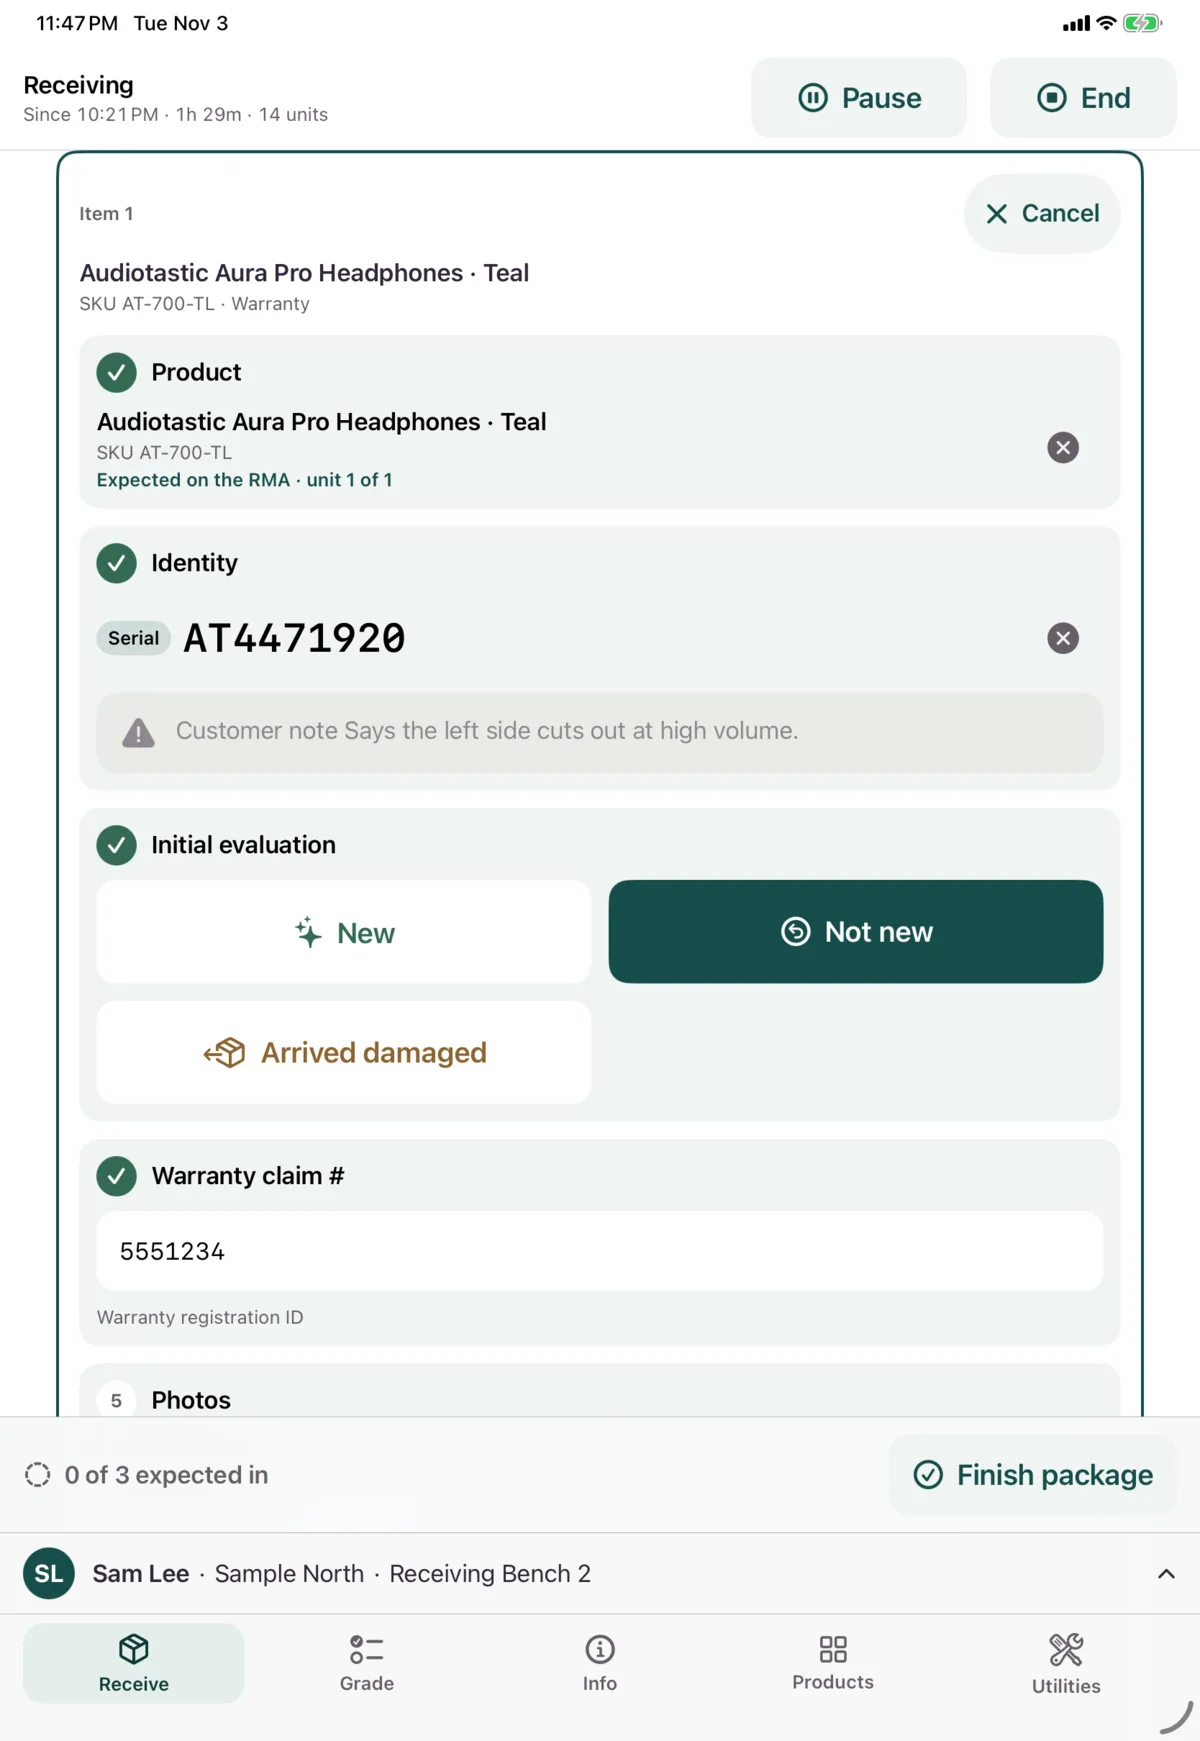
Products with warranty show a Warranty claim # field. It’s required on a warranty return, and otherwise optional. Enter the digits of the claim number. Once you do, the unit needs 2 photos: the unit overall, then its serial label.
| Message | What to do |
|---|---|
| Warranty claim # already linked to another return | Check the number against the customer’s paperwork |
| There’s no warranty claim with this # | Check the number |
| The warranty system couldn’t be reached to check the claim # | Retry in a moment |
Photos, notes and submitting
Add the photos the form asks for. Add Unit notes if you need to.
If something’s still missing, the button tells you, for example Photo needed: The damage. When it says Submit unit, tap it. The unit is queued and the form closes.
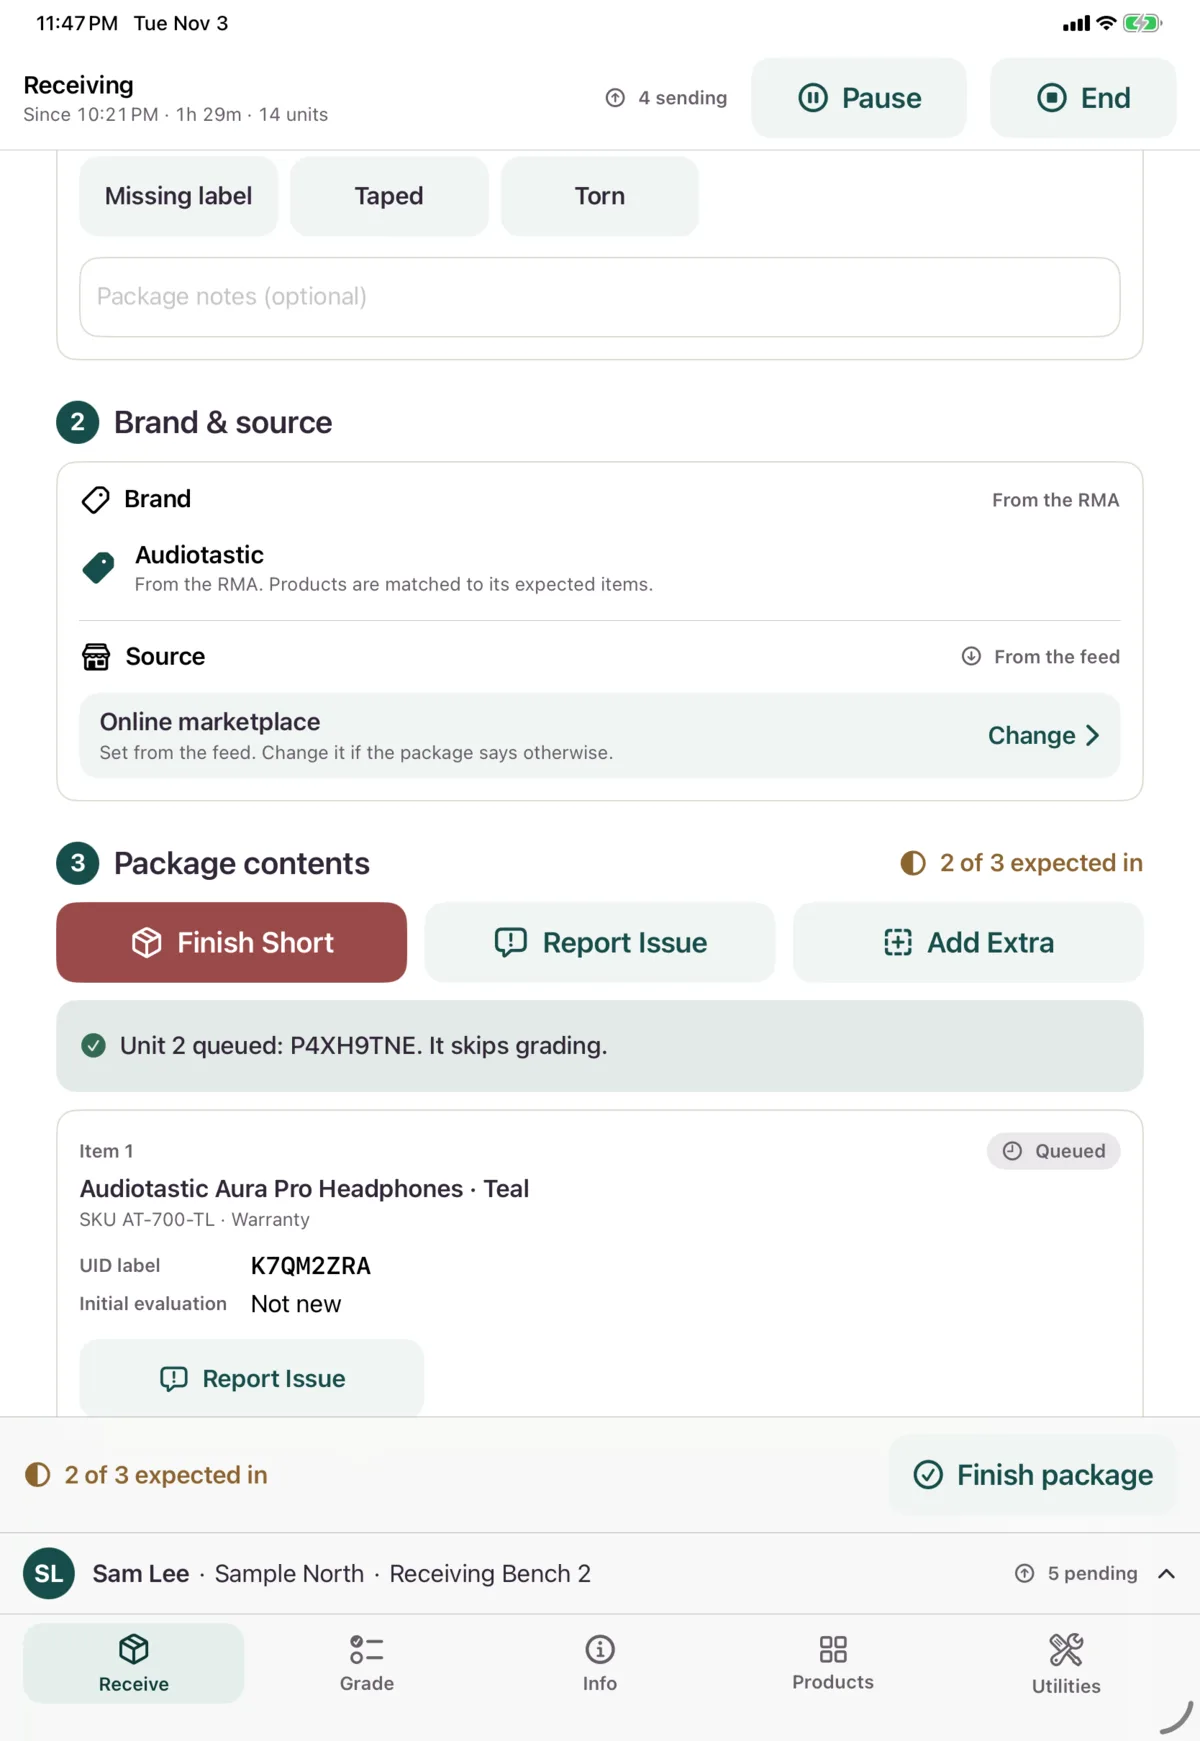
Then receive the next item, and finish the package when you’re done.