
Set up a device
Each device is set up once and belongs to one warehouse, so workers never choose a warehouse or company. You need someone with access to the Nok portal.
Steps
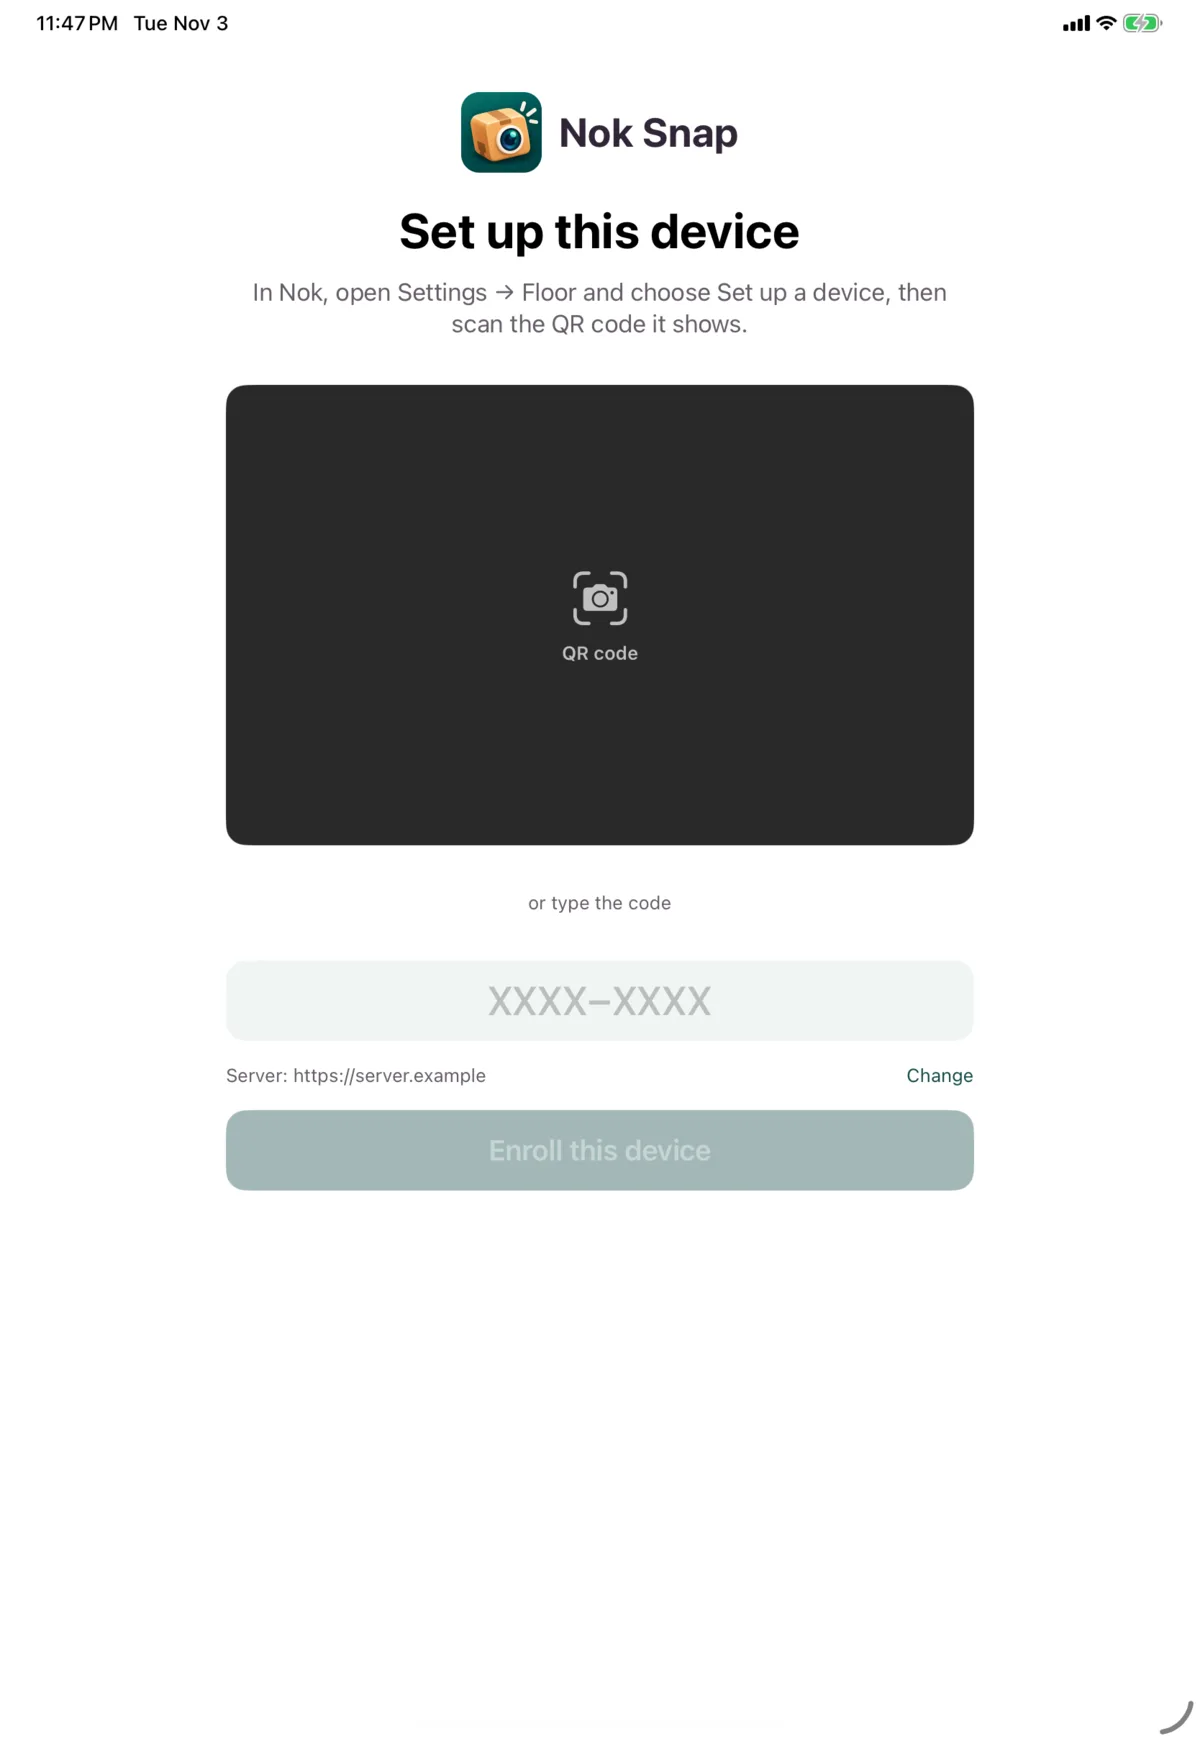
- In the Nok portal, open Settings → Floor and choose Set up a device. It shows a QR code and a code to type.
- Open Nok Snap on the device.
- Scan the QR code. Setup starts as soon as it’s read. Or type the code, then tap Enroll this device.
- If the device needs approving, you’ll see Waiting for approval. Once an admin approves it in the portal, the device moves on to the PIN screen by itself.
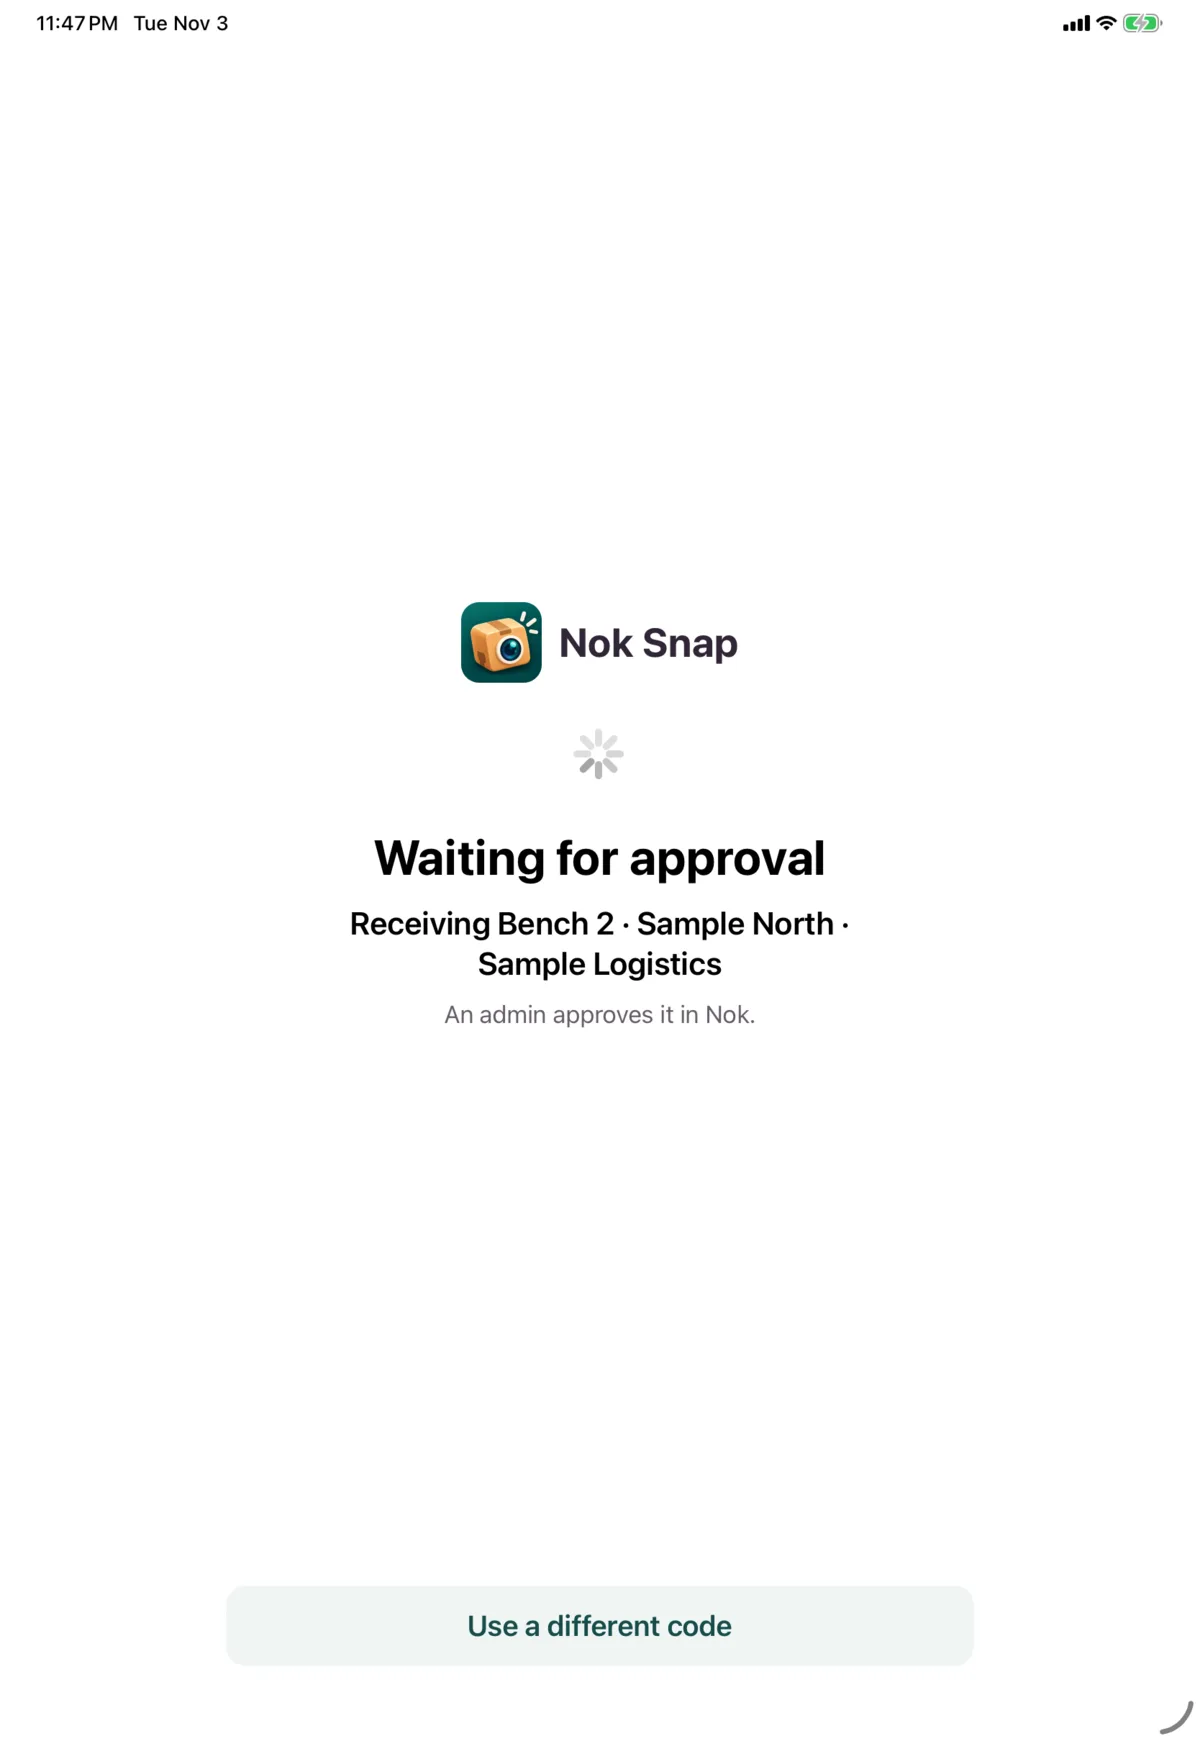
To start over with another code, tap Use a different code.
The first time, iOS asks to use the camera. Allow it: Nok Snap uses the camera for scanning and photos.
If setup doesn’t work
| Message | What to do |
|---|---|
| That QR code isn’t a Nok Snap setup code. | Scan the code from the portal |
| That code is unknown, used or expired. Ask an admin for a new QR code. | Ask for a new code |
| Can’t reach Nok. Check the Wi-Fi and try again. | Setup needs a connection |
| This device couldn’t prove it’s running a genuine Nok Snap build. | Reinstall the app, or ask your admin |
If a device is removed
If an admin removes a device in the portal, it goes back to the setup screen and says “This device was removed from Nok. Ask an admin to re-issue its setup code, then scan it here.”
Keeping the app up to date
Nok Snap is installed through Apple’s TestFlight app.
- A banner warns you when the installed build is close to expiring. Tap it to open TestFlight.
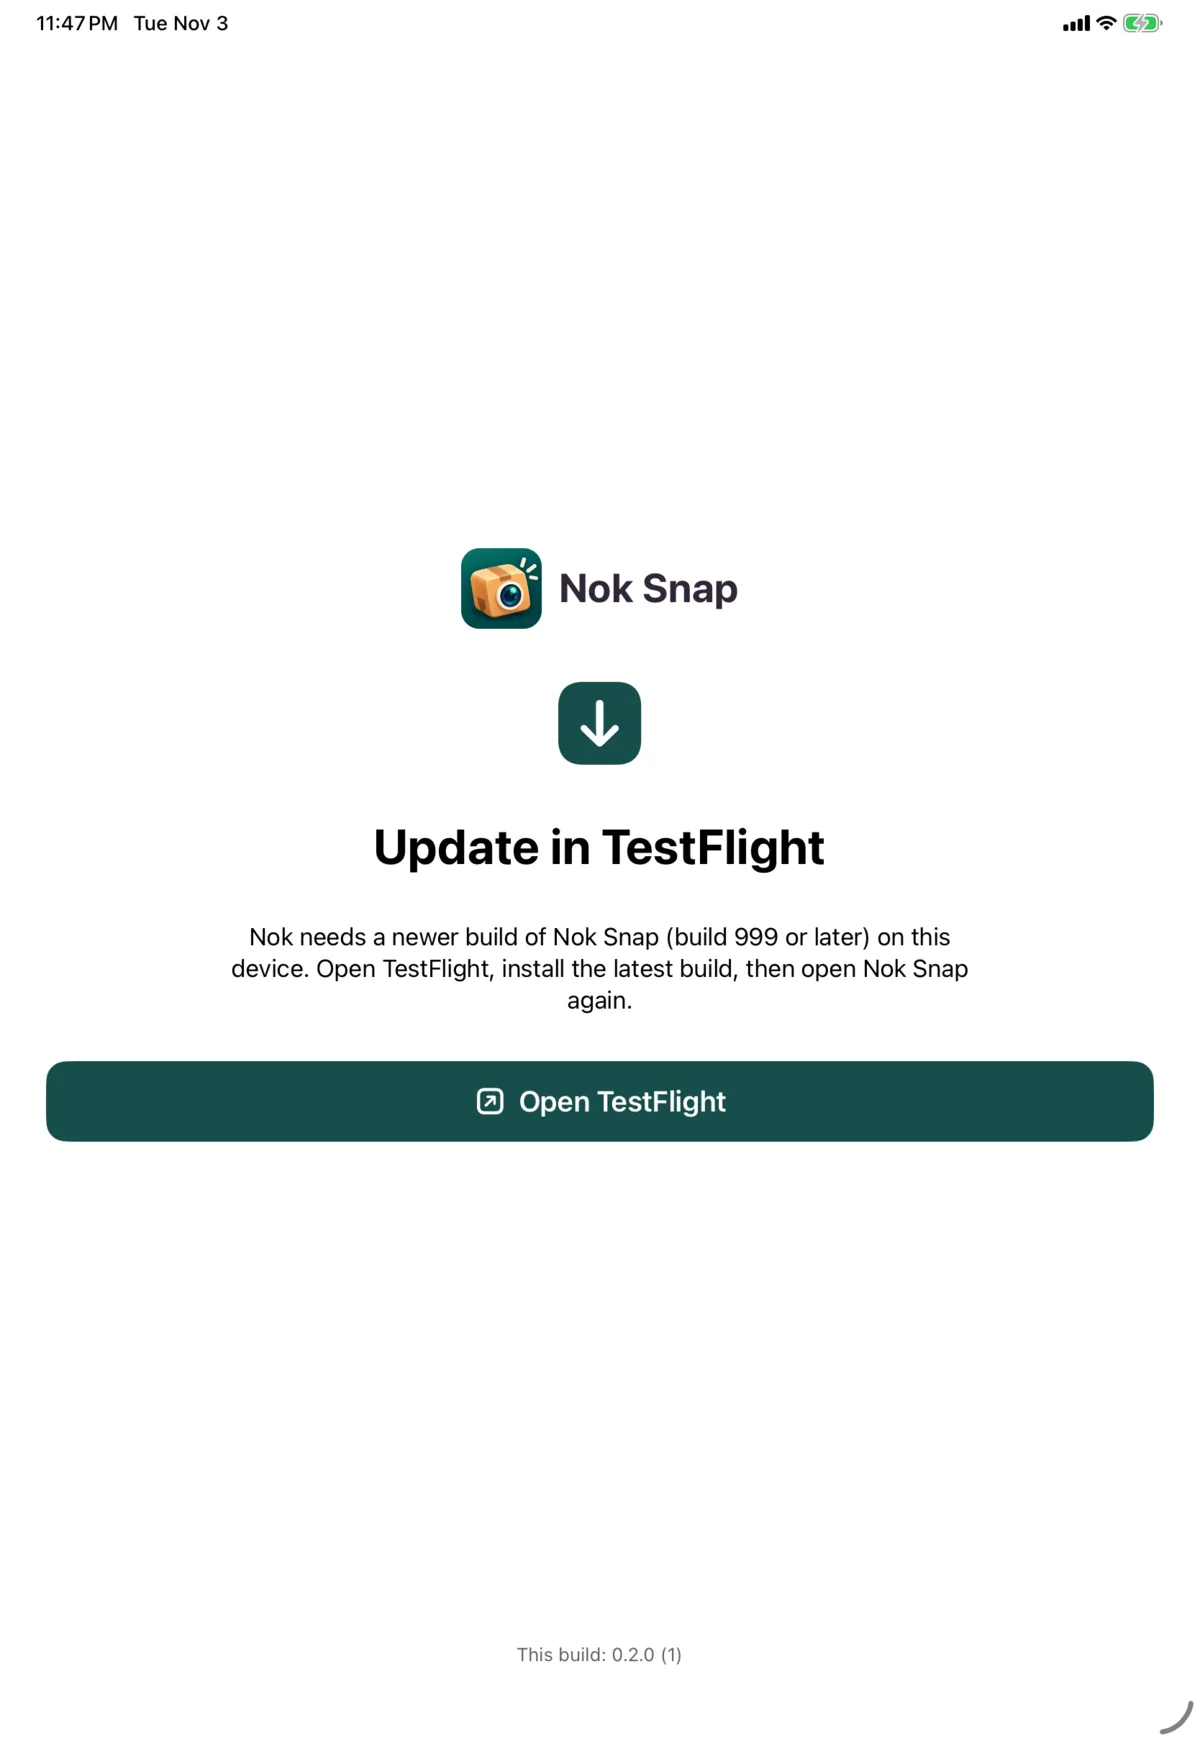
- If Nok needs a newer build, Update in TestFlight covers the whole screen until you update. Tap Open TestFlight, install the latest build, then open Nok Snap again. Work you’ve queued keeps sending in the background.
Next: Sign in and lock